Foreground color #40361a and background color #e8c257
1.
Open new image 500x375
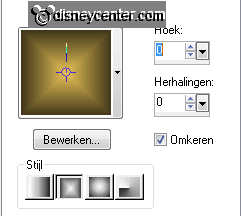
Fill this with the gradient rectangular - with this setting.
Adjust - Blur - Gaussian Blur - Radius 30.
2.
Copy Sunrise01 and paste as a new layer.
Image - Resize 65% - resize all layers not checked.
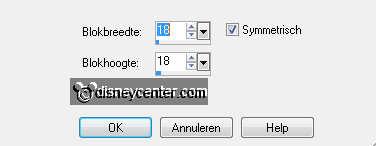
Effects - Distortion Effects - Pixelate - with this setting.
Set the Blend Mode of this layer - luminance (Legacy)
Set the opacity of this layer at 52.
3.
Copy Sunrise01 again and paste as a new layer.
Set the Blend Mode of this layer - soft light.
Set the opacity at 75.
4.
Copy boompoca and paste as a new layer.
Image - mirror - Place this at the right side - move a little.
Set the Blend Mode of this layer - luminance (Legacy).
Set the opacity at 59.
5.
Copy Pocahontas 2 and paste as a new layer.
Image - Resize 75% - resize all layers not checked.
Place this in the middle near the palm tree - see example.
Set the Blend Mode of this layer - soft light.
Set the opacity at 75.
6.
Copy Pocahontas 7 and paste as a new layer.
Effects - 3D Effects - drop shadow with this setting.
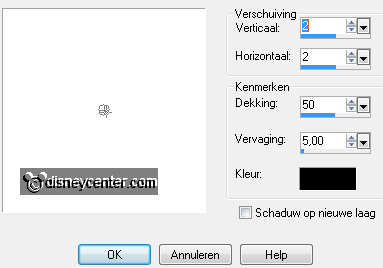
Place this in the middle at the bottom.
7.
Copy Pocahontas 24 and paste as a new layer.
Image - Resize 120% - resize all layers not checked.
Give the same drop shadow as in point 6.
Set the Blend Mode of this layer at overlay.
8.
New raster layer - put your watermark into the image.
Layers - merge - merge all.
9.
Image - add border 1 - color black.
Image - add border 25 - background color.
Selections - select all - selections - contract 25.
Effects - 3D Effects - drop shadow with this setting.
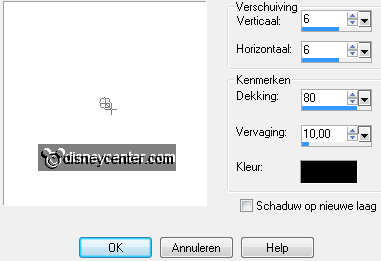
Repeat the drop shadow, but now -6.
Selections - select none.
10.
Image - add border 1 - color black.
Image - add border 10 - foreground color.
Select the border - Effects - Penta.com - Color Dot - default setting.
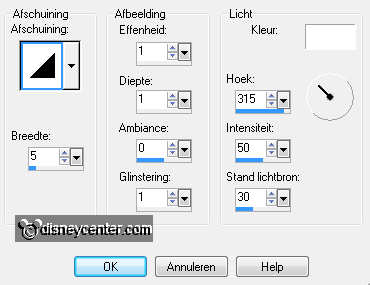
Effects - 3D Effects - Inner Bevel with this setting.
Selections - select none.
11.
Image - add border 1 - color black.
Image - add border 10 - background color.
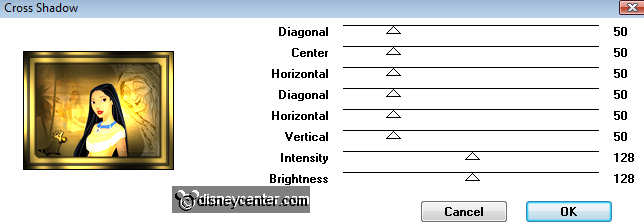
Select the border - Effects - Graphics Plus - Cross Shadow - with this setting.
Selections - select none.
Image - add border 1 - color black.
12.
Go to tekst tool - font Tyson - size 72 - stroke width 3.

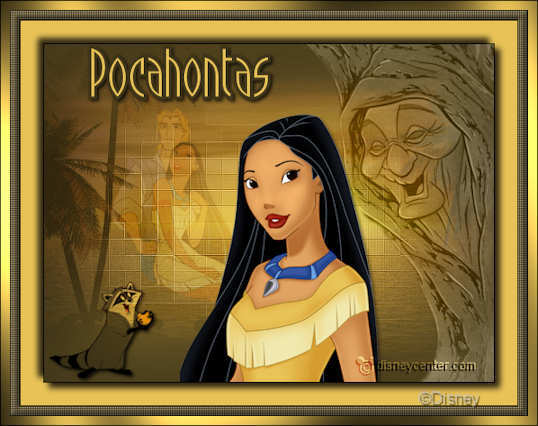
And write - Pocahontas - Convert to raster layer.
Give the same drop shadow as in point 6.
Duplicate this layer - Layers - merge - merge down.
Layers - merge - merge down.
13.
Image - Resize 90% - Resize all layers checked.
File - export - jpeg optimizer.