|

This
Tutorial is copyrighted to the Tutorial Writer, © Emmy Kruyswijk.
This Tutorial may not be forwarded, shared or otherwise placed on any Web Site
or group without written
permission from
Emmy Kruyswijk.
Please respect my work and from others, don't change the file
names.
Do you want to link my lessons?
Please send
me a mail.
Needing:
The poser tube is from me. My site you can find
here.
If you use my tubes put than
the copyright render at the image.
I use parts of different scrapkits.
Set the preset shape in the folder preset shapes.
Before you begins.......
Open the tubes in PSP.
Material

Carnival Party
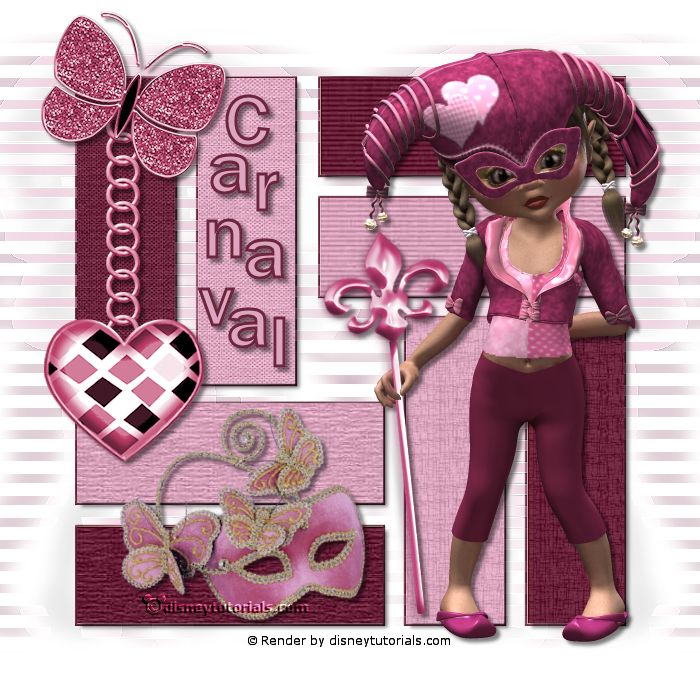
1.
File - open new transparent image 700x700.
Set the foreground color to #6d243d and the background color to #dda8c0.
Activate Preset Shape tool - with this setting.

Start the line at 80 pixels from above and from right 80 pixels.
Pull it down also 80 pixels and to the left 80 pixels.
Convert to raster layer.
Select the magic wand in all black boxes.
Layers - new raster layer.
Fill the selection with the foreground color.
Selection - modify - contract - 2 pixels - click at the delete key.
2.
Layers - new raster layer.
Fill the outer boxes with the foreground color.
Fill the inner boxes with the background color.
Selections - select none.
Delete raster 1.
Select with the magic wand the left top boxes.
Effects - plug-ins - I.C.NET Software - Filters Unlimited 2.0 - Paper Textures -
Canvas Fine - with this setting - click at Apply.
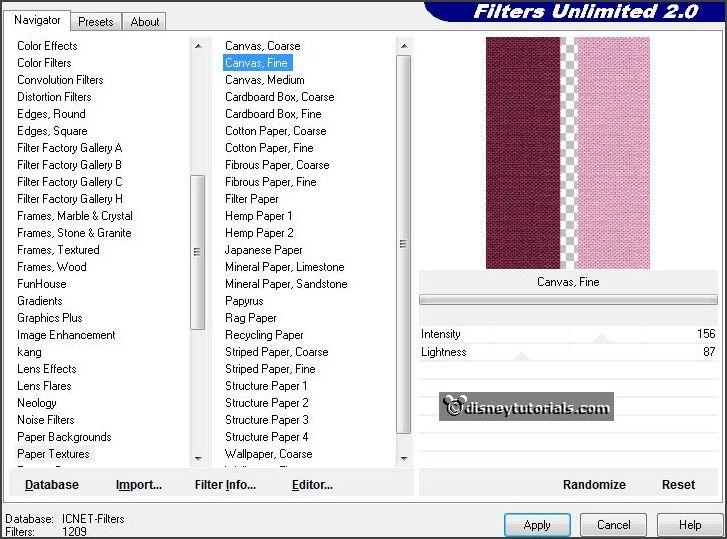
Selections - select none.
3.
Select with the magic wand the right top boxes.
Effects - plug-ins - I.C.NET Software - Filters Unlimited 2.0 - Paper Textures -
Stripes Paper Fine - with this setting - click at Apply.
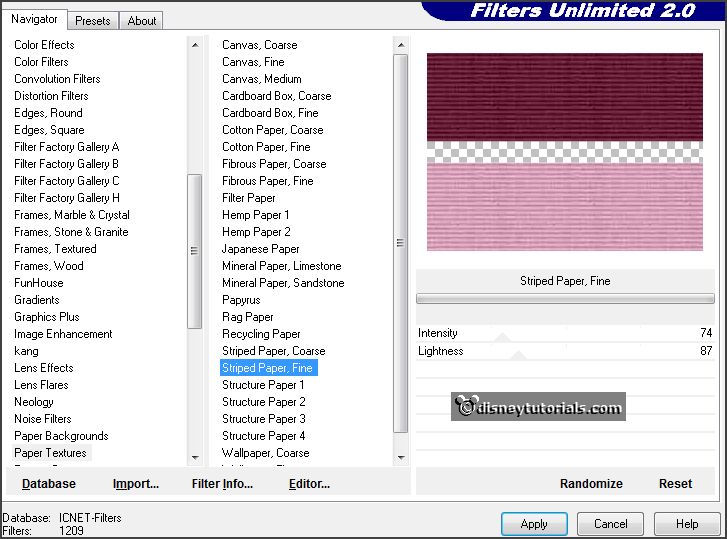
Selections - select none.
4.
Select with the magic wand the right bottom boxes.
Effects - plug-ins - I.C.NET Software - Filters Unlimited 2.0 - Paper Textures -
Papyrus - with this setting - click at Apply.
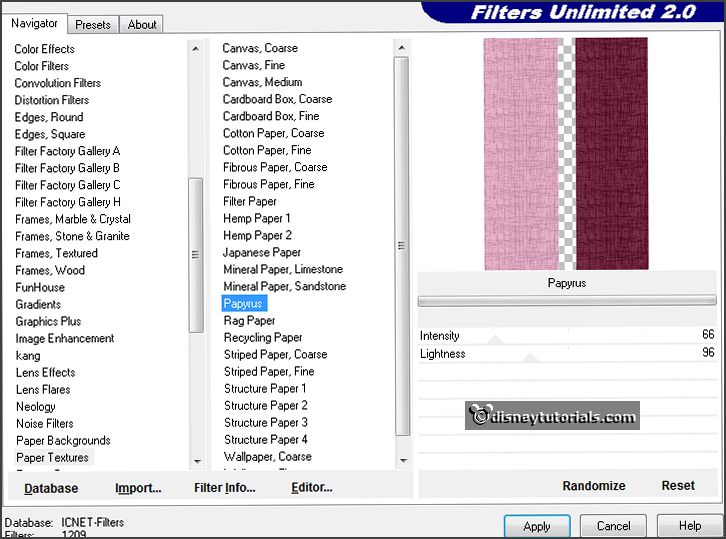
Selections - select none.
5.
Select with the magic wand the left bottom boxes.
Effects - plug-ins - I.C.NET Software - Filters Unlimited 2.0 - Paper Textures -
Hemp Paper1 - with this setting - click at Apply.
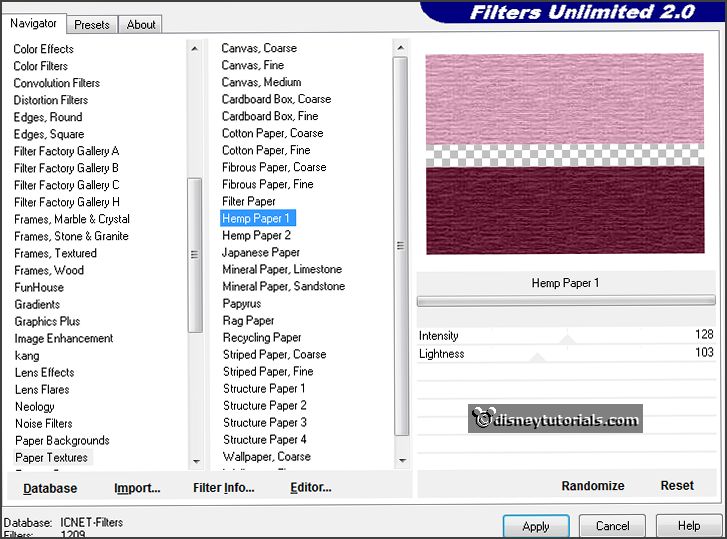
Selections - select none.
Effects - 3D Effects - drop shadow - with this setting.
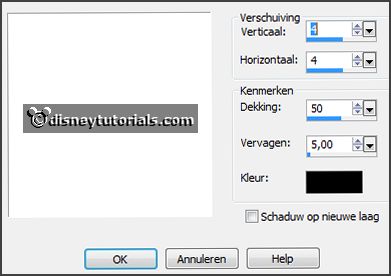
6.
Activate the tube Maskarade_Charm_Scrap and Tubes -
edit - copy.
Edit - paste as a new layer on the image.
Activate move tool - place it left at the top in the first box.
Effects - 3D Effects - drop shadow - setting is right.
7.
Activate the tube Maskarade_Butterfly_Scrap and Tubes -
edit - copy.
Edit - paste as a new layer on the image.
Place it right at the top - see example.
Effects - 3D Effects - drop shadow - setting is right.
8.
Activate the tube EmmyWA-
edit - copy.
Edit - paste as a new layer on the image.
Place it right at the top in the second box - see example.
9.
Activate the tube Emmymask4 -
edit - copy.
Edit - paste as a new layer on the image.
Place it left at the bottom - see example.
Image - free rotate - with this setting.

Effects - 3D Effects - drop shadow - setting is right.
10.
Activate the poser tube -
edit - copy.
Edit - paste as a new layer on the image.
Place ir at the right side.
Effects - 3D Effects - drop shadow - with this setting - shadow on
the new layer checked.
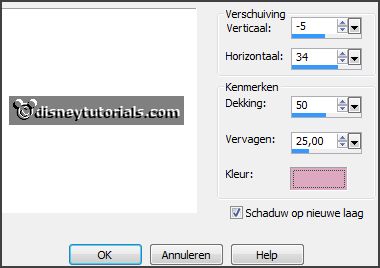
Stay at this layer.
Effects -plug-ins - dsb-flux - Linear Transmission - with this setting - click OK.
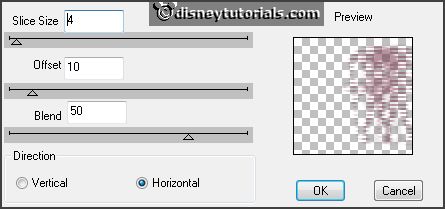
Effects - Edge effects - enhance.
11.
Layers - duplicate.
Image - mirror.
Layers - merge - merge down.
Layers - arrange - down - under raster 3.
Activate the top layer.
Effects - 3D Effects - drop shadow - with this setting -
Remember to remove the check mark.

12.
Layers - new raster layer - set your watermark into the image.
Layers - merge - merge all visible layers.
File - export - PNG Optimizer.
Ready is the tag
I hope you like this tutorial.
greetings Emmy
Thank you Nelly for testing.


tutorial
written 07-01-2016 |