|

This
Tutorial is copyrighted to the Tutorial Writer, © Emmy Kruyswijk.
This Tutorial may not be forwarded, shared or otherwise placed on any Web Site
or group without written
permission from
Emmy Kruyswijk.
Please respect my work and from others, don't change the file
names.
Do you want to link my lessons?
Please send
me a mail.
Needing:
The poser tube is from me. My site you can find
here.
If you use my tubes put than
the copyright render at the image.
I use parts of different scrapkits.
Before you begins.......
Open the tubes in PSP.
Material

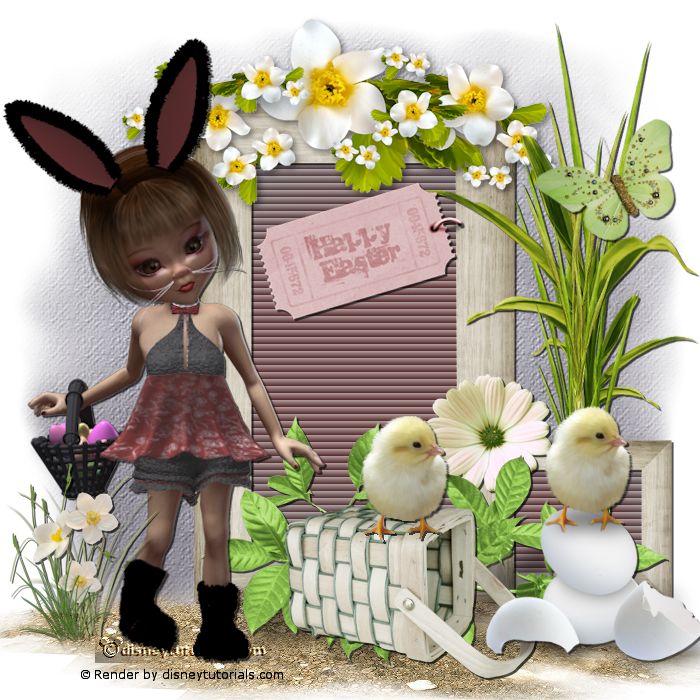
Happy
Easter

1.
File - open new transparent image 700x700.
Activate the tube background -
edit - copy.
Edit - paste as a new layer on the image.
Activate move tool - place it a little up.
2.
Activate the tube Avital_SpringBlessingsEL71 -
edit - copy.
Edit - paste as a new layer on the image.
Image - free rotate - with this setting.

Layers - duplicated.
Image - free rotate - setting is right.
Image - resize 50% - all layers not checked.
Place it right at the bottom - against the other frame.
Layers - arrange - down.
3.
Select with the magic wand in the middle of the frames.
Selections - modify - expand 10 pixels.
Layers - new raster layer.
Fill the selection with this color #542b2b.
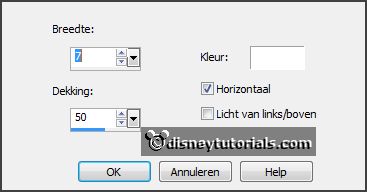
Effects - Texture effects - blinds - with this setting.

Selections - select none.
Layers - arrange - down.
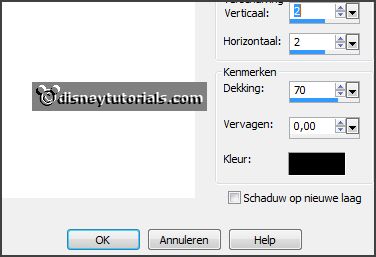
Give both frame drop shadow - with this setting.

4.
Activate the tube zand -
edit - copy.
Edit - paste as a new layer on the image.
Place it left at the bottom.
Layers - duplicate.
Place it right at the bottom.
Layers - duplicate.
Place it in the middle at the bottom.
Activate the top layer.
5.
Activate the tube Avital_SpringBlessingsEL47 -
edit - copy.
Edit - paste as a new layer on the image.
Place it at the bottom on the big frame.
Effects - 3D Effects - drop shadow - setting is right.
6.
Activate the tube 11 -
edit - copy.
Edit - paste as a new layer on the image.
Place this above the frame.
7.
Activate the tube bloemen -
edit - copy.
Edit - paste as a new layer on the image.
Place it left at the bottom.
Effects - 3D Effects - drop shadow - setting is right.
8.
Activate the poser tube -
edit - copy.
Edit - paste as a new layer on the image.
Place it left at the bottom.
Effects - 3D Effects - drop shadow - setting is right.
9.
Activate the tube Avital_SpringBlessingsEL36 -
edit - copy.
Edit - paste as a new layer on the image.
Place it in the middle at the bottom.
Effects - 3D Effects - drop shadow - setting is right.
10.
Activate the tube Avital_SpringBlessingsEL31 -
edit - copy.
Edit - paste as a new layer on the image.
Place it right at the bottom.
Effects - 3D Effects - drop shadow - setting is right.
11.
Activate the tube HappyEaster -
edit - copy.
Edit - paste as a new layer on the image.
Place it right at the top in the frame.
Effects - 3D Effects - drop shadow - setting is right.
12.
Activate the tube FanetteDesign_Elem19 -
edit - copy.
Edit - paste as a new layer on the image.
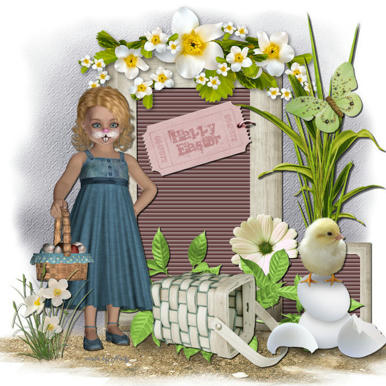
Place it right on both frames - see example.
Effects - 3D Effects - drop shadow - setting is right.
Layers - arrange - down - under raster 5.
13.
Activate the tube 15 -
edit - copy.
Edit - paste as a new layer on the image.
Place it right above the little frame.
Effects - 3D Effects - drop shadow - setting is right.
14.
Activate the tube CAI.SCR.MINI-DES OEUFS POUR PASQUES EL.6 -
edit - copy.
Edit - paste as a new layer on the image.
Image - free rotate - with this setting.

Place it right above on the plant.
Effects - 3D Effects - drop shadow - setting is right.
15.
Layers - new raster layer - set your watermark into the image.
Layers - merge - merge all visible layers.
File - export - PNG Optimizer.
Ready is the tag
I hope you like this tutorial.
greetings Emmy
Thank you Nelly for testing.


tutorial
written 27-01-2016
|