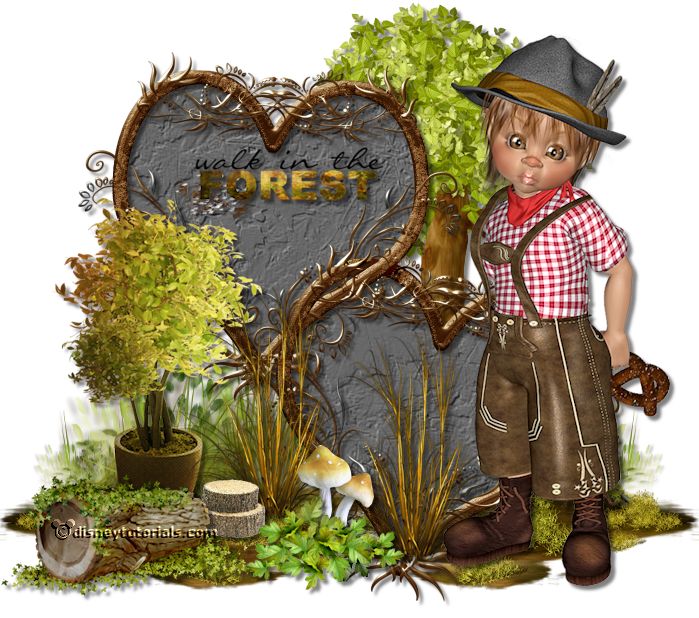
1.
File - open new transparent image 700x700.
Set the foreground color at #5f5f5f.
Activate the tube gras - edit - copy.
Edit - paste as a new layer on the image.
Place this almost at the bottom - see example.
Layers - duplicate.
Image - mirror.
Layers - merge - merge down.
2.
Activate the tube AH_ele7 -
edit - copy.
Edit - paste as a new layer on the image.
Layers - new raster layer.
Activate free hand selection tool - from point to point - and make a
selection - as below.
Fill the selection with the background color.
Selections - select none.
Layers - arrange - move down.
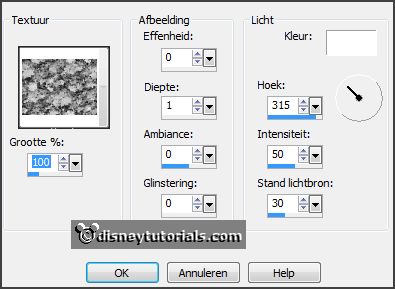
Effects - Texture effects - Texture - Natte herfst....corel 15_048 - with this
setting.
Activate the top layer.
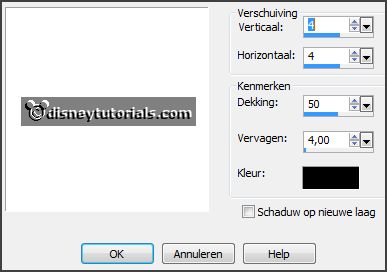
Effects - 3D Effects - drop shadow -
with this setting.
Layers - merge - merge down.
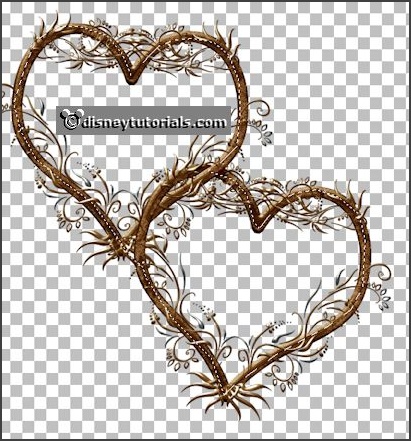
3.
Activate the tube Starlight Design_Deepest in the Forest_elements (10) -
edit - copy.
Edit - paste as a new layer on the image.
Place this as in the example.
Layers - arrange - move down.
Effects - 3D Effects - drop shadow - setting is right.
Activate the top layer.
4.
Activate the tube Manue_Fall_elements44 -
edit - copy.
Edit - paste as a new layer on the image.
Place this to the left side - see example.
Effects - 3D Effects - drop shadow - setting is right.
5.
Activate the tube Cajoline_walkintheforest_el50 -
edit - copy.
Edit - paste as a new layer on the image.
Place this under the top heart - see example.
Effects - 3D Effects - drop shadow - setting is right.
6.
Activate the tube Starlight Design_Deepest in the Forest_elements (62) -
edit - copy.
Edit - paste as a new layer on the image.
Place this left at the bottom - see example.
Effects - 3D Effects - drop shadow - setting is right.
7.
Activate the tube CAJ.SCR.FR KIT AUTUMN GARDEN 1 -
edit - copy.
Edit - paste as a new layer on the image.
Place this near the element (62) right.
Layers - arrange - move down.
Effects - 3D Effects - drop shadow - setting is right.
8.
Activate the tube cajoline_walkintheforest_el57 -
edit - copy.
Edit - paste as a new layer on the image.
Place this in the middle at the bottom - see example.
Effects - 3D Effects - drop shadow - setting is right.
9.
Activate the tube StarLightDesigns_DeepInTheForest_elements (46) -
edit - copy.
Edit - paste as a new layer on the image.
Place this in the middle at the bottom - see example.
Effects - 3D Effects - drop shadow - setting is right.
10.
Activate the tube cajoline_walkintheforest_titre@ -
edit - copy.
Edit - paste as a new layer on the image.
Effects - 3D Effects - drop shadow - setting is right.
Place this in the middle of the top heart - see example.
11.
Activate raster 5.
Layers - duplicate.
Layers - arrange - move up - set this above raster 6.
Place this in the middle of the bottom heart.
12.
Activate the tube knuddelinos_46 -
edit - copy.
Edit - paste as a new layer on the image.
Effects - 3D Effects - drop shadow - setting is right.
Layers - new raster layer - put your watermark into the image.
Layers - merge - merge all visible layers.
File - export - PNG Optimizer.