This
Tutorial is copyrighted to the Tutorial Writer, © Emmy Kruyswijk.
This Tutorial may not be forwarded, shared or otherwise placed on any Web Site
or group without written
permission from Emmy Kruyswijk.
Please respect my work and from others, don't change the file names.
Do you want to link my lessons?
Please send me a mail.
Needing:
I use parts of different scrapkits.
The poser tube is a buy tube of me. Is not by the material. You can buy it
here.
Before you begins.......
Open the tubes in PSP.
Material

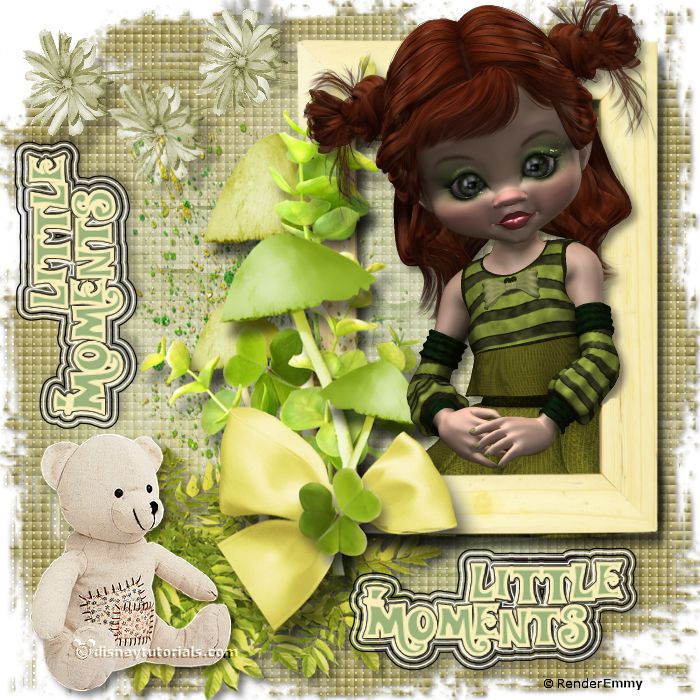
Little Moments

1.
Open new transparent image 700x700.
Open masker1 - copy - paste on the image.
2.
Open mask - copy - paste on the image.
Open RR_EK_PotOGold_Cluster - copy - paste on the image.
Place it a little to right.
3.
Open flowers - copy - paste on the image.
Place it left at the top.
Layers - arrange - move down.
4.
Open AS(82) - copy - paste on the image.
Place it left at the bottom - see example.
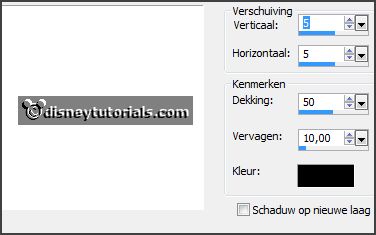
Give a drop shadow with this setting.

Activate the top layer.
5.
Open Tekst - copy - paste on the image.
Place it right at the bottom.
Give the same drop shadow.
Layers - duplicate - image - free rotate - left 90.
6.
Open el47 - copy - paste on the image.
Place it right at the bottom.
Give the same drop shadow.
Activate raster5.
7.
Open poser tube - copy - paste on the image.
Place it at the right side at the top.
Erase the part, what comes under - and right side of the frame .
Layers - duplicate.
Layers - arrange - move up.
Give the same drop shadow.
Erase under - and right side of the frame - see example.
Activate the top layer.
8.
Layers - new raster layer - set your watermark into the image.
Layers - merge - merge all visible layers.
File - export - PNG Optimizer.
Ready is the tag
I hope you like this tutorial.
greetings Emmy
Thank you Ingrid for testing.