This
Tutorial is copyrighted to the Tutorial Writer, © Emmy Kruyswijk.
This Tutorial may not be forwarded, shared or otherwise placed on any Web Site
or group without written
permission from Emmy Kruyswijk.
Please respect my work and from others, don't change the file names.
Do you want to link my lessons?
Please send me a mail.
Needing:
I use parts of different scrapkits.
The poser tube is from me. My site you can find
here.
If you
use my tubes put than the copyright render at the image.
Before you begins.......
Open the tubes in PSP.
Material

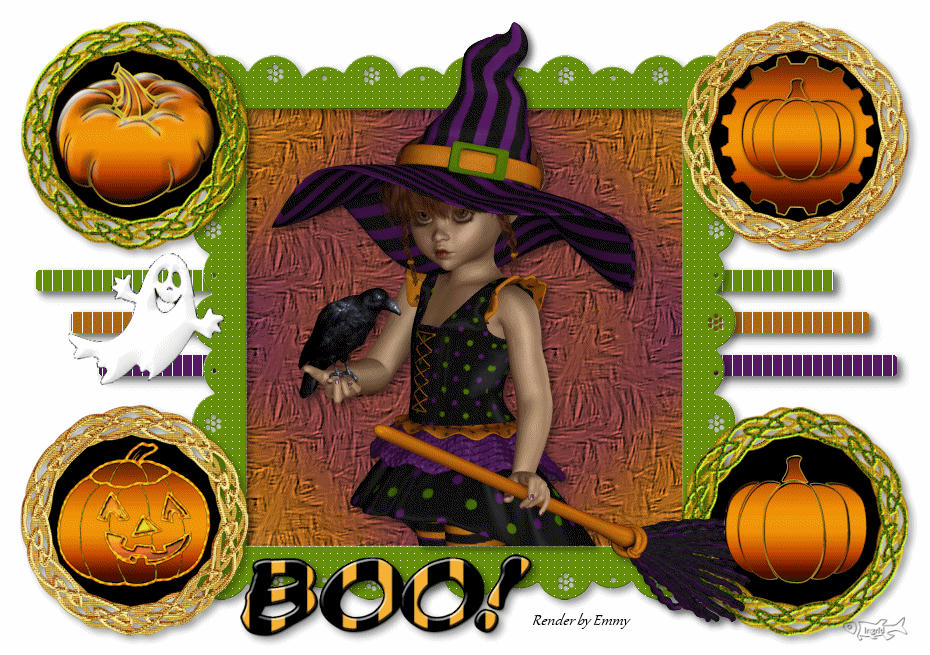
BOO!!!
1.
Open new transparent image 900x625.
Open e34_ks - copy - paste on the image.
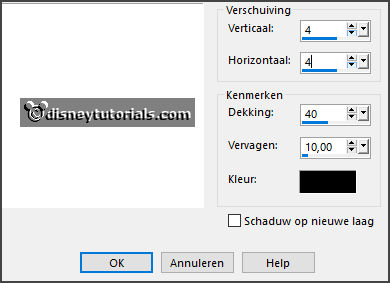
Give a drop shadow - with this setting.
2.
Open bgr.frame - copy - paste on the image.
Layers - arrange - down.
Activate the top layer.
3.
Open e82_ks - copy - paste on the image.
Place it left at the top.
Layers - duplicate.
Image - mirror - image - flip.
Layers - merge - merge down.
4.
Open e81_ks - copy - paste on the image.
Place it left at the bottom.
Layers - duplicate.
Image - mirror - image - flip.
Layers - merge - merge down and 1 more time.
Go with the magic wand in the round frames.
Layers - new raster layer.
Selections modify - expand 5 pixels.
Fill it with the color black.
Layers - arrange - down.
Activate the top layer.
Give the same drop shadow.
5.
Open halloween_night_bottlecap_rainy - copy - paste on the image.
Place it in the right upper circle.
6.
Open halloween_night_onemorepumpkin_rainy - copy - paste on the image.
Place it in the right bottom circle.
7.
Open halloween_night_pumpkin2_rainy - copy - paste on the image.
Place it in the left upper circle.
8.
Open halloween_night_lightedpumpkin_rainy - copy - paste on the image.
Place it in the left bottom circle.
Activate raster 2.
9.
Open de poser tube - copy - paste on the image.
Place it down.
Activate the eraser and erase the part what's come under the frame.
Layers - duplicate.
Give the same drop shadow.
Layers - arrange - move up - above raster 3.
Make thee vector layer active.
10.
Open E-strepen - copy - paste on the image.
Give the same drop shadow.
11.
Open halloween_night_boo_rainy - copy - paste on the image.
Place it almost in the middle at the bottom.
Give the same drop shadow.
Layers - new raster layer - set your watermark into the image.
12.
Open halloween26 - copy - paste on the image.
Place it at the left side in the middle.
Layers - duplicate.
Place it at the right side in the middle.
Lock the top layer.
Edit - copy merged.
13.
Open Animation Shop - copy - paste on the image.
Back in PSP.
14.
Open the top layer and lock the layer below.
Edit - copy merged.
In Animation shop - paste after active frame.
Edit - select all.
Animation - frame properties - put it on 100.
15.
File - save as - click 3 times at next and than finish.
Ready is the tag
I hope you like this tutorial.
greetings Emmy
Thank you Ingrid for testing.