This
Tutorial is copyrighted to the Tutorial Writer, © Emmy Kruyswijk.
This Tutorial may not be forwarded, shared or otherwise placed on any Web Site
or group without written
permission from Emmy Kruyswijk.
Please respect my work and from others, don't change the file names.
Do you want to link my lessons?
Please send me a mail.
Needing:
I use parts of different scrapkits.
The poser tubes is are buy tube of me. Is not by the material. You can buy it
here.
If you use my tubes put the copyright on it.
Before you begins.......
Open the tubes in PSP.
Material

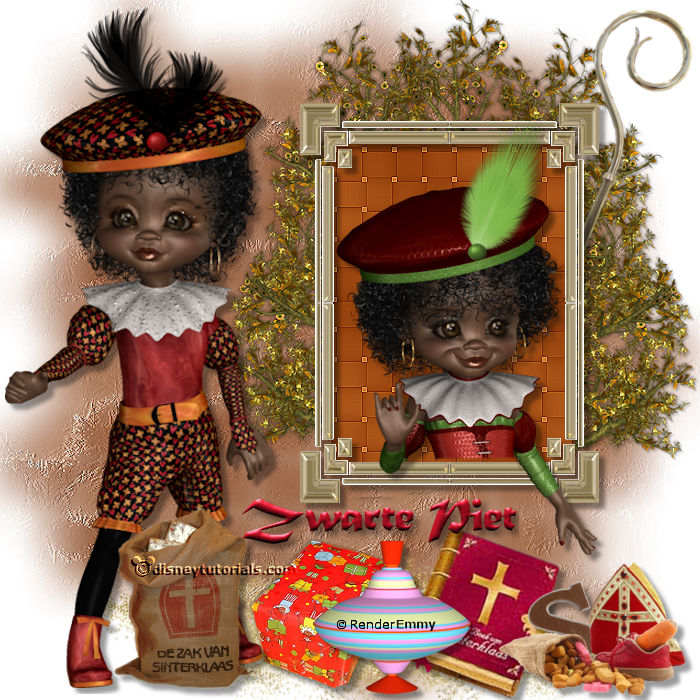
Zwarte Piet

1.
Open new transparent image 700x700.
Open masker - copy - paste on the image..
2.
Open bomen - copy - paste on the image..
Place it up and to the right.
3.
Open frame - copy - paste on the image..
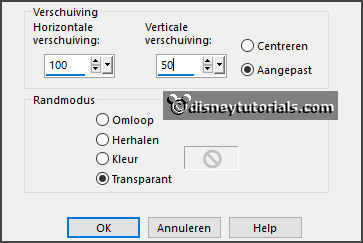
Effects - Image effects - offset - with this setting.

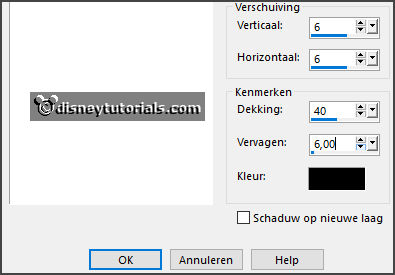
Give a drop shadow - with this setting.

4.
Open bgr.frame - copy - paste on the image..
Place it on the frame.
Layers - arrange - down.
5.
Open 1 van de poser tubes - copy - paste on the image..
Place it in the frame.
Activate the eraser - erase all what's comes under the frame - except the
arm.
Give the same drop shadow.
Layers - duplicate.
Erase the piece on the bottom frame.
6.
Open staf - copy - paste on the image..
Place it right at the top.
Give the same drop shadow.
Activate the top layer.
7.
Open el 1- copy - paste on the image..
Place it at the bottom.
8.
Open de andere poser tube - copy - paste on the image..
Place it at the left side.
Give the same drop shadow.
9.
Open de zak van sinterklaas - copy - paste on the image..
Place it left at the bottom.
Give the same drop shadow.
10.
Open HD-pakje - copy - paste on the image..
Place it left/middle at the bottom.
Give the same drop shadow.
11.
Open sint boek - copy - paste on the image..
Place it in the middle at the bottom.
Give the same drop shadow.
12.
Open spielzeug 27 - copy - paste on the image..
Place it in the middle at the bottom.
Give the same drop shadow.
13.
Open cluster-2-sint - copy - paste on the image..
Place it right at the bottom.
Give the same drop shadow.
14.
Open tekst - copy - paste on the image..
Place it under the frame.
15.
Layers - new raster layer - set your watermark into the image.
Layers - merge - merge all visible layers.
File - export - PNG Optimizer.
Ready is the tag
I hope you like this tutorial.
greetings Emmy
Thank you Ingrid for testing.