Selections – select none.
Activate the top layer.
Layers – merge – merge down and 1 more time.
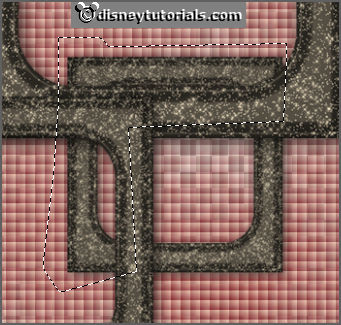
Click with the magic wand in the middle of the frames.
4.
Layers – new raster layer.
Set the foreground to #ffffff and the background to #c31516 – make a gradient
sunburst with this setting.
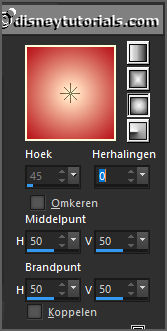
Fill the selection with the gradient.
Layers – arrange – down.
Selections – select none.
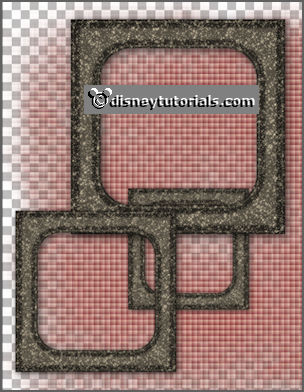
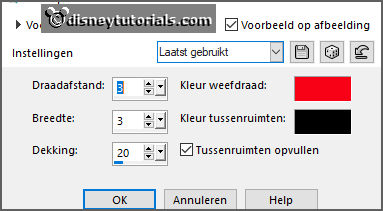
Effects – texture effects – Weave – with his setting.
Activate the top layer.
5.
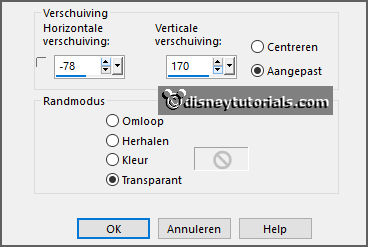
Open masker – copy - paste on the image.
Place it on the frame – see example.
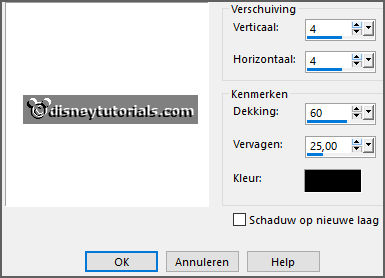
Give the same drop shadow.
6.
Open rand – copy - paste on the image.
Place it in the upper frame.
7.
Open Mascarade_Butterfly_Scrap and Tubes – copy - paste on the image.
Place it right at top of the upper frame.
Give the same drop shadow.
Layers – duplicate.
Image – resize format 65% - all layers not checked.
Place it left under in the bottom frame - see example.
8.
Open DM_element(31) – copy - paste on the image.
Place it in the little frame.
Give the same drop shadow.
9.
Open Mascarade_Charm_Scrap and Tubes – copy - paste on the image.
Place it under the bottom frame - see example.
Layers – arrange – down - under raster kopie(2) of Raster2.
Erase the chain.
Give the same drop shadow.
Activate the top layer.
10.
Open je poser tube – copy - paste on the image.
Place it at the right side.
Give the same drop shadow.
11.
Open DM_element1 – copy - paste on the image.
Place it left at the top.
Give the same drop shadow.
12.
Open WA-Emmy – copy - paste on the image.
Place it right at the top.
143.
Layers - new raster layer - set your watermark into the image.
Layers - merge - merge all visible layers.
File - export - PNG Optimizer.
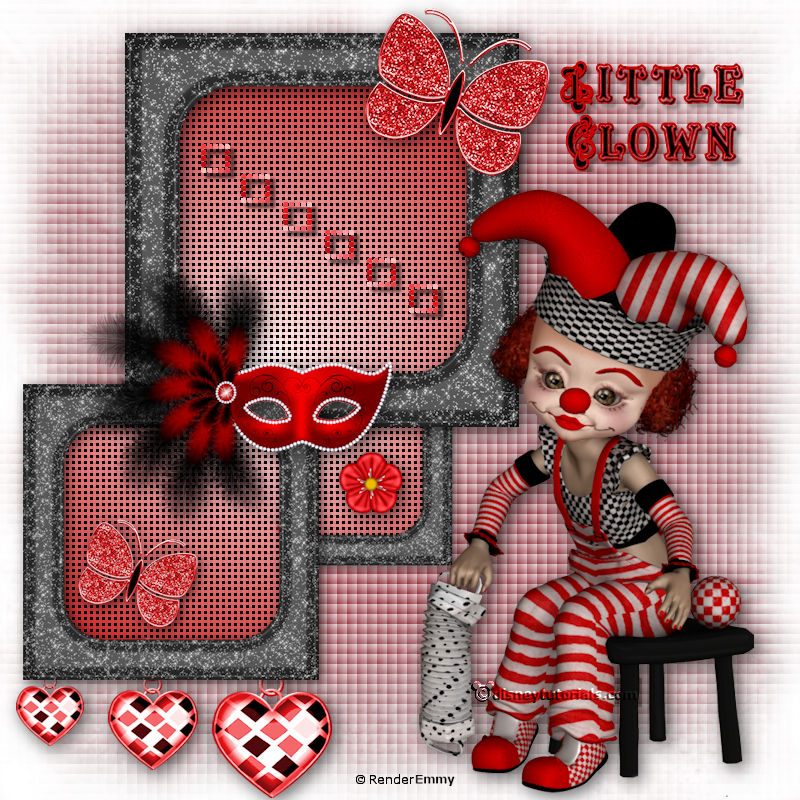
Ready is the tag
I hope you like this tutorial.
greetings Emmy