
This
Tutorial is copyrighted to the Tutorial Writer, © Emmy Kruyswijk.
This Tutorial may not be forwarded, shared or otherwise placed on any Web Site
or group without written
permission from Emmy Kruyswijk.
Please respect my work and from others, don't change the file names.
Do you want to link my lessons?
Please send me a mail.
Needing:
I use parts of different scrapkits.
The poser tube is a buy tube of me. Is not by the material. You can buy it
here.
Before you begins.......
Open the tubes in PSP
Material

Pierrot
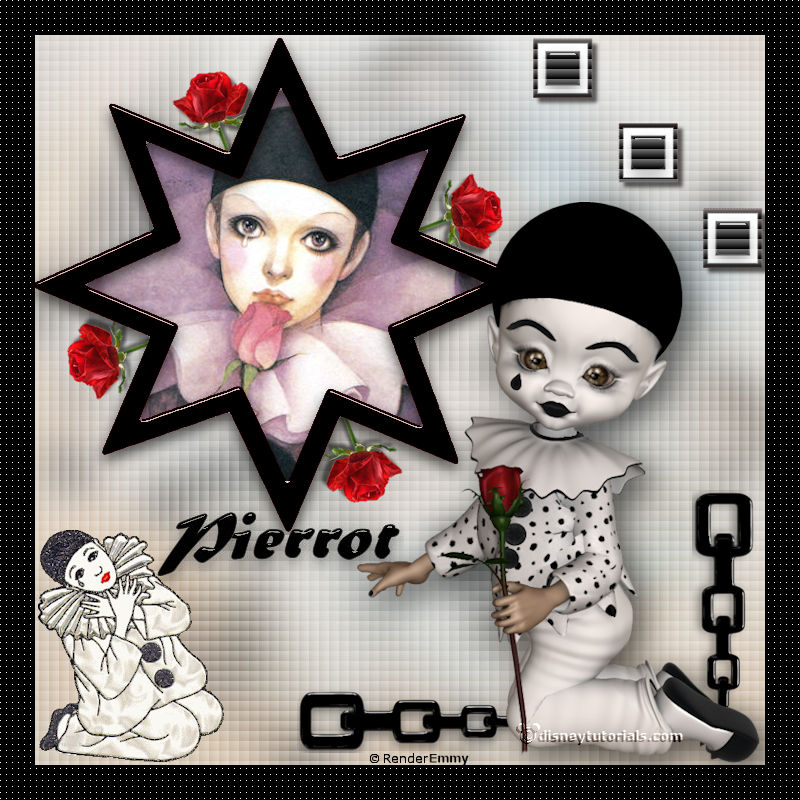
1.
Open new transparent image 800x800.
Fill this layer with the color black.
Selections – select all.
Layers – new raster layer.
2.
Open Pierrot1 – copy - paste in selection.
Adjust – blur – Gaussian blur – radius 20.
Selections – modify – contract 35 pixels.
Selections – invert – click on the delete key.
Selections – invert.
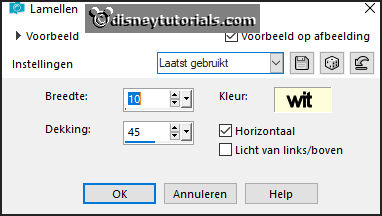
Effects – Texture effects – Blinds – with this setting.
3.
Layers – duplicate.
Image – free rotate – with this setting.
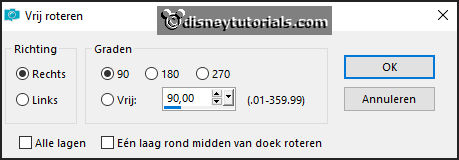
Set the opacity of this layer to 50.
Layers – merge – merge down.
Activate the bottom layer.
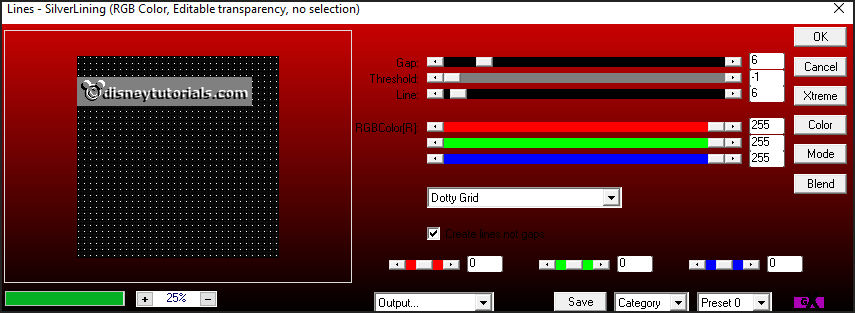
Effects – Pluag-inns – AP01 (Innovations) – Lines – SilverLining – with this
setting.
Activate the top layer.
4.
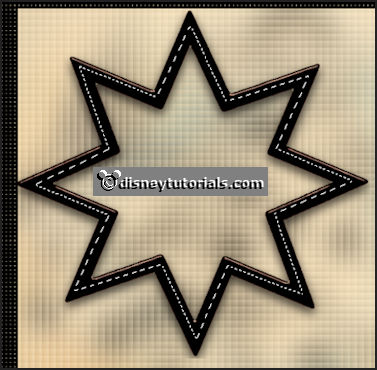
Open sterEmmy – copy - paste on the image.
Place it left at the top of the square.
Selection tool – free hand selection – punt tot punt – and make a
selection – as below.
5.
Open pierrot - copy - paste on the image.
Place it good on the star.
Selections – invert – click on the delete key.
Selections – select none.
Layers – arrange – down.
6.
Open rozen - copy - paste on the image.
Place this as in the example.
Layers – arrange – down.
Activate the top layer.
7.
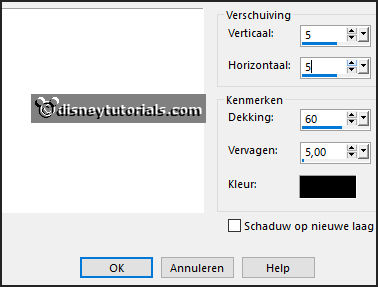
Open decoEmmy22a - copy - paste on the image.
Place it right at the top.
Effects – 3D effects – drop shadow – with this setting.
8.
Open pierrot2 - copy - paste on the image.
Place it left at the bottom.
9.
Open WA-Emmy - copy - paste on the image.
Place it under the star.
10.
Open decoEmmy15 - copy - paste on the image.
Place it in the middle at the bottom – see example.
Layers – duplicate.
Image - free rotate – setting is right.
Place it at the right side at the bottom.
11.
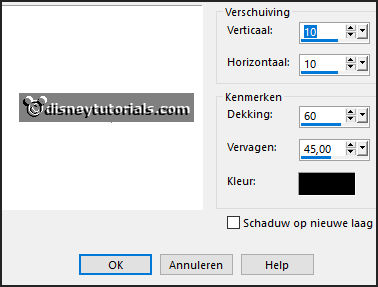
Open de poser tube - copy - paste on the image.
Place it right at the bottom. – see example.
Effects – 3D effects – drop shadow – with this setting.
14.
Layers - new raster layer - set your watermark into the image.
Layers - merge - merge all visible layers.
File - export - PNG Optimizer.
Ready is the tag
I hope you like this tutorial.
greetings Emmy