This
Tutorial is copyrighted to the Tutorial Writer, © Emmy Kruyswijk.
This Tutorial may not be forwarded, shared or otherwise placed on any Web Site
or group without written
permission from Emmy Kruyswijk.
Please respect my work and from others, don't change the file names.
Do you want to link my lessons?
Please send me a mail.
Needing:
I use parts of different scrapkits.
If you use my tubes, please use my copyright render.
Before you begins.......
Open the tubes in PSP
Material

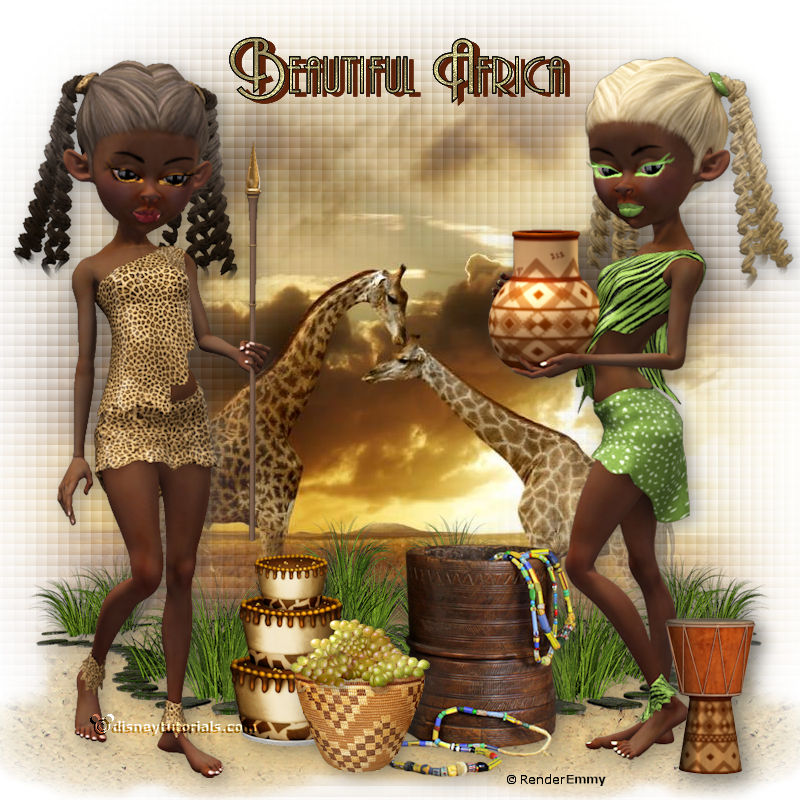
Beautiful Africa

1.
Open new transparent image 800x800.
2.
Open Macha-girafes-250309 – copy - paste on the image.
Adjust – blur – Gaussian blur – radius at 40.
Layers – duplicate.
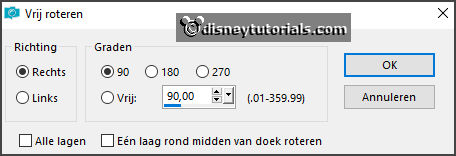
Image – free rotate – with this setting.

Set the opacity of this layer on 50.
Layers – merge – merge down.
Edit – paste (stays in memory) as a new layer.
3.
Open zand – copy - paste on the image.
Place it to the bottom.
Layers – duplicate – image – mirror.
Layers – merge – merge down.
4.
Open Gold and Dimonds of Afrika (38) – copy - paste on the image.
Place it to the bottom – see example.
Layers – duplicate – image – mirror.
Layers – merge – merge down.
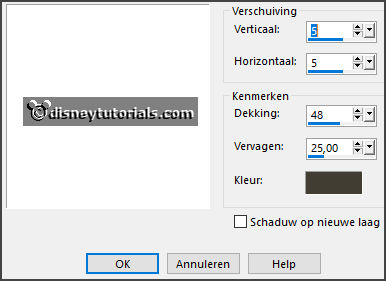
Effects – 3D effects – drop shadow – with this setting.

5.
Open mavka76 – copy - paste on the image.
Place it to the left side.
Give the same drop shadow.
6.
Open mavka77 – copy - paste on the image.
Place it at the right side.
Give the same drop shadow.
7.
Open calguisdeco03062012 – copy - paste on the image.
Place this left from mavka – see example.
Give the same drop shadow.
8.
Open taarten – copy - paste on the image.
Place this right from mavka – see example.
Give the same drop shadow.
9.
Open NLD Basket with vines – copy - paste on the image.
Place this in the middle at the bottom – see example.
Give the same drop shadow.
10.
Open text – copy - paste on the image.
Place this in the middle at the top.
11.
Open african – copy - paste on the image.
Place this right at the bottom.
Give the same drop shadow.
12.
Layers - new raster layer - set your watermark into the image.
Layers - merge - merge all visible layers.
File - export - PNG Optimizer.
Ready is the tag
I hope you like this tutorial.
greetings Emmy