This
Tutorial is copyrighted to the Tutorial Writer, © Emmy Kruyswijk.
This Tutorial may not be forwarded, shared or otherwise placed on any Web Site
or group without written
permission from Emmy Kruyswijk.
Please respect my work and from others, don't change the file names.
Do you want to link my lessons?
Please send me a mail.
Needing:
I use parts of different scrapkits.
If you use my tubes, please use my copyright render.
Before you begins.......
Open the tubes in PSP
Material

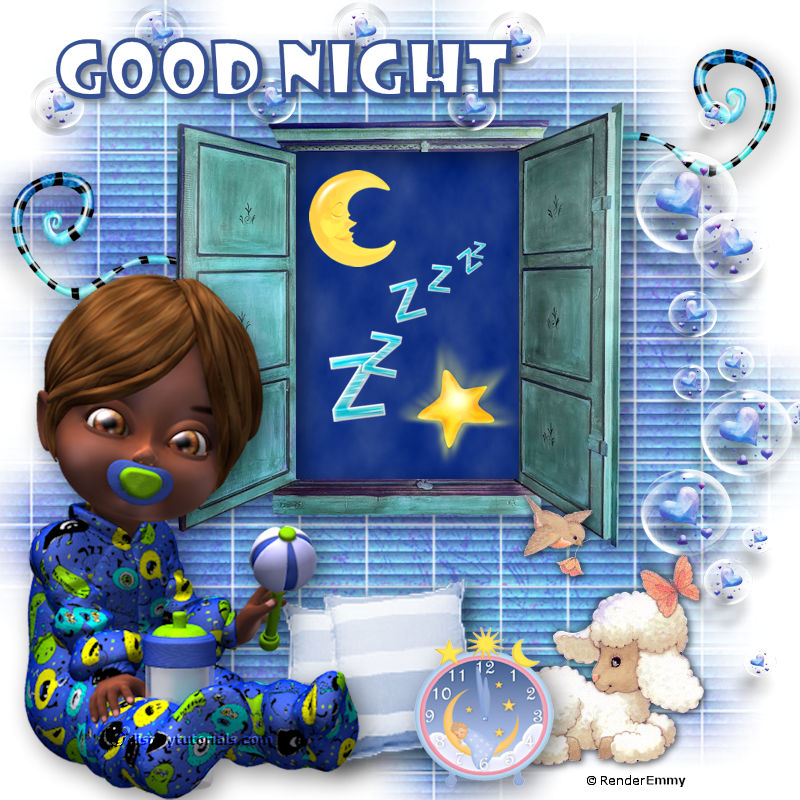
Goodnight

1.
Open new transparent image 800x800.
Open masker – copy - paste on the image.
2.
Open RDdreamland¬_element(8) – copy - paste on the image.
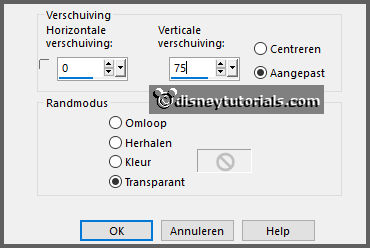
Effects – image effects – offset – with this setting.

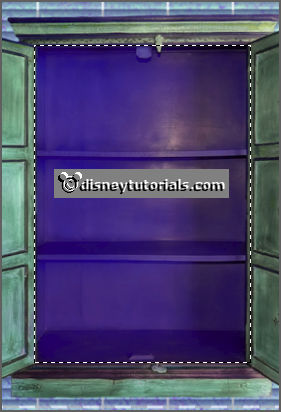
Activate selection tool and make a selection as below.

Click at the delete key.
Selection – select none.
3.
Open background - copy - paste on the image.
Place this exactly on the window.
Layers – arrange – down.
4.
Open RDdreamland¬_element(117) – copy - paste on the image.
Place it right at the top – see example.
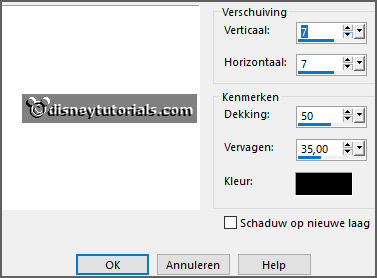
Effects – 3D effects – drop shadow – with this setting.

Layers – arrange – down.
Layers – duplicate – image – mirror.
Place it such as in the example.
Activate the top layer.
Give the same drop shadow.
5.
Open RDdreamland¬_element(82) – copy - paste on the image.
Place it right under in the window.
6.
Open RDdreamland¬_element(57) – copy - paste on the image.
Place it left at the top in the window.
7.
Open RDdreamland¬_element(61) – copy - paste on the image.
Place it in the middle in the window.
8.
Open WA-Emmy – copy - paste on the image.
Place it left at the top.
9.
Open 82 – copy - paste on the image.
Place it right at the top.
10.
Open kussens – copy - paste on the image.
Place it about in the middle at the bottom.
Give the same drop shadow.
11.
Open lammetje – copy - paste on the image.
Place it right at the bottom.
12.
Open klok – copy - paste on the image.
Place it for the 2 others at the bottom.
Give the same drop shadow.
13.
Open kit – copy - paste on the image.
Place it left at the bottom.
Give the same drop shadow.
14.
Layers - new raster layer - set your watermark into the image.
Layers - merge - merge all visible layers.
File - export - PNG Optimizer.
Ready is the tag
I hope you like this tutorial.
greetings Emmy