1.
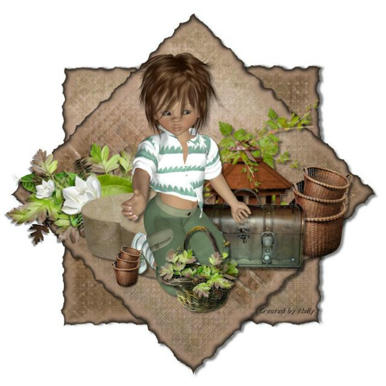
File - open new transparent image 700x700.
Activate the background florju_memories_paper(9) -
edit - copy.
Edit - paste as a new layer on the image.
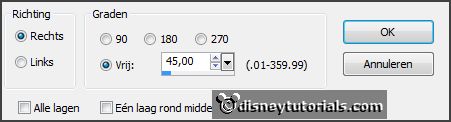
2.
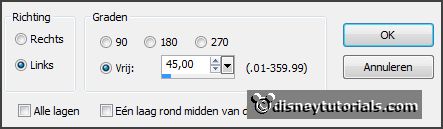
Image - free rotate - with this setting.
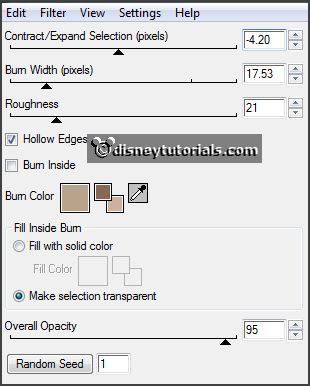
Effects - plug-ins - Alien Skin Xenoflex 2.0 - Burnt Edges -
with this setting - click OK.
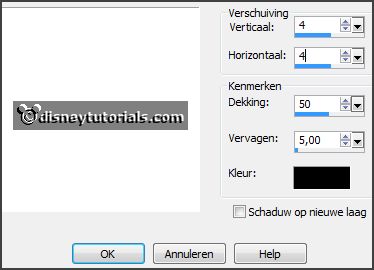
Effects - 3D - Effects - drop shadow -
with this setting.
3.
Layers - duplicate.
Image - free rotate -
with this setting.
Layers - arrange - move down.
Activate the top layer.
4.
Activate the tube florju_memories_elements(65) -
edit - copy.
Edit - paste as a new layer on the image.
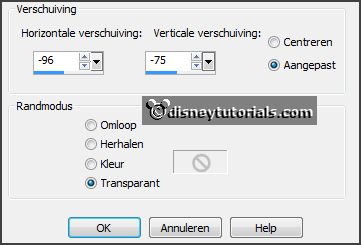
Effects - Image effects - offset -
with this setting.
Effects - 3D - Effects - drop shadow - setting is right.
5.
Activate the tube knuddelinos_83 -
edit - copy.
Edit - paste as a new layer on the image.
Activate move tool - set this on the heart box - see example.
Effects - 3D - Effects - drop shadow - setting is right.
6.
Activate the tube florju_memories_elements (7) -
edit - copy.
Edit - paste as a new layer on the image.
Layers - arrange - move down.
Effects - 3D - Effects - drop shadow - setting is right.
Place this so, that the hand is on the suitcase -
see example.
7.
Activate the tube florju_memories_elements (3) -
edit - copy.
Edit - paste as a new layer on the image.
Place this near the arm van de tube.
Layers - arrange - move down.
Effects - 3D - Effects - drop shadow - setting is right.
8.
Activate the tube florju_memories_elements (55) -
edit - copy.
Edit - paste as a new layer on the image.
Place this right near the lantern.
Effects - 3D - Effects - drop shadow - setting is right.
9.
Layers - duplicate.
Image - resize 45% - all layers not checked.
Layers - arrange - bring to top.
Place this between the legs of the tube.
10.
Activate the tube florju_memories_elements (8) -
edit - copy.
Edit - paste as a new layer on the image.
Place this in the middle at the bottom.
11.
Activate the tube cluster -
edit - copy.
Edit - paste as a new layer on the image.
Place this at the left side in the middle -
see example.
Layers - arrange - move down - set this above raster 1.
12.