1.
File - open new transparent image 700x700.
Activate the background -
edit - copy.
Edit - paste as a new layer on the image.
Image - resize 125% - all layers not checked.
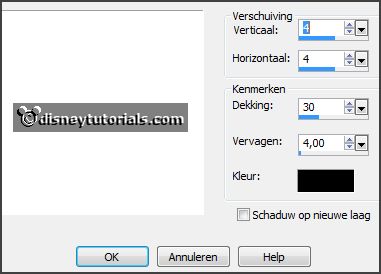
Effects - 3D Effects - drop shadow -
with this setting.
2.
Activate the tube frame -
edit - copy.
Edit - paste as a new layer on the image.
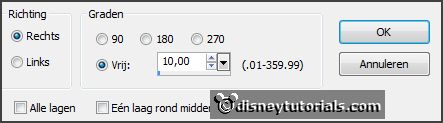
Image - free rotate - with this setting.
Effects - 3D Effects - drop shadow -
setting is right.
3.
Activate the tube mask -
edit - copy.
Edit - paste as a new layer on the image.
Layers - arrange - move down.
Activate move tool - move this in the frame.
4.
Activate the tube Element3 -
edit - copy.
Edit - paste as a new layer on the image.
Place it left at the top - see example.
Effects - 3D Effects - drop shadow -
setting is right.
5.
Activate the tube flowers -
edit - copy.
Edit - paste as a new layer on the image.
Place it left under the branch - see example.
Effects - 3D Effects - drop shadow -
setting is right.
6.
Activate the tube spring 35 -
edit - copy.
Edit - paste as a new layer on the image.
Place it left under the flowers - see example.
Effects - 3D Effects - drop shadow -
setting is right.
Layers - duplicate.
Image - resize 75% - all layers not checked.
Place it right of the other - see example.
7.
Activate the tube 20 -
edit - copy.
Edit - paste as a new layer on the image.
Place it left under the spring tube - see example.
Effects - 3D Effects - drop shadow -
setting is right.
8.
Activate the poser tube wiccan -
edit - copy.
Edit - paste as a new layer on the image.
Place it in the middle - see example.
Effects - 3D Effects - drop shadow -
setting is right.
9.
Activate the tube el46 -
edit - copy.
Edit - paste as a new layer on the image.
Place it right at the bottom - see example.
Effects - 3D Effects - drop shadow -
setting is right.
10.
Activate the tube spring 57 -
edit - copy.
Edit - paste as a new layer on the image.
Place it right at the bottom - under the vase - see example.
Effects - 3D Effects - drop shadow -
setting is right.
11.
Activate the tube bloem -
edit - copy.
Edit - paste as a new layer on the image.
Place it in the middle at the bottom - see example.
Effects - 3D Effects - drop shadow -
setting is right.
Layers - duplicate.
Image - resize 50% - all layers not checked.
Place it right - near the other flower.