1.
File - open new transparent image 700x700.
Set the foreground color at #869cca and the background color at #3d5484.
Fill the layer with the foreground color.
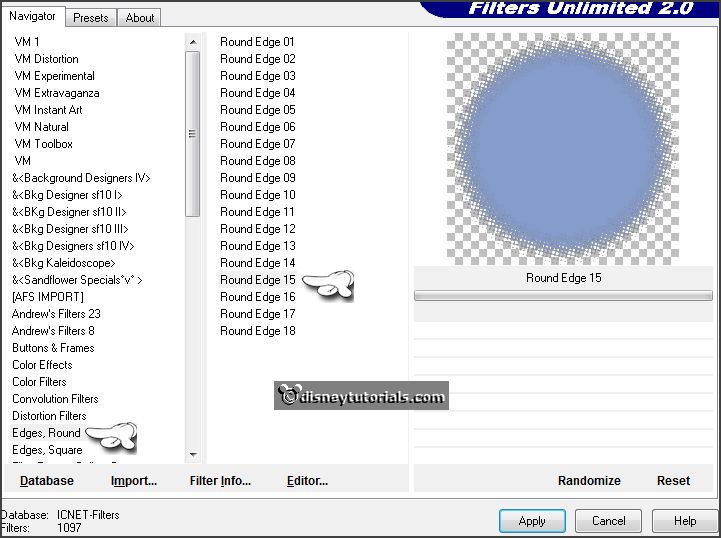
Effects - plug/ins - I.C.NET Software - Filters Unlimited 2.0 - Edges
Round - Round Edge 15 - click OK.
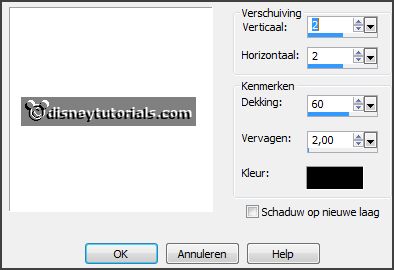
Effects - 3D Effects - drop shadow - with this setting.
2.
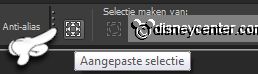
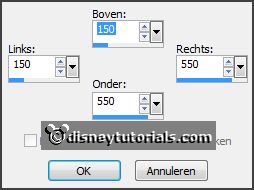
Activate selection tool - custom selection -
with this setting.
Layers - new raster layer.
Fill this with the background color.
Selections - select none.
3.
Activate the tube tekst - edit - copy.
Edit - paste as a new layer on the image.
Layers - merge - merge down.
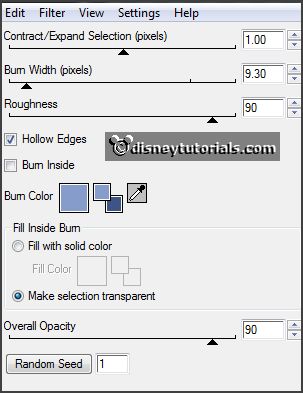
Effects - plug-ins - Alien Skin Xenoflex 2.0 - Burnt Edges -
with this setting - click OK.
Effects - 3D Effects - drop shadow - setting is right.
4.
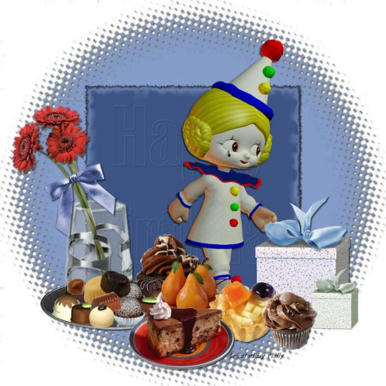
Activate the tube knuddelinos_44 -
edit - copy.
Edit - paste as a new layer on the image.
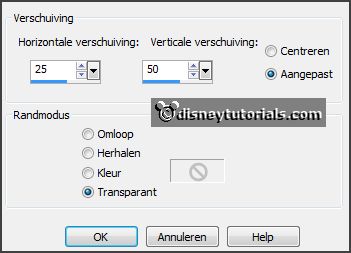
Effects - Image effects - offset -
with this setting.
Effects - 3D Effects - drop shadow - setting is right.
5.
Activate the tube Belscrap_HappyBirthday_El7 -
edit - copy.
Edit - paste as a new layer on the image.
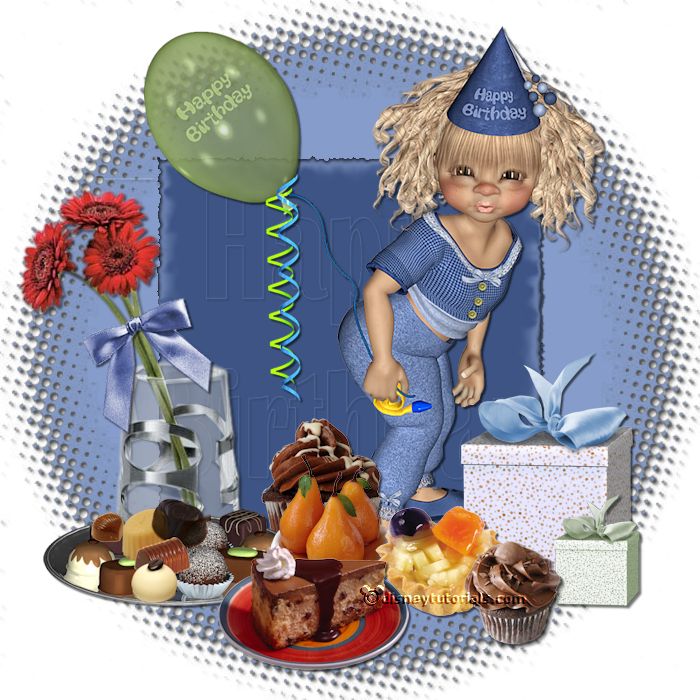
Activate move tool - place this right by the feet - see example.
Effects - 3D Effects - drop shadow - setting is right.
6.
Layers - duplicate.
Image - resize 50% - all layers not checked.
Place this right before the other packet.
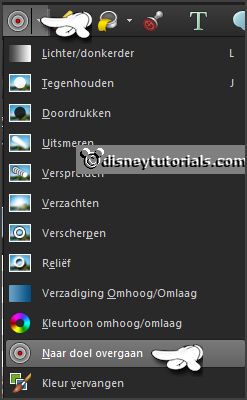
Change to Target - set the foreground color at #7d8e6c - and go over the packet.
7.
Activate the tube vase_24_bycrealinejullet2012 -
edit - copy.
Edit - paste as a new layer on the image.
Place this at the left side - at the bottom of the square.
Effects - 3D Effects - drop shadow - setting is right.
8.
Activate the tube strik -
edit - copy.
Edit - paste as a new layer on the image.
Place this on the flowers - see example.
Effects - 3D Effects - drop shadow - setting is right.
9.
Activate the tube cupcake1 -
edit - copy.
Edit - paste as a new layer on the image.
Place this left from the leg.
Effects - 3D Effects - drop shadow - setting is right.
10.
Activate the tube bonbons -
edit - copy.
Edit - paste as a new layer on the image.
Place this left at the bottom - before the vase -
see example.
Effects - 3D Effects - drop shadow - setting is right.
11.
Activate the tube 30 -
edit - copy.
Edit - paste as a new layer on the image.
Place this in the middle - right near the chocolate.
Effects - 3D Effects - drop shadow - setting is right.
12.
Activate the tube 23 -
edit - copy.
Edit - paste as a new layer on the image.
Place this near the pears.
Effects - 3D Effects - drop shadow - setting is right.
13.
Activate the tube cupcake -
edit - copy.
Edit - paste as a new layer on the image.
Place it between the pastry and the packet - see example.
Effects - 3D Effects - drop shadow - setting is right.
14.
Activate the tube 28 -
edit - copy.
Edit - paste as a new layer on the image.
Place this before the pears.
Effects - 3D Effects - drop shadow - setting is right.
15.