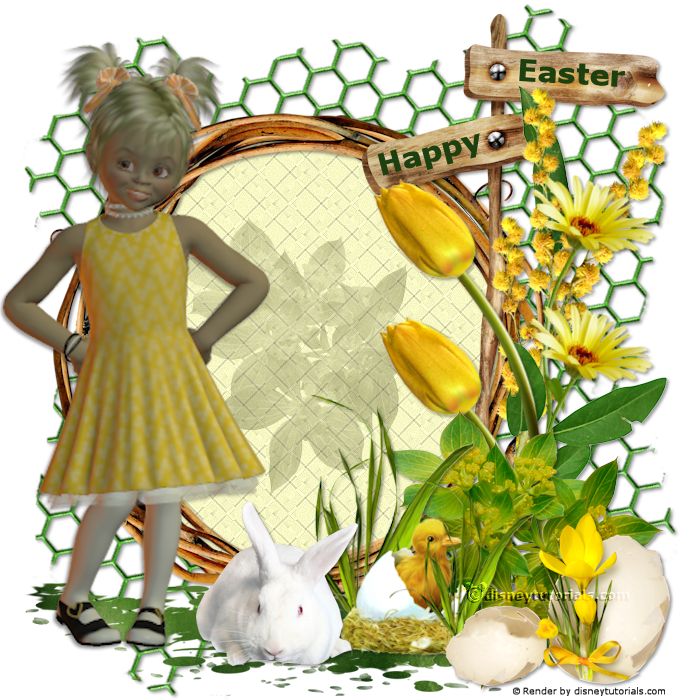
1.
File - open new transparent image 700x700.
Activate the tube Emmyraster -
edit - copy.
Edit - paste as a new layer on the image.
Activate move tool - move it up.
Layers - duplicate.
Image - mirror.
Image - flip.
Layers - merge - merge down.
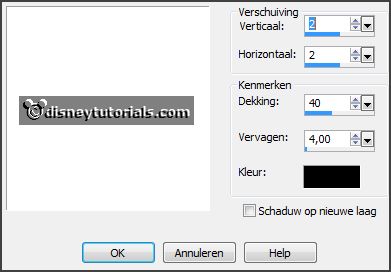
Effects - 3D Effects - drop shadow - with this setting.
2.
Activate the tube florju_springbunnies_elmt(64) -
edit - copy.
Edit - paste as a new layer on the image.
Place it left at the bottom - see example.
3.
Activate the tube florju_springbunnies_elmt(53) -
edit - copy.
Edit - paste as a new layer on the image.
Place it a little to the left.
Effects - 3D Effects - drop shadow -
setting is right.
4.
Activate the tube Emmybgr -
edit - copy.
Edit - paste as a new layer on the image.
Place it on the frame.
Layers - arrange - down.
Effects - Edge effects - enhance.
I delete the bgr, what came out the frame.
5.
Activate the tube florju_springbunnies_elmt(83) -
edit - copy.
Edit - paste as a new layer on the image.
Place it in the middle of the frame.
Set the blend mode to Luminance (Legacy) and the opacity to 32.
6.
Activate the top layer.
Activate the tube florju_springbunnies_elmt(72) -
edit - copy.
Edit - paste as a new layer on the image.
Place it right at the top -
see example.
7.
Set the background color to #1c400f and lock the foreground.
Set the mouse on the bottom sign -
see example.
Activate text tool - size 30 - Verdana - and write Happy - turn a little -
convert to raster layer.
Set the mouse on the top sign and write Easter -
convert to raster layer.
If all stays good -
Layers - merge - merge down and 1 more time.
Effects - 3D Effects - drop shadow -
setting is right.
8.
Activate the tube florju_springbunnies_elmt(26) -
edit - copy.
Edit - paste as a new layer on the image.
Image - mirror.
Place it to the right side -
see example.
Effects - 3D Effects - drop shadow -
setting is right.
9.
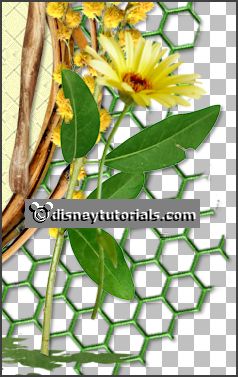
Activate the tube florju_springbunnies_elmt(40) -
edit - copy.
Edit - paste as a new layer on the image.
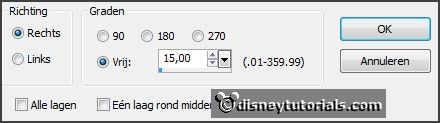
Image - free rotate - with this setting.
Place it at the right side - see below.
Layers - duplicate.
Place it up -
see example.
Layers - arrange - down.
Layers - merge - merge down.
Effects - 3D Effects - drop shadow -
setting is right
10.
Activate the tube florju_springbunnies_elmt(28) -
edit - copy.
Edit - paste as a new layer on the image.
Image - mirror.
Image - free rotate - setting is right.
Place it right at the bottom -
see example.
Layers - duplicate.
Place it up -
see example.
Layers - merge - merge down.
Effects - 3D Effects - drop shadow -
setting is right.
11.
Activate the tube florju_springbunnies_elmt(83) -
edit - copy.
Edit - paste as a new layer on the image.
Place it right at the bottom -
see example.
Effects - 3D Effects - drop shadow -
setting is right.
Erase the stem of the tulip
12.
Activate the tube florju_springbunnies_elmt(89) -
edit - copy.
Edit - paste as a new layer on the image.
Place it right at the bottom -
see example.
Effects - 3D Effects - drop shadow -
setting is right.
13.
Activate the tube florju_springbunnies_elmt(70) -
edit - copy.
Edit - paste as a new layer on the image.
Place it almost in the middle at the bottom - see example.
Effects - 3D Effects - drop shadow -
setting is right.
Layers - arrange - down.
14.
Activate the tube florju_springbunnies_elmt(76) -
edit - copy.
Edit - paste as a new layer on the image.
Place it
in the middle at the bottom -
see example.
Effects - 3D Effects - drop shadow -
setting is right.
15.
Activate the poser tube -
edit - copy.
Edit - paste as a new layer on the image.
Place it
left at the bottom -
see example.
Effects - 3D Effects - drop shadow -
setting is right.