1.
File - open new transparent image
700x500.
Set in the material palette the foreground color at #88b3e0 and
the background at #1f618d.
Activate flood fill tool -
fill the layer with the background color.
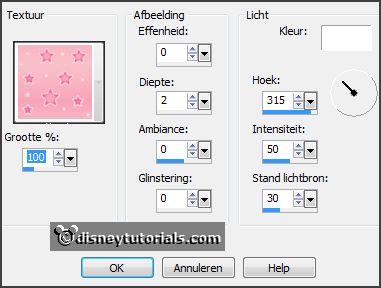
Effects - Texture effects - pattern-02 - with this setting.
2.
Layers - new raster layer.
Fill the layer with the foreground color.
Selections - select all.
Selections - modify - contract 5 pixels - click at the delete key.
Selections - select none.
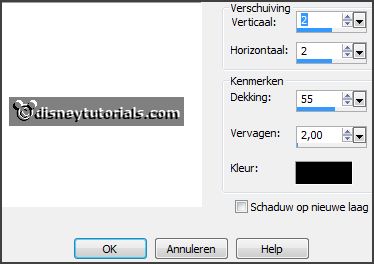
Effects - 3D Effects - drop shadow - with this setting.
3.
Activate the tube mentali-misted804 - edit - copy.
Edit - paste as a new layer on the image.
Layers - arrange - down.
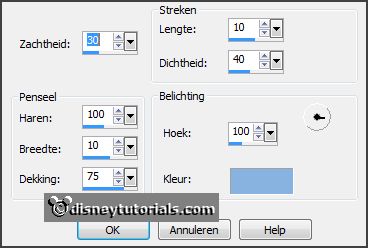
Effects - Art Media effects - brushes strokes - with this setting.
Edit - paste as a new layer on the image (stays in memory).
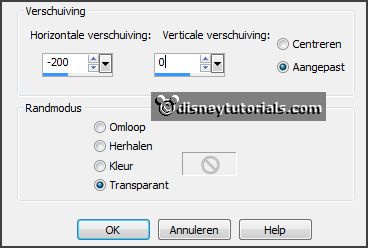
Effects - Image effects - offset - with this setting.
4.
Activate the top layer.
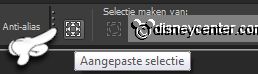
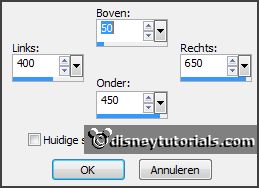
Activate selections tool- custom selection - with this setting.
Layers - new raster layer.
Fill the selection with the foreground color.
5.
Layers - new raster layer.
Fill the layers with the background color.
Selections - modify - contract 5 pixels - click at the delete key.
Selections - select none.
Effects - 3D Effects - drop shadow - setting is right.
6.
Activate the tube mmwit2 - edit - copy.
Edit - paste as a new layer on the image.
Activate move tool - set it in the frame - see example.
Layers - arrange - down.
Erase with the eraser the rest what's comes out the frame.
Set the opacity to 50.
7.
Activate the top layer.
Activate text tool - with this setting.

Write Prosit - convert to raster layer.
Effects - 3D Effects - drop shadow - setting is right.
Place it left at the bottom - see example.
8.
Change the text size in 72.
Write 2 - enter - write 0 - enter - write 1 - enter - write 5 - convert to raster layer.
Effects - 3D Effects - drop shadow - setting is right.
Place it in the middle and to the bottom - see example.
Activate the magic wand - with this setting - select the blue in the 2015.

Layers - duplicate and 2 more times.
9.
Activate raster 9.
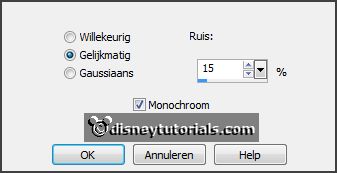
Adjust - add/remove noise - add noise - with this setting.
Activate copy of raster9 - repeat noise - set noise to 25.
Lock this layer.
Activate copy(2) of raster9 -
repeat noise - set noise to
35.
Lock this layer.
Activate copy(3) of raster9 -
repeat noise - set noise to
45.
Lock this layer.
Selections - select none.
10.
Layers - new raster layer - put your watermark into the image.
Edit - copy merged.
Open Animation Shop - paste as a new animation.
11.
Back in PSP.
Lock raster 9 and open copy of raster 9.
Edit - copy merged.
In AS - paste after active layer.
12.
Back in PSP.
Lock copy of raster 9 and open copy(2) of raster 9.
Edit - copy merged.
In AS -
paste after active layer
- be sure the last frame is always selected.
13.
Back in PSP.
Doe kopie(2) van raster 9 op slot en open kopie(3) van raster 9.
Edit - copy merged.
In AS -
paste after active layer
-
be sure the last frame is always selected.
Edit - select all.
14.
Open animation nieuwjaar-006.
Edit - select all.
Edit - copy.
Edit - paste in selected frames.
Place it in the frame - see example.
15.