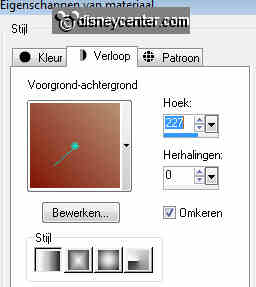
foreground color #9e3215 and background color #a8826b
1 Open new image 600x600.
2. Fill this with gradient radial.
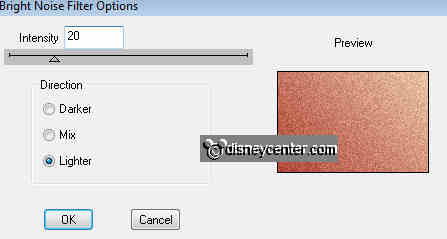
3. Effects - dsb flux - Bright Noise.
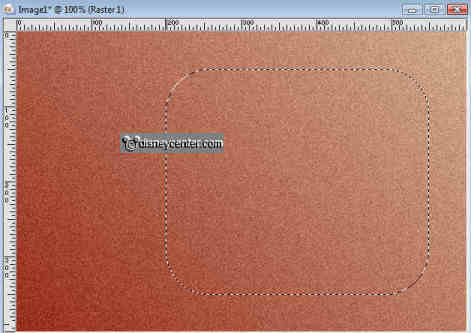
4. Go to selection tool - selection - rounded rectangle.
5. Start in the upper right corner and draw a rectangle of 350x300.
6. New raster layer - fill this with the foreground color.
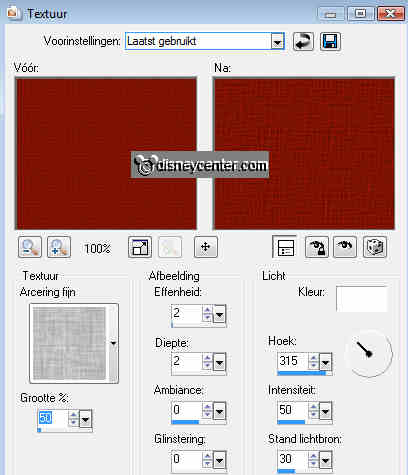
7. Effects - texture effects - texture - Hatch fine.
8. Effects -3D Effects - drop shadow - vert. and horz 5, opacity
70, blur 10.
9. Do the same shadow again, but with vert. and horz.
-5.
10. Duplicate this layer - Image - Resize 75%.
11. Place this in the middle, 50 pixels from the bottom.
12. opy the tube Robin Hood7 and paste as a new layer.
13. Place it on the left bottom.
14. Duplicate this layer. Stay at raster 3 (tube layer)
15. Effects - Distortion Effects - Wind from right 100.
16. Move this to the top
17. Stay at the copy layer of the tube and give the same drop shadow
as in point 8.
18. Copy the tube Stitches3 and paste as a new layer.
19. Place it in the middle of the large rectangle at the side.
20. Copy this layer and place this at the small rectangle in the
middle. see example.
21. Copy the bowl and paste as a new layer.
22. Give the same drop shadow as in point 8.
23. Copy the ribbon and paste as a new layer.
24. Layers - arrange - move down.
25. Duplicate this layer - image - mirror.
26. Place this near the other ribbon.
27. Copy the tube money and paste as a new layer.
28. Place this at the bottom right.
29. Give the same drop shadow as in point 8.
30. Duplicate this layer - image - resize 75%.
31. Move a little to the left.
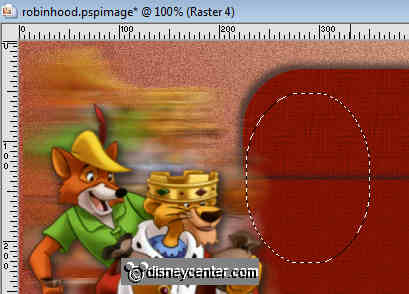
32. Stay at raster 2. Go to selection tool - selection
- ellipse.
33. Draw a ellipse- see below.
34. New raster layer - fill this with the background color.
35. Let selection stay.
36. Effects - CPK Design - Glass with this setting.

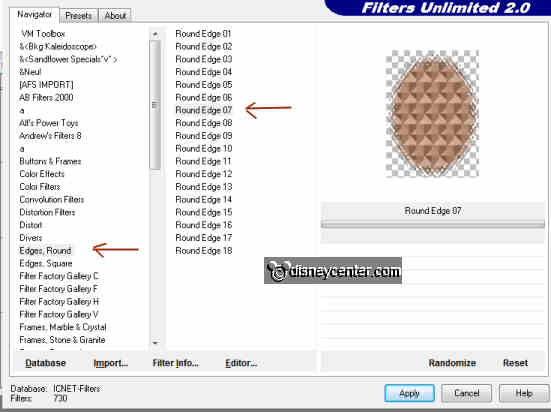
37. Effects - Filter Unlimited - Edges Round - Edge Round 7.
38. Selections - select none.
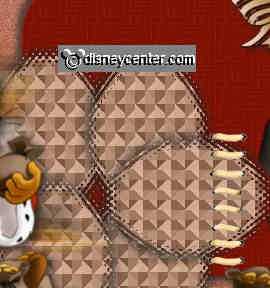
39. Pull down slightly. See example.
40. Give the same drop shadow as in point 8 and 9.
41. Duplicate this layer and place it beside the other on the right.
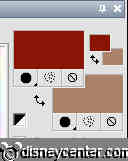
42. Lock now copy of raster 3 for a moment. (the small red rectangle)
43. Duplicate copy of raster 4 - image -
flip.
44. Slide it all the way down.
45. Duplicate this layer - place it beside the other on the on the
left.
46. Duplicate this layer - image - free rotate left 90.

47. Place it on the 2 on the right in the middle.
48. Go to text tool - font Victorian LET - size
72.

49. Write Robin Hood and give the same drop shadow as in point 8.
50. Place this left at the top.
51. Copy littlejohn and paste as a new layer.
52. Place this on the small red rectangle right.
53. Give the same drop shadow as in point 8.
54. Copy tube arrow and paste as a new layer.
55. Place this on the text littlejohn.
56. Give the same drop shadow as in point 8.
57. Lock now all layers, except the top 2.
58. Layers - merge - merge all visible.
59. Open now the other layers.
60. Duplicate this layer 4 times and place them so as below.
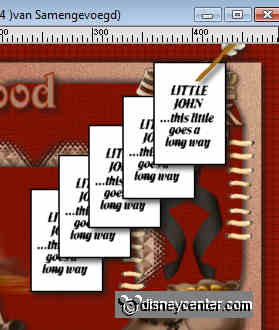
61. Lock all those layers (text littlejohn), except the top.
62. Stay at the bottom layer - new raster layer - fill this with the
foreground color.
63. Effects - Neology - Digital Weaver with this setting.
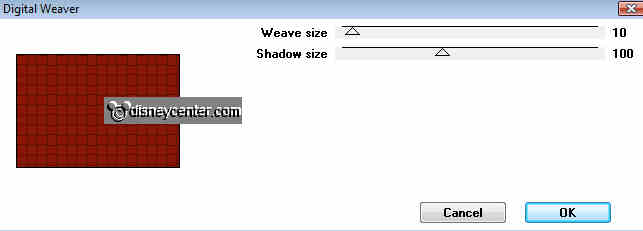
64. Layers - arrange - move down.
65. Stay at raster 1 - and give the same drop shadow as in point
8 and 9.
66. Put your watermark into the image.
67. Edit - Copy merged. (Only the text littlejohn is
locked, not the top)
68. Open Animation Shop.
69. Paste as a new animation.
70. Back in PSP - lock the top (copy 4) and open copy (3)
71. Edit - Copy merged.
72. Back in animation shop - paste after current frame. (select
directly the last frame)
73. Back in PSP - lock the top (copy 3) and open
copy (2)
Edit - Copy merged.
74. Back in animation shop - paste after current frame. (select
directly the last frame)
75. Back in PSP - lock the top (copy 2)
and open copy.
Edit - Copy merged.
76. Back in animation shop - paste after
current frame. (select directly the last frame)
77. Back in PSP -
lock the copy and open merged.
Edit - Copy merged.
78. If it is right you have now 5
frames.
79. Edit - select all.
80. Animation - Properties of frame put on 1
81. Select now the last frame and add the properties of frame on 400.
82. Animation -
resize animation with 75%.
83. File - save as - give name - click 3 times at next and than at
finish.