1.
File - open new transparent image 700x550.
Set in the material palette the foreground color at black
and the background color at
#ba1a1d.
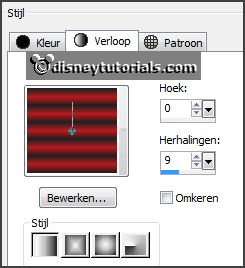
Make from the foreground a gradient linear -
with this setting.
2.
Activate flood fill tool -
fill the layer with the gradient.
Effects - plug-ins - Filter Factory Gallery N - Circulator -
with this setting - click OK.

Effects - Image effects - seamless tiling - default setting.
Set in the layer palette the opacity to 70.
Layers - merge - merge all layers.
Effects - plug-ins - Flaming Pear - TransLine.
3.
Activate the decoEmmy13 - edit - copy.
Edit - paste as a new layer on the image.
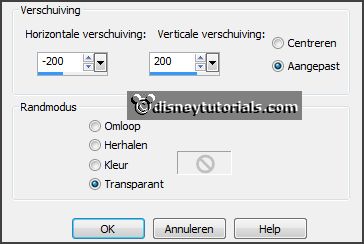
Effects - Image effects - offset - with this
setting.
4.
Layers - duplicate.
Image - free rotate - with this setting.

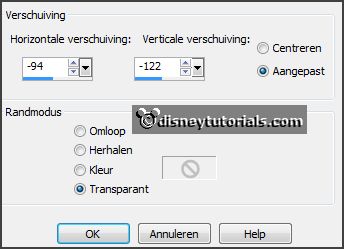
Effects - Image effects - offset -
with this setting.
Activate eraser tool - and erase the top 2 diamonds - see below.

Layers - merge - merge down.
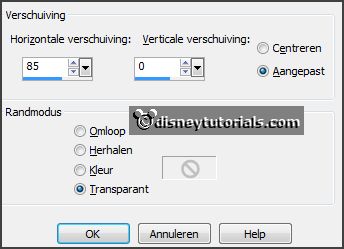
Effects - Image effects - offset -
with this setting.
5.
Layers - duplicate.
Image - mirror.
Layers - merge - merge down.
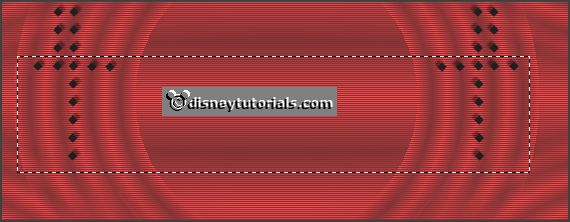
Activate selection tool - rectangle - make a selection as below -
click on the delete key.
6.
Layers - duplicate.
Image - flip.
Layers - merge - merge down.
7.
Layers - new raster layer.
Selections - load/save selection - load selection from disk - look Emmyrood1 -
with this setting.
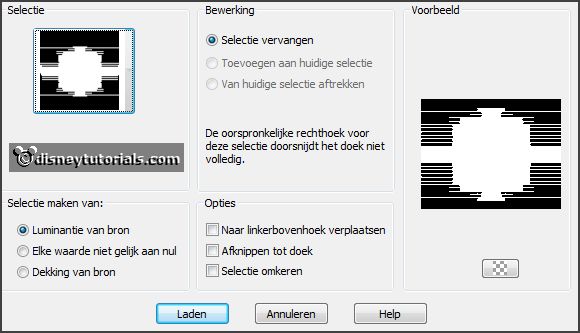
Fill the selection with the gradient.
Selections - selection none.
8.
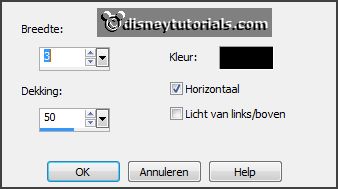
Effects - Texture effects - Blind - with this setting.
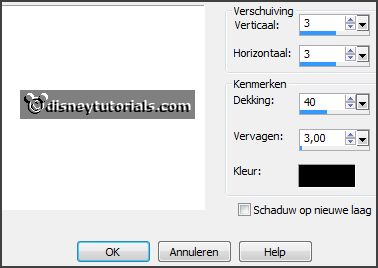
Effects - 3D Effects - drop shadow -
with this setting.
9.
Layers - new raster layer.
Selections - load/save selection - load selection from disk - look Emmyrood -
with this setting.
10.
Fill the selection with the gradient.
Effects - plug-ins - Toadies - Picasso's Last Word -
with this setting
- click OK.

Selections - select none.
11.
Activate the decoEmmyruit - edit - copy.
Edit - paste as a new layer on the image.
Image - resize 105% - all layers not checked.
12.
Layers - duplicate.
Image - resize 75% -
all layers not checked.
Objects - Align - Left.
13.
Layers - duplicate.
Image - mirror.
Layers - merge - merge down.
Layers - arrange - move down.
Activate free hand selection tool - from point to point - and make a selection
as below - click on the delete key.
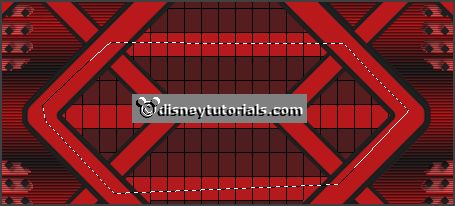
Selections - select none.
14.
Activate the tube micmindans - edit - copy.
Edit - paste as a new layer on the image.
Activate move tool - place it down in the middle.
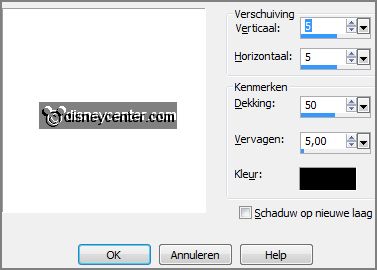
Effects - 3D Effects - drop shadow -
with this setting.
15.
Activate the decoEmmygoud - edit - copy.
Edit - paste as a new layer on the image.
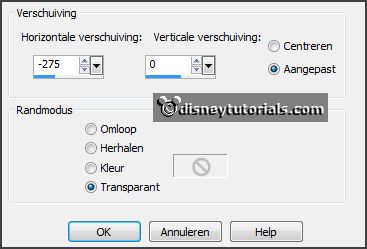
Effects - Image effects - offset -
with this setting.
Effects - 3D Effects - drop shadow - stays
right.
16.
Layers - duplicate.
Image - mirror.
Edit - paste as a new layer on the image (is
still in memory).
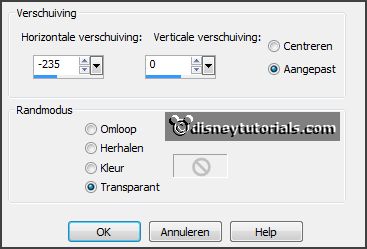
Effects - Image effects - offset -
with this setting.
Effects - 3D Effects - drop shadow - stays right.
17.
Layers - duplicate.
Image - mirror.
Layers - merge - merge down and 2 more
times.
Layers - new raster layer - put your
watermark into the image.
18.
Image - add border 20 pixels - symmetric -
background color..
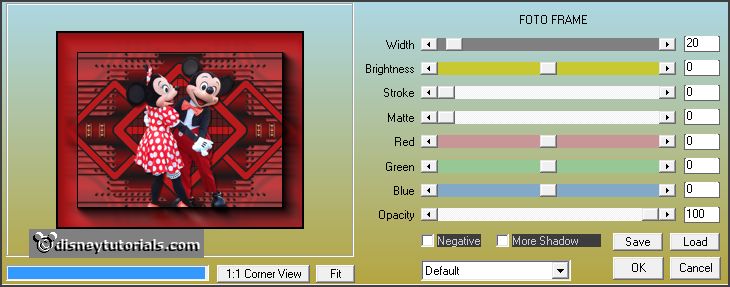
Effects - plug-ins - AAA Frames - Foto Frame - with this setting - click
OK.
19.
Image - add border 1 pixels - symmetric - foreground color.
Image - add border 2 pixels - symmetric -
background color.
Image - add border 1 pixels - symmetric -
foreground color.
File - export - JPEG Optimizer.