|

This
Tutorial is copyrighted to the Tutorial Writer, © Emmy Kruyswijk
04-01-2013.
This Tutorial
may
not be forwarded, shared or otherwise placed on any Web Site or group without written
permission from
Emmy Kruyswijk.
Many of the material are made by me.
Please respect my work and don't change the file names.
At all Disney creations must be copyrighted.
Do you want to link my lessons?
Please send
me a mail.
Needing:
1 tube, 2 selections, 1 animation - made by me.
1 tube from Liza,
1 font
Plug-ins:
Penta.com - Dot and Cross, dsb flux - Lineair Transmission, It@lian Editors
Effects - Mosaico,
MuRa's Meister - Pole Transform, IC
Net Software - Filters Unlimited 2.0 - &<Bkg
Designer sf101 - Cruncher,
Download here
Animation shop.
Before you begins......
Open the tubes in PSP,
Put the plug-ins
in the folder plug-ins and put the selections in de folder selections.
Minimize
the font or install this.
Material

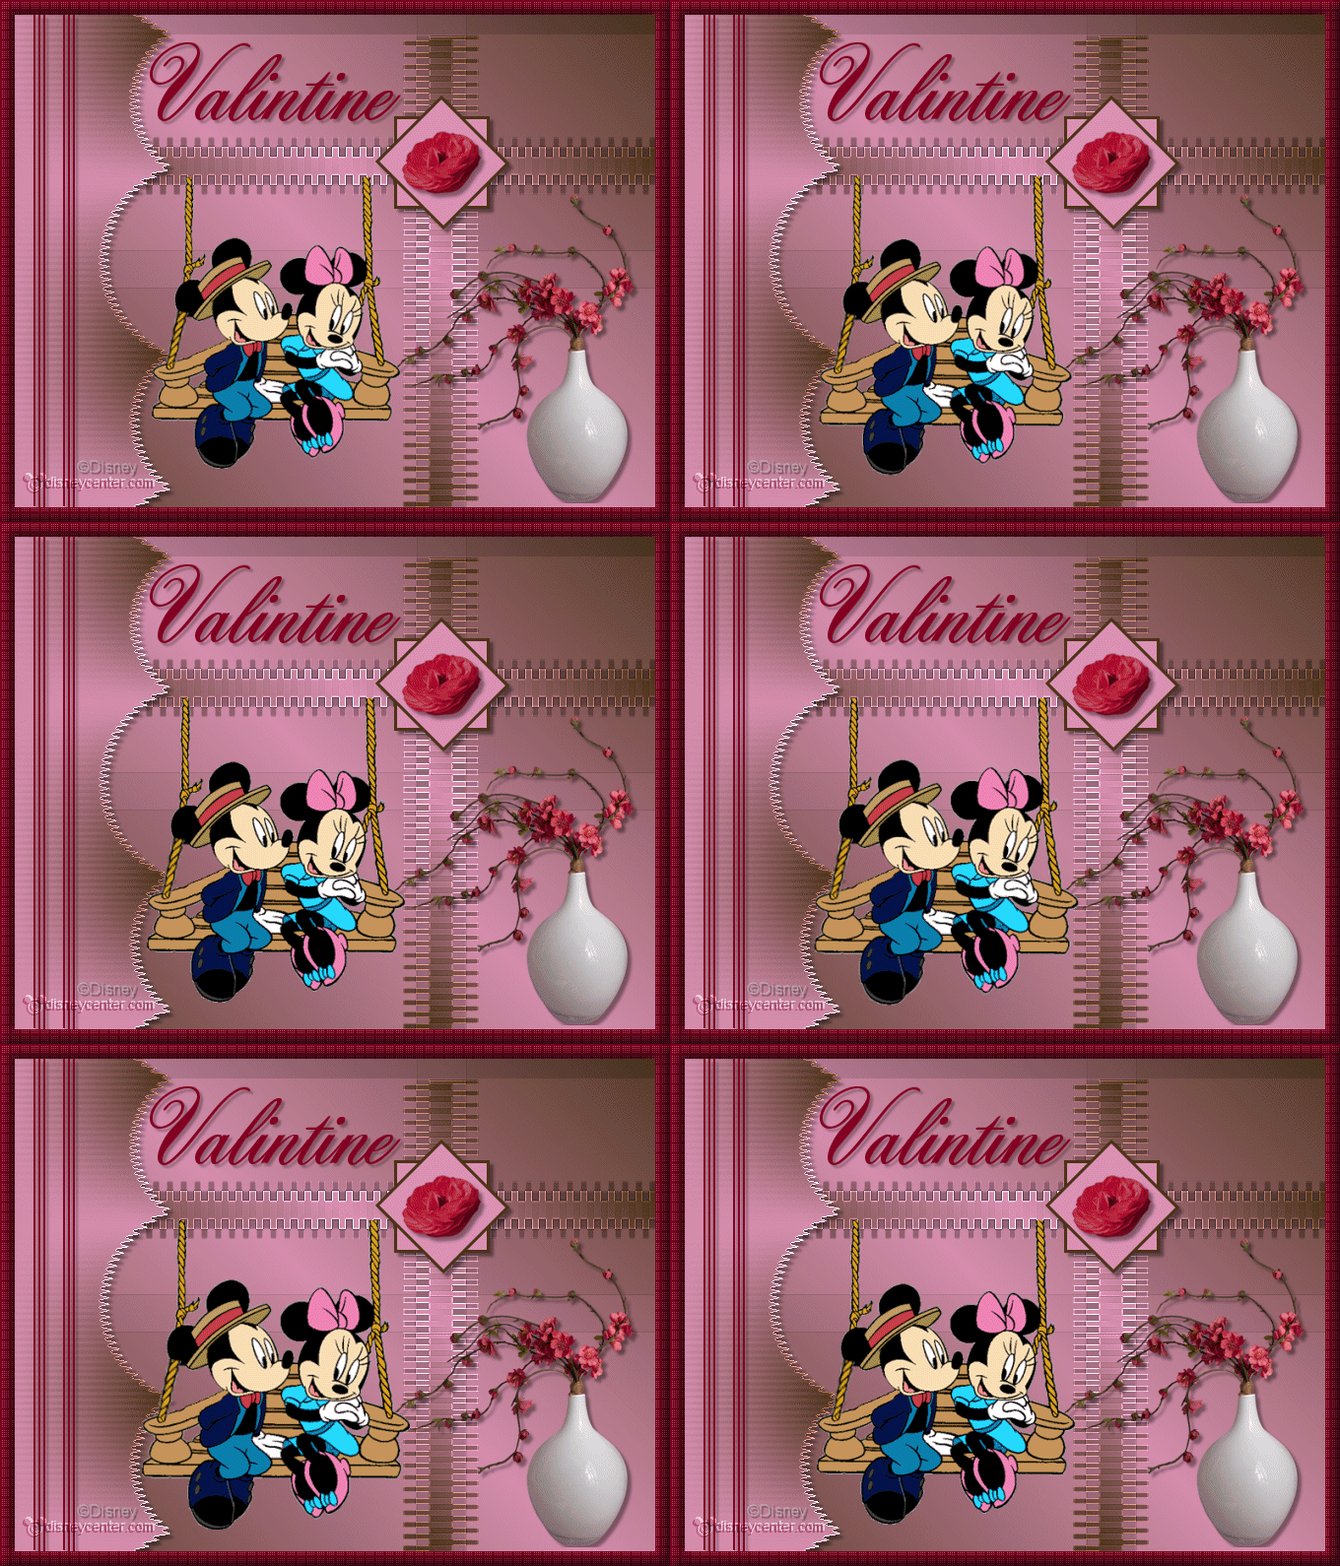
Swinging
1.
File - open new transparent image 650x500.
Set in the material palette the foreground on #da92b4
and the background on #4a3118.
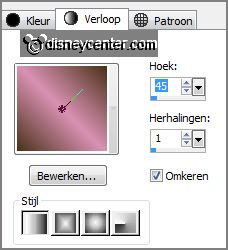
Make of the foreground a gradient linear -
with this setting.
2.
Activate flood fill tool - fill the layer
with the gradient.
Adjust - blur - Gaussian blur - radius 30.
Layers - duplicate.
3.
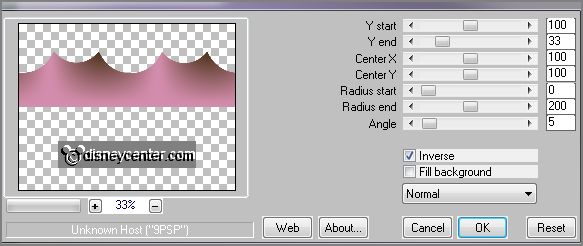
Effects - plug-ins - MuRa's Meister - Pole Transform -
with this setting - click OK.
Layers - duplicate.
Image - flip.
Layers - merge - merge down.
4.
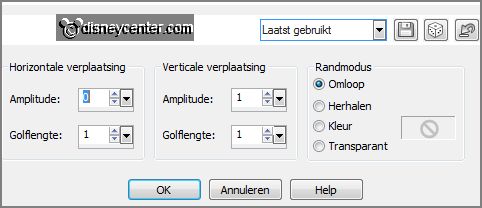
Effects - Distortion effects - wave -
with this setting.
Effects - Edge effects - enhance.
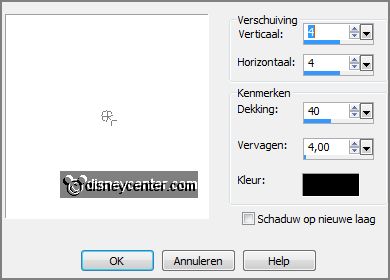
Effects - 3D Effects - drop shadow -
with this setting.
5.
Image - free rotate -
with this setting.

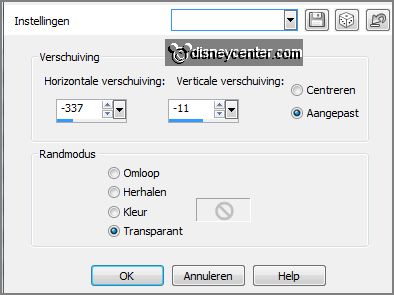
Effects - Image effects - offset -
with this setting.
6.
Activate the bottom layer.
Effects - plug-ins - It@lian Editors Effects - Mosaico -
with this setting - click OK.

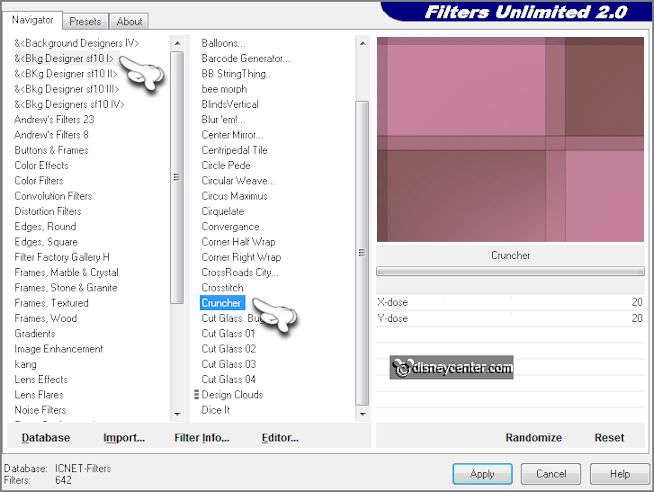
Effects - plug-ins - IC Net Software - Filters
Unlimited 2.0 - &<Bkg Designer sf101 - Cruncher -
with this setting - click Apply.
7.
Activate the magic wand - with setting below - and select as below.


Layers - new raster layer.
Fill the selection with the gradient.
Selections - select none.
8.
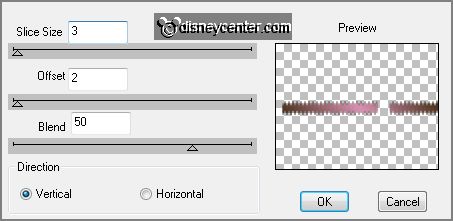
Effects - plug-ins - dsb flux - Lineair Transmission -
with this setting - click OK.
Effects - Edge effects - enhance.
Effects - Image effects - offset -
with this setting.
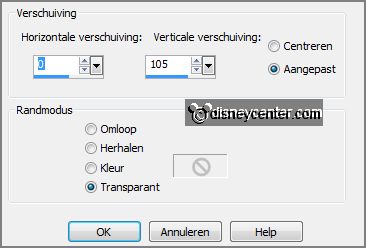
9.
Activate the bottom layer and select with the magic wand - as below.
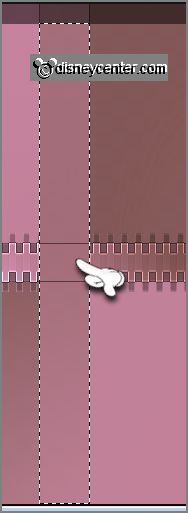
Layers - new raster layer - fill the selection
with the gradient.
Selections - select none.
10.
Effects - plug-ins - dsb flux - Lineair Transmission - change only
vertical in horizontal.
Effects - Edge effects - enhance.
Activate the bottom layer.
Layers - new raster layer - fill this with the gradient.
Set the opacity of this layer at 75.
11.
Activate the top layer.
Activate the tube Liza tube bloesemtak - edit - copy.
Edit - paste as a new layer on the image.
Place the tube right at the bottom - see example.
Effects - 3D Effects - drop shadow - setting is right.
12.
Selection - load/save selection - load
selection from disk - look Emmyschommel -
with this setting.
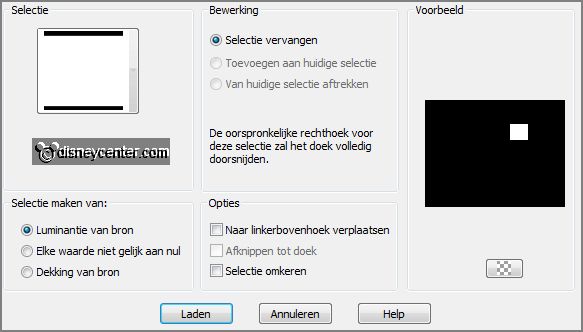
Layers - new raster layer.
Fill the selection with the background color.
13.
Selections - modify - contract 3 pixels.
Fill the selection with the foreground color.
Selections - select none.
14.
Layers - duplicate.
Image - free rotate -
with this setting.

Layers - merge - merge down.
Effects - 3D Effects - drop shadow - setting is right.
15.
Activate the tube Emmybloem1 - edit - copy.
Edit - paste as a new layer on the image.
Effects - 3D Effects - drop shadow - setting is right.
16.
Activate text tool - with setting belowg.

Lock in the material
palette the foreground and set the background on #830223.
Write - Valentine - convert to raster layer.
Place this in the middle at the top - see example.
Effects - 3D Effects - drop shadow -
with this setting.
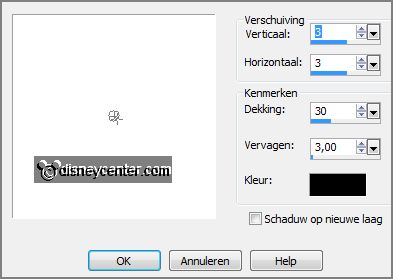
17.
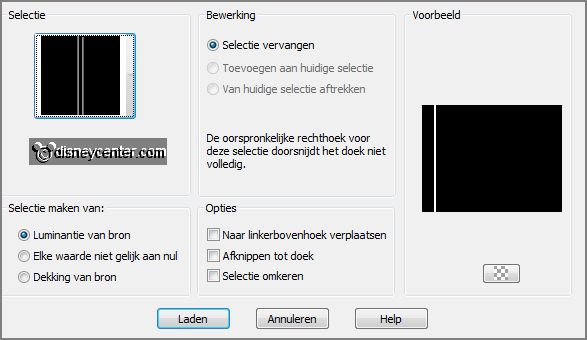
Selection - load/save selection - load
selection from disk - look Emmyschommel -
with this setting.
Layers - new raster layer.
Fill the selection with the background color #830223.
Selections - select none.
Effects - 3D Effects - drop shadow - setting is right.
18.
Layers - new raster layer - put your watermark into the image.
Layers - merge - merge all visible.
19.
Image - add border 15 pixels - symmetric - color white.
Select the white border - fill the selection with the background color 830223.
Effects - plug-ins - Penta.com - Dot & Cross -
with this setting click OK.

20.
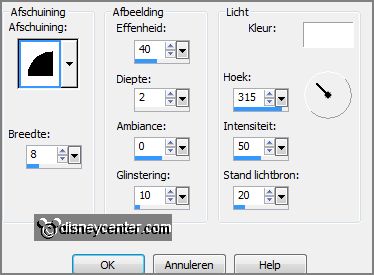
Effects - 3D Effects - Inner Bevel -
with this setting.
Edit - copy.
Open Animation Shop - edit - paste as a new animation.
21.
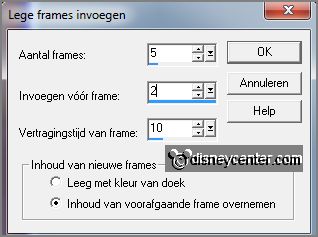
Animation - Inset frames - Empty -
with this setting.
Edit - select all.
Open animation Emmyschommel - edit - select all.
22.
Edit - copy.
Edit - paste into selected frames of the image.
Place this under the horizontal bar - see example.
23.
Animation - Frame properties - put this at 30.
File - save as - give name - click 3 times
at next and than at finish.
Ready is the tag
I hope you like this tutorial.
greetings Emmy
Tested by Nelly

tutorial written 08-01-2013.
|