|

This
Tutorial is copyrighted to the Tutorial Writer, © Emmy Kruyswijk 2009.
This Tutorial
may
not be forwarded, shared or otherwise placed on any Web Site or group without written
permission from
Emmy Kruyswijk
Do you want to link my lessons?
Please send
me a mail.
Materials
download here
3 tubes, 2 corners,
filters: Penta.com - Dot and
Cross, Graphics Plus - Cross Shadow, Simple - Top Left Mirror.
Put the plug-ins in the folder plug-ins.
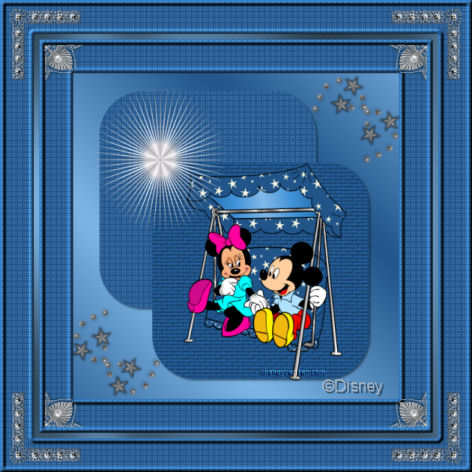
Swing
Bench
1. Open a new image 700x700
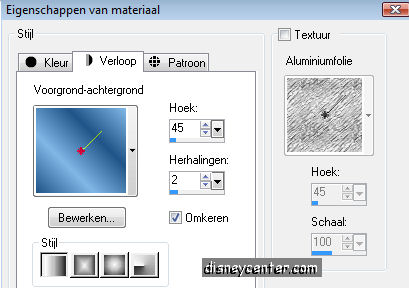
2. Take 2 colors from the tube. #7fb7e7 as foreground and #215488 as
background color.
3. Flood fill your image with the gradient.
4. Duplicate this layer. Image - Mirror. Put the opacity of this
layer on 50.
5. Go to selection tool - selection - rounded squares.
6. Make a square 385x385.
7. Flood fill this with the background color.
8. Effects - 3D Effects - drop shadow vert. and horz. 2, opacity 5,
blur 5.00, color black.
9. Duplicate this layer and
move
it something slantingly down.
10. Stay at the first
square.
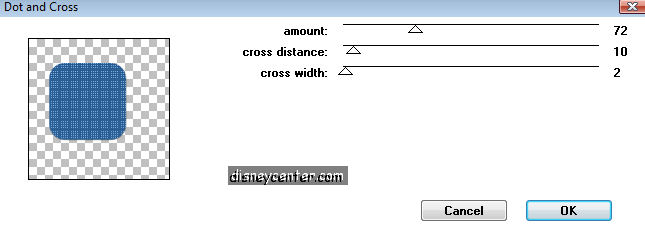
11. Effects - Penta.com - Dot and Cross.
12. Stay at the other square.
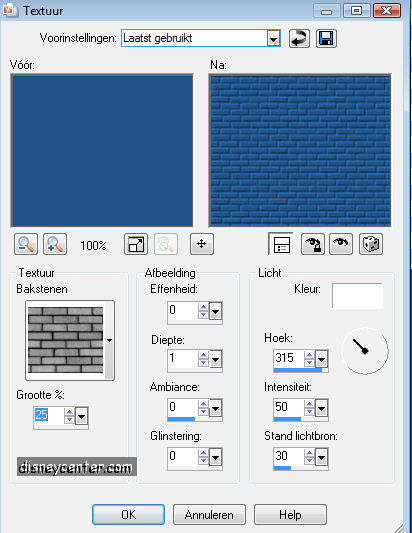
13. Effects - Texture effects - Texture - bricks.
14. Copy the tube of Mickey and Minnie, paste as a new layer at the
square with the bricks.
15. Give the same drop shadow as point 8.
16. Stay at the tube layer and lock the 3 bottom layers.
17. Layers - merge - merge visible.
18. Selections - Select all - selections - modify - contract
60 - selections invert.
19. New raster layer flood fill with the background color.
20. Effects - Penta.com - same settings as point 11.
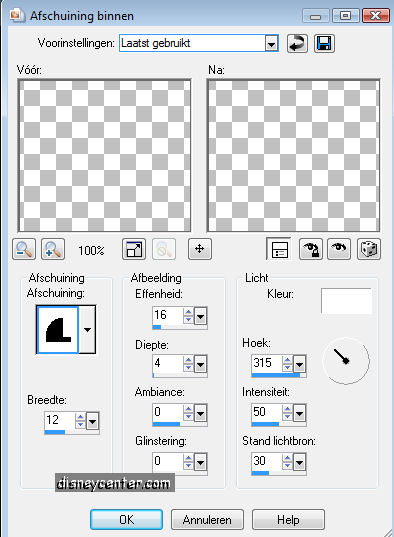
21. Effects - 3D Effects - Inner Bevel.
22. Select none.
23. Copy the witte ster and paste a a new layer.
24. Place these on the upper square.
25. Copy the sterretjes and paste as a new layer.
26. Image - free rotate 45 right.
27. Place these in the right upper corner.
28. Duplicate this layer - Image - mirror - image - flip.
29. Copy MD Silvercorner and paste as a new layer.
30. Place it in the left upper corner.
31. Effects - Simple - Top Left Mirror.
32. Put your watermark in the image.
33. Image - Add border 10 foreground color.
34. Select border.
35. Effects - Graphics Plus - Cross Shadow. All at 50.
36. Select none.
37. Image - Add border 60 background color.
38. Select border.
39. Effects - Penta.com - Dot and Cross. Same settings as point
11.
40. Effects - 3D Effects - Inner Bevel. Same as
point 21.
41. Copy corner epw 170 and paste as a new layer.
42. Place it in the left upper corner.
43. Effects - Simple - Top Left Mirror.
44. Layers- merge - Merge all Flatten.
45. Image -Resize 75%. And one more time 75%.
46. Image save as jpg.
Ready is the tag
I hope that you like this tutorial.
greetings Emmy,

Tutorial written
10-04-2009
| |