
This
Tutorial is copyrighted to the Tutorial Writer, © Emmy Kruyswijk November
2009.
This Tutorial may not be forwarded, shared or otherwise placed on any Web Site
or group without written
permission from
Emmy Kruyswijk
Do you want to link
my lessons?
Please send
me a mail.
Materials:
A tube,
Mask and font type Bauhaus
download
here
filters: Penta.com, Graphics Plus
download here
Put the mask in the folder mask
Put the filters
in the folder plug-ins
Open your font and minimize
Skating Time
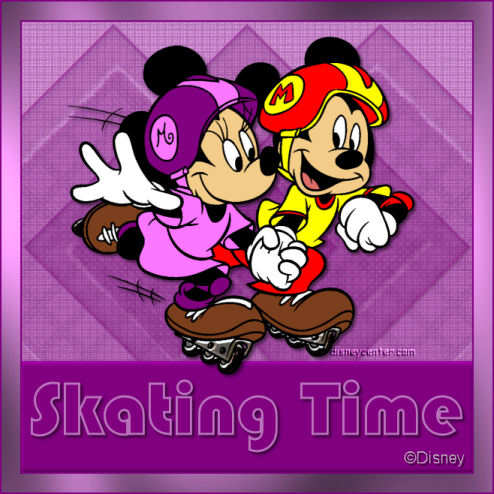
1. Open a new image 600x600
2. Take 2 colors from your tube tube. I did #bb77bd as foreground and #800080
as background color.
3. Fill this with the foreground color.
4. Go to Effects - Texture Effects- Texture - Canvas Fine

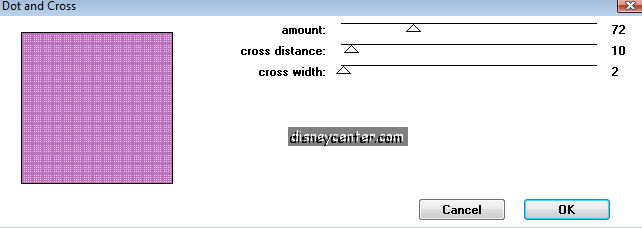
5. Go to Effects - Penta.com - Dot and Cross 72-10-2
6. New raster layer
7. Fill this with the background color
8. Go to Effects - Penta.com - Dot and Cross 100-67-20
9. Opacity of this layer at 50
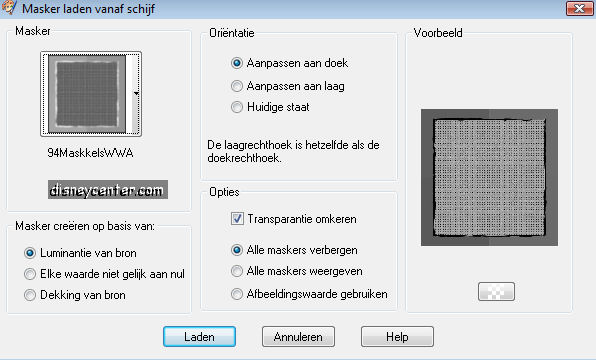
10. Go to layers - Load/Save Mask - Load Mask from Disk -
94MakkelsWWA.
11. Layers - Merge group
12. Image - Resize with 70 % All layers not checked.
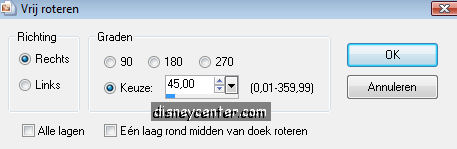
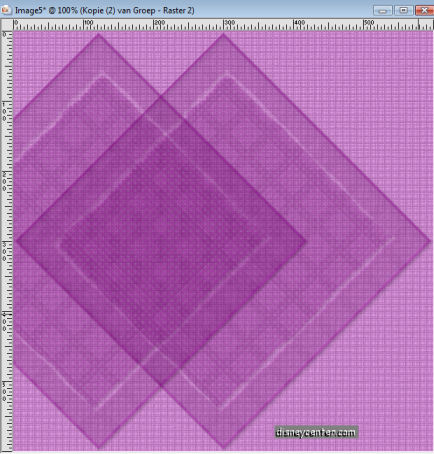
13. Image - free rotate - 45 right
14. Effects - 3D Effects - Drop Shadow 2-2-50-5.00 color black
15. Duplicate this layer and place it to the left see below.
16. Duplicate this layer also
17. Image - Mirror- it stays now to the right side.
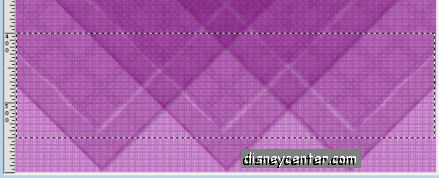
18. Go to selection tool - selection - rectangle
19. Go to the 400 and make a rectangle till 550 see below
20. New raster layer
21. Fill this with the background color.
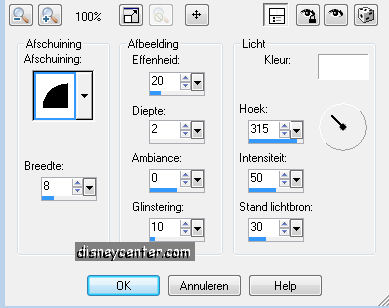
22. Effects - 3D Effects - Inner Bevel
23. Select none
24. Place this layer at the bottom
25. Copy your tube and paste as a new layer
26. Effects - 3D Effects - Drop Shadow 3-3-50-5.00 color black
27. Stay at raster 2
28. Go to text tool and look for font Bauhaus

29. And type Skating Time or something else, hte font size is depended of the
text you use.
30. Convert to raster layer
31. Effects - 3D Effects - Drop Shadow - same as in point 26.
32. Put your watermark in the image
33. Image - add border 2 background color.
34. Image - add border 25 foreground color
35. Effects - Graphics Plus - Cross Shadow 50-50-50-50-50-50-85-128
36. Select none
37. Image - add border 2 background color.
38. Image - Resize with 75%.
39. Save the image.
Ready is the tag
I hope that you like this tutorial.
greetings Emmy,

Tutorial written
10-04-2008