1.
File – open new transparent image 650x650.
Put in the material palette the foreground color on #e17a37 and the background
color on #562d6f.
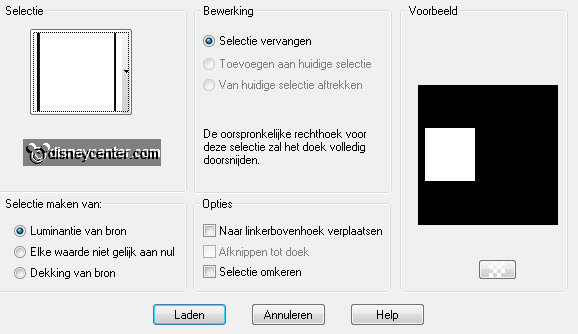
2.
Selections - load/save selection – load selection from disk – look Emmyspider1 –
with this setting.
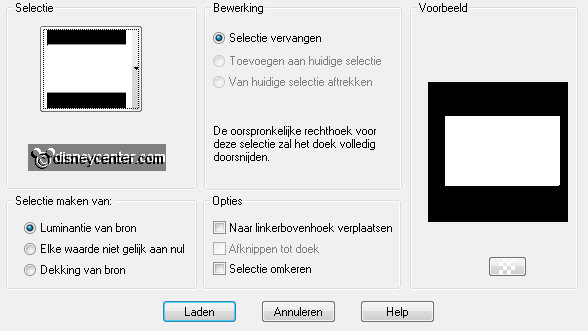
Activate flood fill tool – and fill the selection with the background color.
3.
Selections – modify – contract 7 pixels.
Layers – new raster layer – fill the selection with the foreground color.
4.
Effects – plug-ins – Tramages – Tow the Line – with this setting.
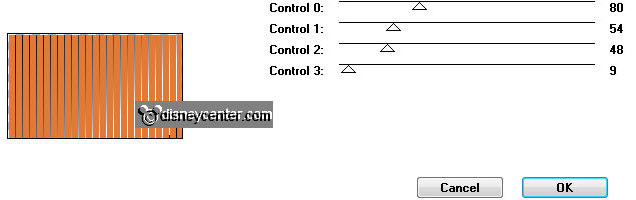
Selections - select none.
5.
Selections - load/save selection – load selection from disk – look Emmyspider2 –
with this setting.
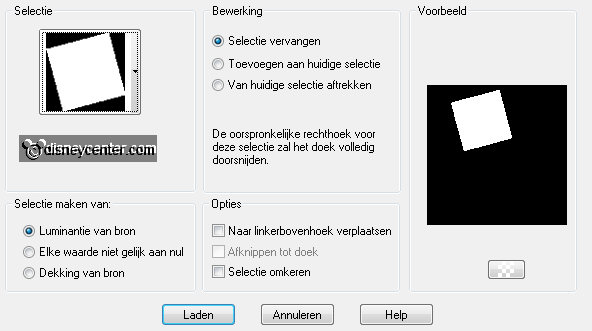
Layers – new raster layer.
Fill the selection with the background color.
Selections – select none.
6.
Selections - load/save selection – load selection from disk – look Emmyspider4 –
with this setting.
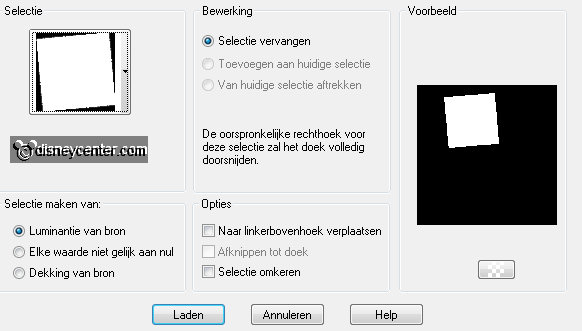
Layers – new raster layer.
7.
Put in the material palette the foreground on #a4ac78.
Fill the selection with the foreground color.
Selections – select none.
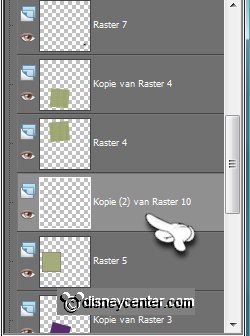
8.
Make raster 3 active.
Layers – duplicate.
Image – flip.
9.
Make raster 4 active.
Layers – duplicate.
Image – flip.
10.
Effects – plug-ins – Filters Unlimited 2.0 – Paper Textures – Papyrus – with
this setting.
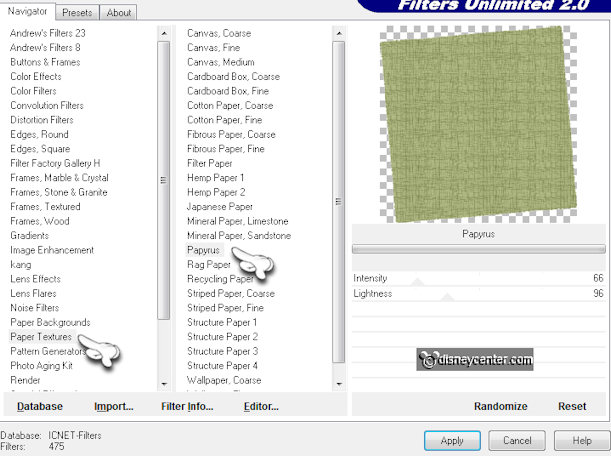
Make raster 4 active and do the plug-in also here - Paper |Textures – Papyrus –
setting is right.
11.
Selections - load/save selection – load selection from disk – look Emmyspider3 –
with this setting.
Layers – new raster layer.
Fill the selection with the background color.
12.
Selections – modify – contract 2 pixels.
Fill the selection with the foreground color.
Layers – arrange – move down – and one more time.
13.
Make the top layer active.
Activate the tube web – edit – copy.
Edit – paste as a new layer on the image.
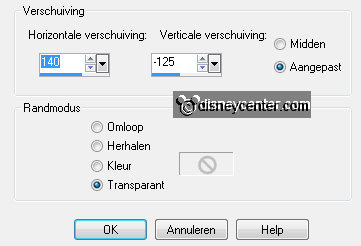
14.
Effects – Image effects – offset – with this setting.
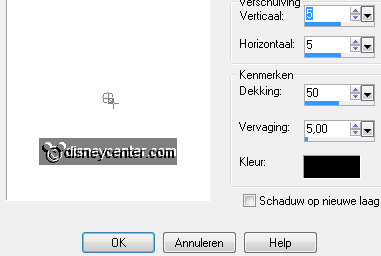
Layers – arrange – move down.
Effects – 3D-Effects – drop shadow – with this setting
15.
Make the top layer active.
Activate the tube spider – edit – copy.
Edit – paste as a new layer on the image..
16.
Activate move tool – and move the spider on the web.
Activate the tube halw1 – edit – copy.
Edit – paste as a new layer on the image.
17.
Move this under the big rectangle – see example.
Effects – 3D-Effects – drop shadow – setting is right.
18.
Activate the tube halw – edit – copy.
Edit – paste as a new layer on the image..
Move the tube to the left side – see example.
Effects – 3D-Effects – drop shadow – setting is right.
19.
Activate the tube hwrand – edit – copy.
Edit – paste as a new layer on the image..
Move this at the top square – see example.
20.
Layers – duplicate – and one more time.
Move the first copy at the bottom square.
And the second copy at the middle square.
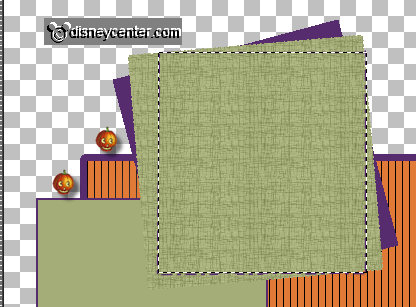
21.
Layers – arrange - move down 7 times. See below.
Go to selection tool – selections – rectangle – and make a selection -
as below. (At the border)
22.
Activate the tube hwknabbel – edit – copy.
Edit – paste as a new layer on the image..
Move the tube at the selection – Looks what like the most.
23.
Selections – invert – click at the delete key.
Selections – select none.
Effects – 3D-Effects – drop shadow – setting is right.
24.
Activate the tube hwmicmin – edit – copy.
Edit – paste as a new layer on the image.
Move this on the big rectangle – see example.
Effects – 3D-Effects – drop shadow – setting is right.
25.
Activate the tube hwbabbel – edit – copy.
Edit – paste as a new layer on the image.
Move the tube at the bottom square.
26.
Make a selection – as below - click on the delete key.
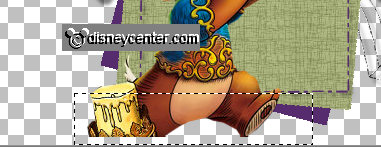
And all the pieces that you do not want to have - click on the delete key.
Selections – select none.
Effects – 3D-Effects – drop shadow – setting is right.
27.
Go to raster 10 (hwrand) –
Effects – 3D-Effects – drop shadow – with this setting.
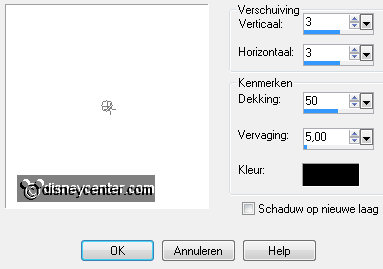
Also on the copy layers from the edge.
28.
Activate the word-artHappyHalloween – edit – copy.
Edit – paste as a new layer on the image..
Move this on the middle square – see example.
29.
Activate the word-artDon’tBe -edit – copy.
Edit – paste as a new layer on the image.
Effects – 3D-Effects – drop shadow – with this setting.
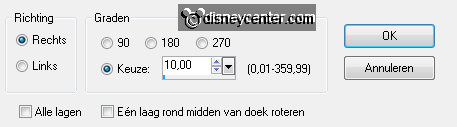
30.
Image – free rotate – with this setting.
Move this above the big rectangle – see example.
31.
If you want to you can put down some spiders here and there.
Layers – new raster layer – put your watermark into the image.
32.
Layers – merge – merge all visible layers.
Effects – 3D-Effects – drop shadow - setting is right.
File – export – PNG or GIF Optimizer.


