1.
File - open new transparent image 750x550.
Set in the material palette the foreground color at #d4a65c
and the background color at #1c603e.
Activate flood fill tool - fill the layer with
the foreground color.
2.
Layers - new raster layer.
Fill the layer with the foreground color.
Layers - new mask layer - from image - look - creation_tine_masque054 - with
this setting.
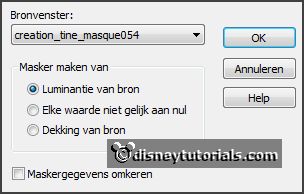
Layers - merge - merge group.
Layers - merge - merge down.
3.
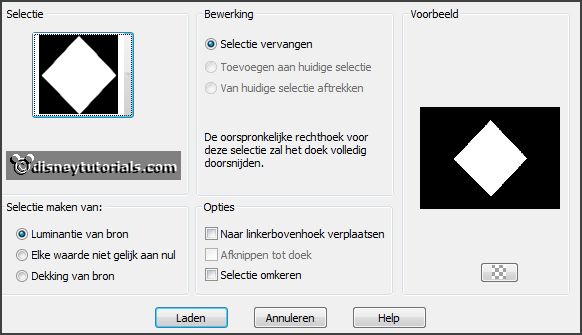
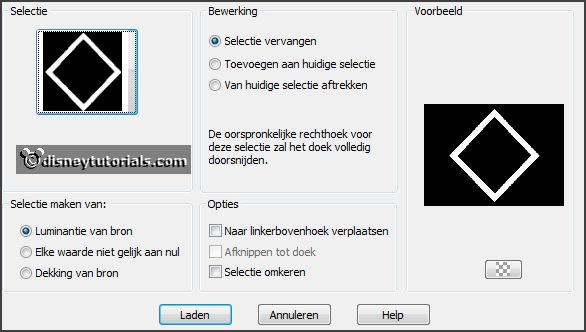
Selections - load/save selection - load selection from disk - look
Emmyspringcarnival -
with this setting.
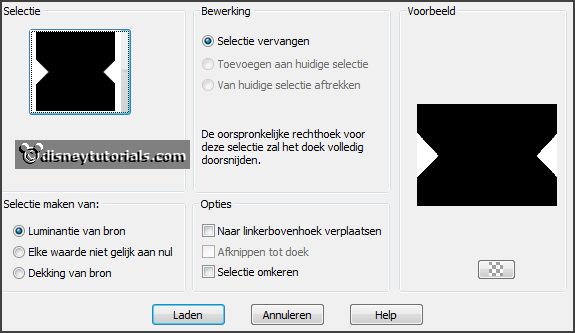
Layers - new raster layer.
Fill the selection with the background color.
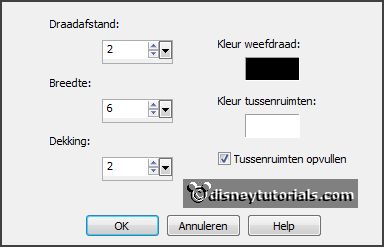
Effects - Texture effects - Weave -
with this setting.
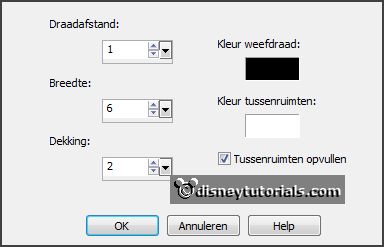
Selections - select none.
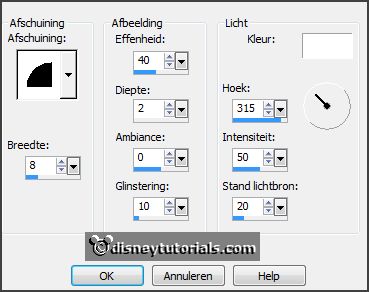
Effects - 3D Effects - Inner Bevel -
with this setting.
4.
Layers - duplicate.
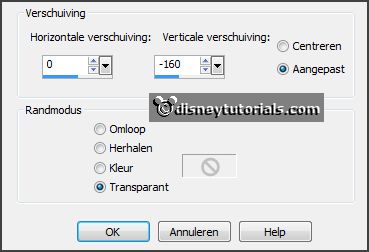
Effects - Image effects - offset -
with this setting.
Layers - duplicate.
Effects - Image effects - offset
-
with this setting.

Activate raster 2 - delete.
5.
Activate the top layer.
Selections - load/save selection - load
selection from disk - look
Emmyspringcarnival - setting is right.
Layers - new raster layer.
Fill the selection with the foreground color.
Effects - Texture effects - Weave
-
with this setting.
Selections - select none.
Effects - 3D Effects - Inner Bevel -
setting is right.
Layers - merge - merge down -
and 1 more time.
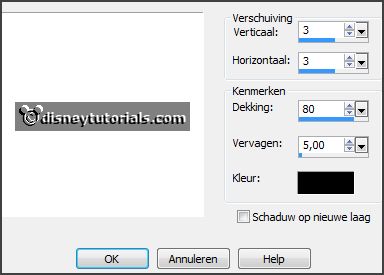
Effects - 3D Effects - drop shadow -
with this setting.
6.
Selections - load/save selection - load
selection from disk - look Emmyspringcarnival1 -
with this setting.
Selections - modify - select selected borders
-
with this setting.
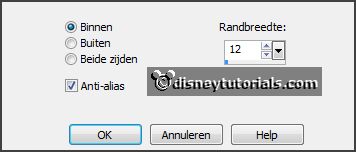
Layers - new raster layer.
Fill the selection with the foreground color.
Effects - Texture effects - Weave -
setting is right.
Selections - select none.
Effects - 3D Effects - Inner Bevel -
setting is right.
7.
Selections - load/save selection - load
selection from disk - look
Emmyspringcarnival1 -
setting is right.
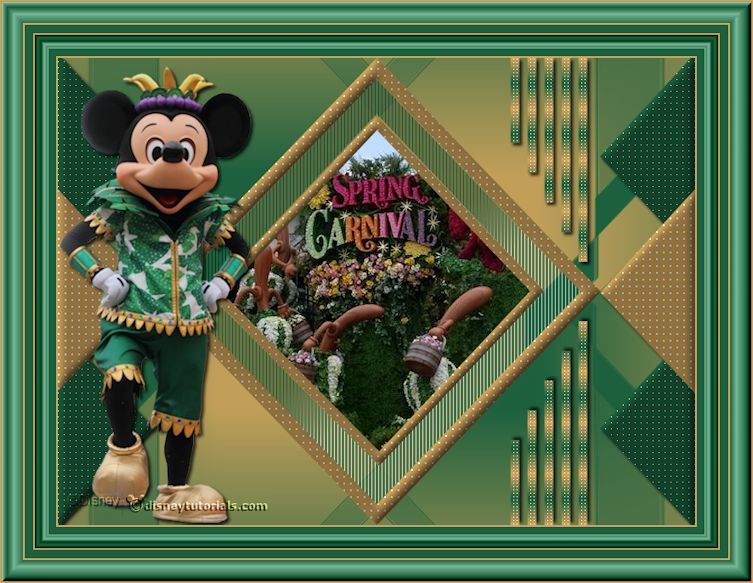
Activate the image springcarnival - edit - copy.
Edit - paste as a new layer on the image.
Activate move tool - move the image a little - till spring
stays good.
Selections - invert - click at the delete key.
Selections - select none.
Layers - arrange - move down.
Adjust - sharpness - sharpen.
8.
Activate the top layer.
Selections - load/save selection - load
selection from disk - look Emmyspringcarnival2 -
with this setting.
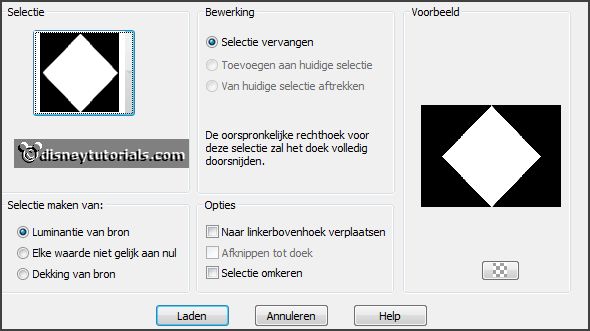
Layers - new raster layer.
Selections - modify - select selected borders -
with this setting.
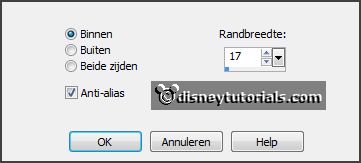
Fill the selection with the foreground color.
Effects - Texture effects - Weave -
setting is right.
Selections - select none.
Effects - 3D Effects - Inner Bevel -
setting is right.
9.
Activate the bottom layer.
Selections - load/save selection - load
selection from disk - look Emmyspringcarnival3 -
with this setting.
Layers - new raster layer.
Fill the selection with the background color.
Set in the layers palette the opacity to 61.
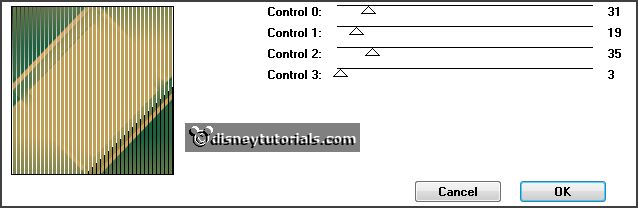
Effects - plug-ins - Tramages - Tow the Line -
with this setting - click OK.
Selections - select none.
10.
Activate the top layer.
Layers - new raster layer.
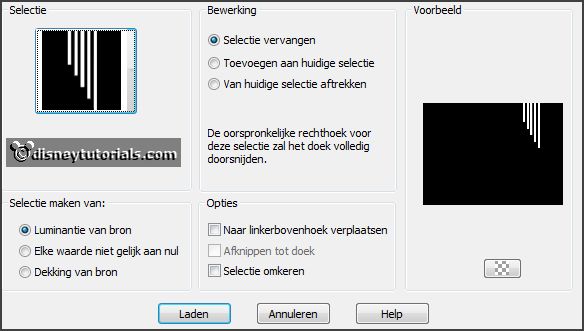
Selections - load/save selection - load
selection from disk - look Emmyspringcarnival4 -
with this setting.
Make from the foreground a gradient linear -
with this setting.
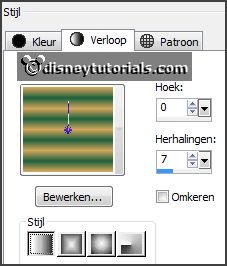
Fill the selection with the gradient.
Effects - Texture effects - Weave -
with this setting.

Selections - select none.
Effects - 3D Effects - drop shadow -
setting is right.
Layers - duplicate.
Image - flip.
Layers - merge - merge down.
11.
Activate the tube miccarnival - edit - copy.
Edit - paste as a new layer on the image.
Place this to the left side - see example.
Effects - 3D Effects - drop shadow -
setting is right.
12.
Image - add border 2 pixels - symmetric - foreground color.
Image - add border 25 pixels - symmetric -
background color.
Image - add border 2 pixels - symmetric -
foreground color.
Activate the magic wand -
with this setting - select the
width border.

Effects - plug-ins - I.C.NET Software Filters Unlimited 2.0 - Buttons &
Frames - Glass Frame 2 -
with this setting - click Apply.
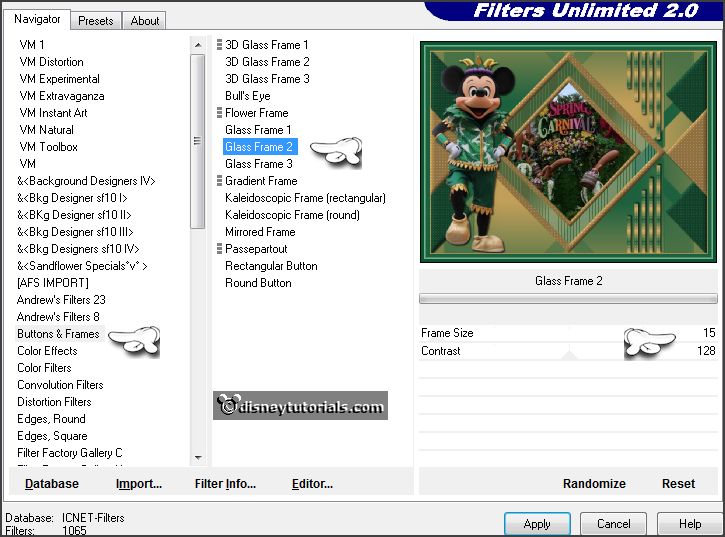
Selections - select none.
13.
Image - add border 10 pixels - symmetric -
background color.
Image - add border 2 pixels - symmetric -
foreground color.
Image - add border 25 pixels - symmetric -
background color.
Image - add border 2 pixels - symmetric -
foreground color.
Select with the magic wand the width border (25 pixels).
Effects - plug-ins - I.C.NET Software Filters Unlimited 2.0 - Buttons &
Frames - 3D Glass Frame1 -
with this setting
- click Apply.
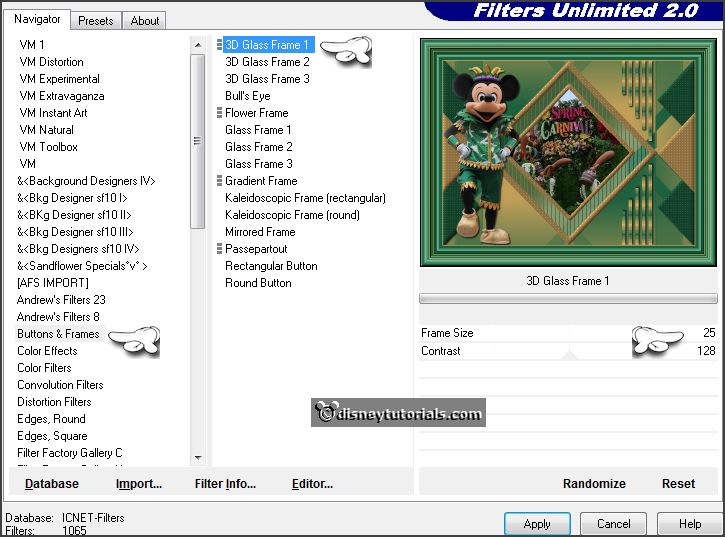
Selections - select none.
14.
Layers - new raster layer - put your watermark
into the image.
Image - resize 85% - all layers checked.
File - export - JPEG Optimizer.
Ready is the tag
I hope you like this tutorial.
greetings Emmy
Thank you Nelly for testing.