
This
Tutorial is copyrighted to the Tutorial Writer, © Emmy Kruyswijk October 2011.
This Tutorial
may
not be forwarded, shared or otherwise placed on any Web Site or group without written
permission from
Emmy Kruyswijk
Do you want to link my lessons?
Please send
me a mail.
Materials:

2 images, 1 tagback
from Sandi,
1
tube, 1 misted tube and word-art all made by me,
Filters: FM Tile Tools -
Blend Emboss,
MuRa's Meister- clouds,
download here.
Before you begins........
Plug-ins : Install first your plug-ins in PSP, before you open
PSP, put the plug-ins in the folder plug-ins.
Open the
tubes, images and word-art in PSP
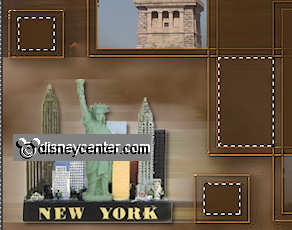
State of Liberty New York
Foreground color #b79c87 and
background color #503316
1.
Open new transparent image 600x500.
Fill this with the foreground color.
Effects - MuRa's Meister- clouds - with this setting.

2.
Copy skyline_preview and paste as a new layer on the image.
Move it to the top, so the bottom is at 300 pixels.
Set the opacity of this layer at 50.
New raster layer.
selections - select all.
3.
Copy tagback07 and paste into selection.
Selections - select none.
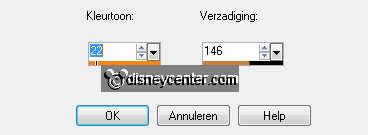
Adjust - Hue and Saturation - colorize - with this setting.
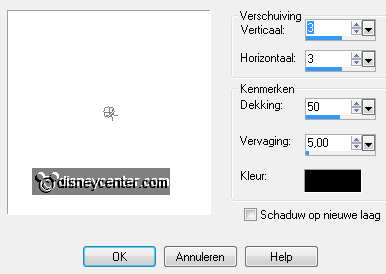
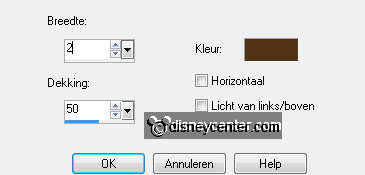
Effects - 3D Effects - drop shadow - with this setting.
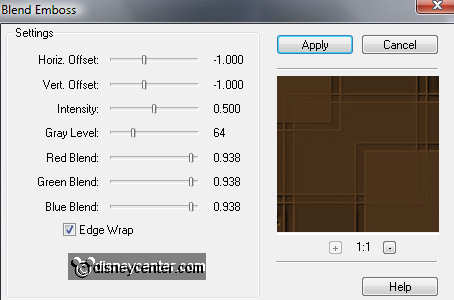
Effects - FM Tile Tools - Blend Emboss - with this setting.
Effects - Edge Effects - enhance.
4.
Select with the magic wand these parts, Hold down Shift, see
below

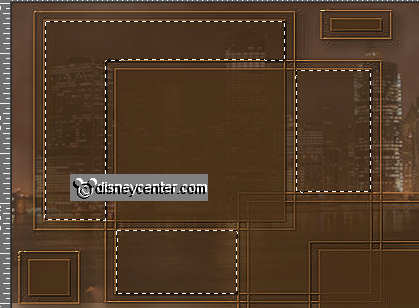
Let selection stay.
Go to selection tool - selection - rectangle.
Hola Shift down and pull a rectangle by this part, see below.
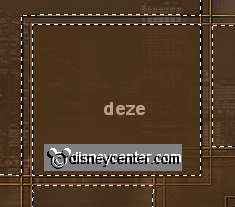
5.
Copy vrijheidmisted and paste as a new layer on the image.
Move this over the selection. The state fits exactly into the large
rectangle.
Selections - invert - click on the delete key.
Selections - select none.
6.
Copy stateofliberty and paste as a new layer on the image.
Image - resize 80% - all layers not checked.
Place this left at the bottom.
Duplicate this layer
Effects - Distortion Effects - wind - with this setting.
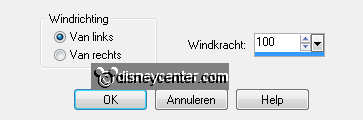
Repeat wind, now with right 100.
Layers - arrange - move down - 2 times more. (stays now under layer 3)
7.
Activate the top layer.
Give the same drop shadow as in point 3.
Select with the magic wand this part, see below.
Copy word-artstate and paste as a new layer on the image.
Move this so, that the letters comes in the corner. see example.
Selections - invert - click on the delete key.
Selections - select none.
8.
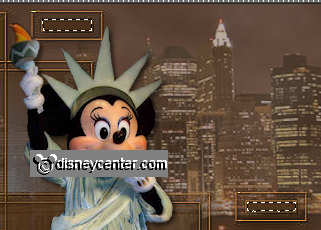
Copy minnienewyork and paste as a new layer on the image.
Image - resize 65% - all layers not checked.
Place this on the rectangle above the word state.
Give the same drop shadow as in point 3.
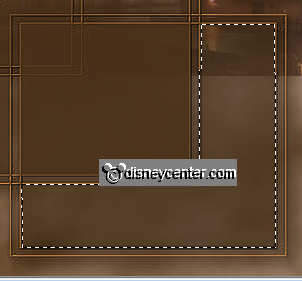
9.
Select with the magic wand the follow parts. Keep Shift down.
see below.
Fill this with the foreground color.
Effects - texture effects - blinds - with this setting.
Selections - select none.
10.
New raster layer - put your watermark into the image.
Image - add border 2 pixels - symmetric - background color.
Image - add border 10 pixels - symmetric - foreground color.
Image - add border 2 pixels - symmetric - background color.
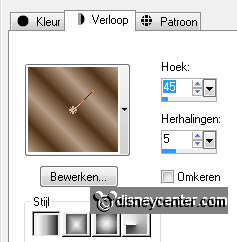
Select the light border - fill this with gradient linear.
Effects - texture effects - blinds - with the same setting as in
point 9.
11.
Image - resize 85% - all layers checked.
Go to selection tool - freehand selection - free hand.
Select the flame in de tube. Zoom in t0 200.
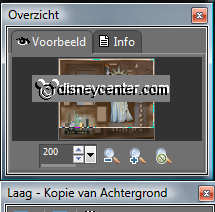
Duplicate this layer - zoom out to 100.
12.
Make the bottom layer active.
Effects - Alien Skin Nature - Fire. Set setting on Small Torch.-
Basic with this setting.
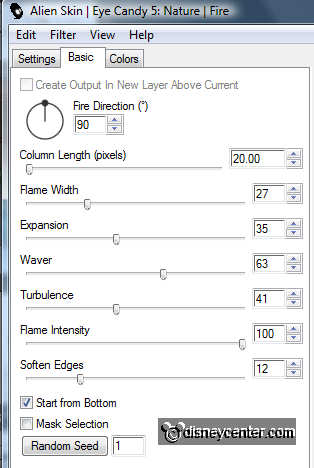
Go to copy layer - repeat the Fire, click only on random seed.
Selections - select none.
13.
Lock copy layer and make bottom layer active.
Edit - copy.
Open animation shop.
Paste as a new animation.
Back in PSP - lock the bottom layer and open copy layer and make
active.
Edit - copy.
Back in AS - paste after active frame.
14.
File - save as - give name - click 3 times at next and than at finish.
Ready is the tag
I hope you like this tutorial.
greetings Emmy,
Tested by Bep
Tutorial written
18-10-2011
