Before you begins.......
Plug-ins : Install first your plug-ins before you open PSP and put
them in the folder plug-ins.
Put the gold
pattern in the folder patterns.
Open your tubes PSP.
Disney MGM Studios
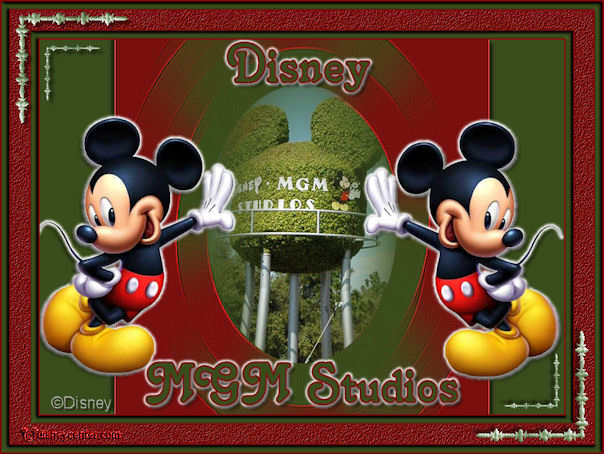
Foreground color #800a0a and background color #3a4d1d
1.
Open new transparent image 700x500
Fill this with the background color.
New raster layer - Fill this with the background color.
2.
Layers - Load/Save Mask - Load mask from disk.
Look mask EEmask9 with this setting.
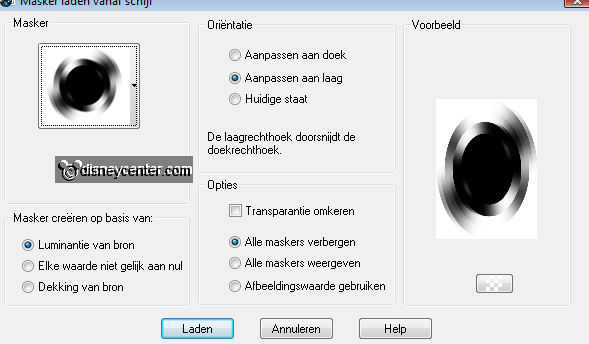
Layers - merge - merge group
3.
Image - free rotate - right 90.
Effects - Edge Effect - Enhance more.
Effects - FM Tile Tools - Blend Emboss - default setting.
4.
Go to selection tool - ellipse - and make a selection as below.
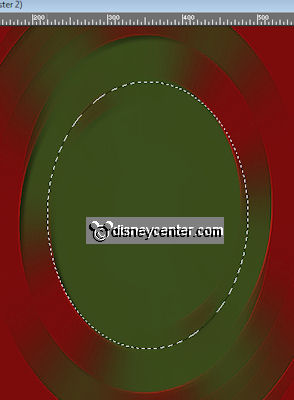
Copy earful tower and paste as a new layer.
Place this at the selection - move this a little down.
Selections - Invert - click at the delete key.
Selections - select none.
5.
Go to text tool - font Buenosaires - size 72 - stroke width
2.
Write - MGM Studios - Place this in the middle below.
Write - Disney - Place this in the middle at the top.
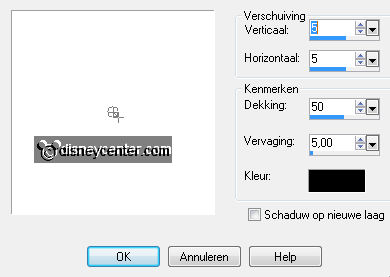
Effects 3 D Effects - drop shadow with this setting.
6.
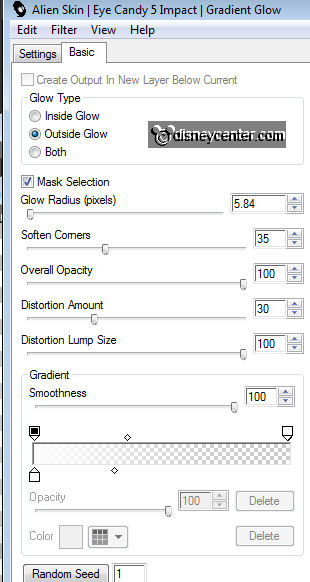
Effects - Alien Skin Eye Candy 5 Impact - Gradient Glow with this setting.
7.
Activate group raster 2.
Give the same drop shadow as in point 5.
Repeat the drop shadow bur now -5.
8.
Copy Mickey11 and paste as a new layer.
Place this against the tower - see example.
Give the same drop shadow as in point 5.
Same - Alien Skin Eye Candy 5 Impact - Gradient Glow as in point 5
9.
Duplicate this layer - image - mirror.
Layers - merge - merge all.
10.
Image - add border 2 pix. foreground color.
Image - add border 10 pix. background color.
Image - add border 2 pix. foreground color.
Image - add border 25 pix. background color.
Image - add border 2 pix. foreground color.
Image - add border 10 pix. background color.
Image - add border 2 pix. foreground color.
11.
Select the border of 25 pixels. Fill this with the foreground color.
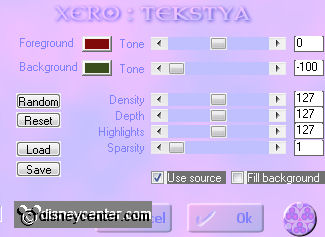
Effects - Xero - Tekstya - with this setting.
Effects - FM Tile Tools - Blend Emboss - set Intensity at 0,500.
Selections - select none.
12.
Select now the 2 green rectangles .
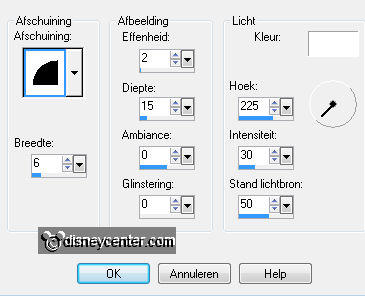
Effects - 3D Effects - Inner Bevel with this setting.
Selections - select none.
13.
Copy EPW 034 and paste as a new layer.
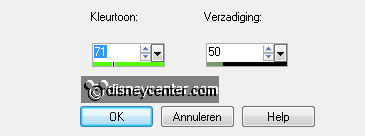
Adjust - Hue and Saturation - Colorize with this setting.
Place this in the left upper corner.
Give the same drop shadow as in point 5.
14.
Duplicate this layer - Image - Resize 50% - all layers not checked.
Place this below in the green rectangle - see example.
Layers - merge - merge down.
15.
Duplicate this layer - Image - mirror - Image - flip.
Layers - new raster layer - put your watermark into the image.
Layers - merge - merge all.
Image - Resize 75% - all layers checked.
File - Export - JPEG Optimizer.
Ready is the tag
I hope you like this tutorial.
greetings Emmy

Tutorial written
14-07-2011