|

This
Tutorial is copyrighted to the Tutorial Writer, © Emmy Kruyswijk
23-10-2012.
This Tutorial may not be forwarded, shared or otherwise placed on any Web Site
or group without written
permission from
Emmy Kruyswijk
At all Disney creations must be copyrighted.
Do you want to link my lessons?
Please send
me a mail.
Needing:
4
tubes - all made by me.
1 image unknown.
Filters:
FM Tile Tools – Blend Emboss, L en K Landsiteofwonders – Frederick’s,
L en K Landsiteofwonders
- Maxime - download
here.
Before you begins.......
Open the tubes, image in PSP,
put the plug-in in the folder
plug-ins
Material

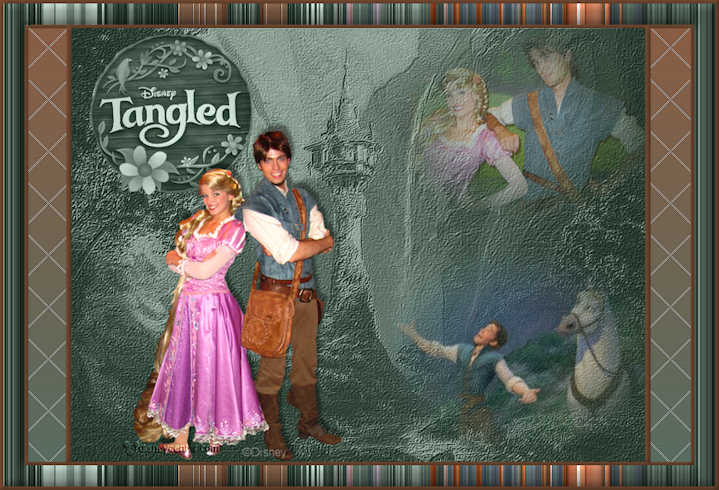
Tangled
1.
File – open new transparent image 800x600.
Set in the material palette the foreground on
#495d51 and the background on #7a4e35.
2.
Activate flood fill tool – and fill the layer with the
foreground color.
Selections – select all.
3.
Layers - new raster layer
Activate the image tangledcastle – edit - copy.
Edit - paste in selection.
Selections – select none.
4.
Put in your Layer palette the blend mode of this layer to luminance (Legacy).
Set the opacity to 57.
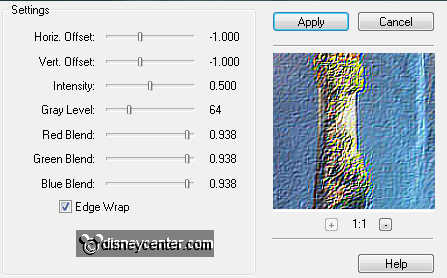
Effects – plug-ins - FM Tile Tools – Blend Emboss – with this setting - click
Apply.
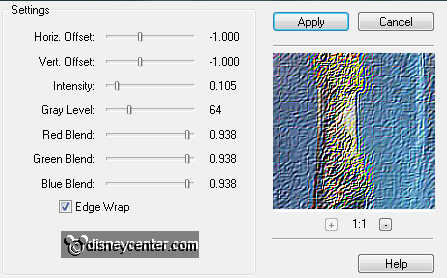
Repeat the Blend Emboss – with this setting - click OK.
5.
Activate the misted tube tangled10 – edit - copy.
Edit - paste as a new layer on the image.
Image – resize 75% - all layers not checked.
Activate move tool – and move the tube in the right upper corner.
Set in the layer palette the opacity to 60.
6.
Activate the misted tube tangled12 – edit - copy.
Edit - paste as a new layer on the image.
Image – resize 85% - all layers not checked.
Image – mirror.
Move the tube with the move tool right at the bottom.
Set in the layer palette the opacity to 75.
7.
Activate the tube tangled3 - edit - copy.
Edit - paste as a new layer on the image.
Move the tube with the move tool left at the top – see example.
Put in your Layer palette the blend mode of this layer to luminance (Legay).
8.
Activate the tube tangled1 - edit - copy.
Edit - paste as a new layer on the image.
Move the tube left at the bottom about 100 pixels from the side.
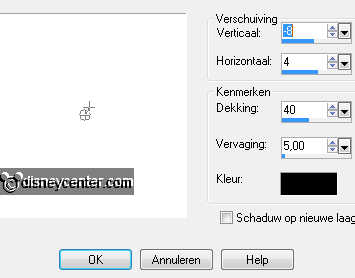
Effects – 3D Effects – drop shadow – with this setting.
9.
Layers – new raster layer – put our watermark into the image.
Layers – merge – merge all.
Image – resize 85% - all layers checked.
10.
Image – add border – symmetric not checked – with this setting.
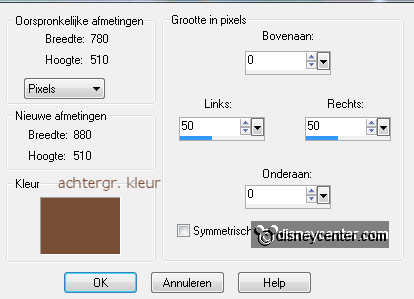
Make from the foreground a gradient linear – with this setting.
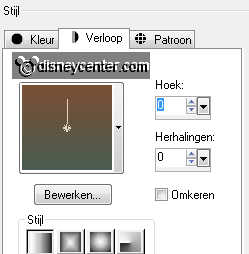
11.
Activate the magic wand – with settings below – select the brown squares.
Fill the selection with the gradient linear.
12.
Effects – plug-ins – L en k Landsiteofwonders – Frederick’s – with this setting
- click OK.
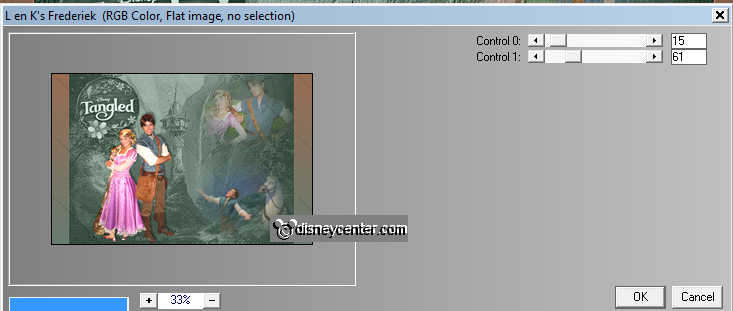
Effects – Edge effects – enhance.
In the layer palette – Promote selection to layer.
Image – mirror.
13.
Effects – Edge effects – enhance.
Set the opacity of this layer to 50.
Make the bottom layer active.
Effects – Edge effects – enhance.
Selections – select none.
14.
Make the top layer active.
Layers – merge - merge down.
15.
Image – add border – symmetric checked – 4 pixels - background color.
Select with the magic wand – setting is right – the brown border.
Effects – 3D Effects – Inner Bevel – with this setting.
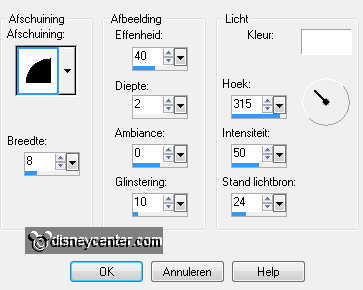
16.
Image – add border – symmetric checked – 25 pixels - foreground color.
Select with the magic wand – setting is right – the green border.
Effects – plug-ins – L en KLandsitesofwonders – Maxime – with this setting -
click OK.
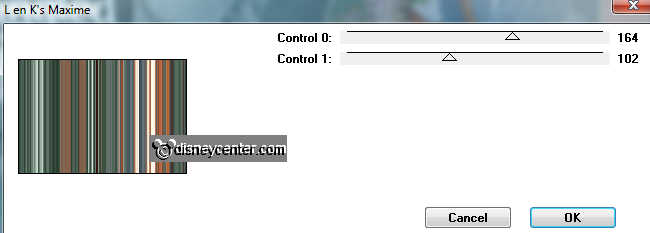
Effects - 3D Effects - Inner Bevel - setting is right.
17.
Image – add border – symmetric checked – 4 pixels - background color.
Finally we go pulling 2 stripes.
18.
Layers – new raster layer.
Go to pen tool – with this setting below – width to 7.00.

Turn in your Layer palette the colors, so the foreground is brown.
Lock the background color.
19.
Pull from this point to the bottom-see below.
For the start-left click with your mouse-for finishing-double click with your
mouse.
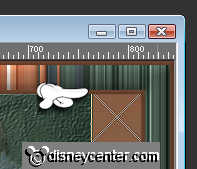
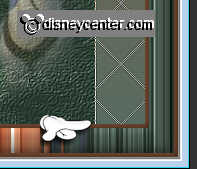
Do this also to the other side.
Effects – 3D Effects – Inner Bevel – setting is right.
20.
Layers – merge - merge all.
Image – resize 85% - all layers checked.
File – export – JPEG Optimizer.
Ready is the tag
I hope you like this tutorial.
greetings Emmy
Tested by Nelly

tutorial written 26-10-2012
|