|

This
Tutorial is copyrighted to the Tutorial Writer, © Emmy Kruyswijk
04-01-2013.
This Tutorial
may
not be forwarded, shared or otherwise placed on any Web Site or group without written
permission from
Emmy Kruyswijk.
Many of the material are made by me.
Please respect my work and don't change the file names.
At all Disney creations must be copyrighted.
Do you want to link my lessons?
Please send
me a mail.
Needing:
3 tubes edited by me, 1 selection, 1 animation - made by me.
Plug-ins:
Penta.com - Dot and Cross, Simple - Left Top Corner,
Download here
Animation shop.
Before you begins......
Open the tubes in PSP,
Set the selection in the
folder selections and the plug-ins in the folder plug-ins.
Material

Together
1.
File - open new transparent image 650x500.
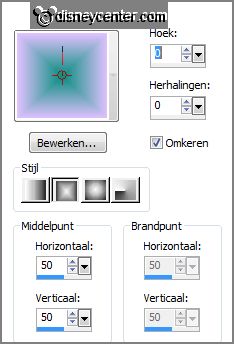
Set in the material palette the foreground on #bebaea and the background on #068d7e.
Make of the foreground a gradient rectangle - with this setting.
2.
Activate flood fill tool - fill the layer with the gradient.
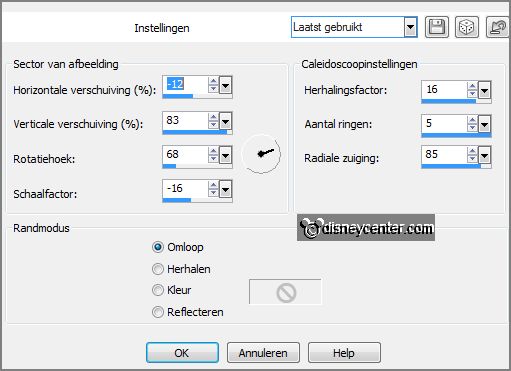
Effects - Reflection-effects - Kaleidoscoop -
with this setting.
3.
Activate the tube ijscoupe.
Image - resize 70% - all layers checked.
Edit - copy - edit - paste as a new layer on the image.
4.
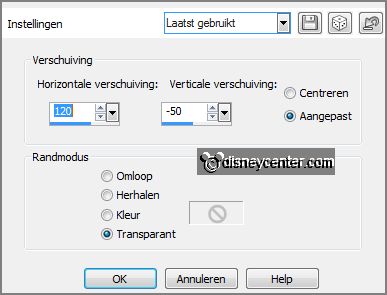
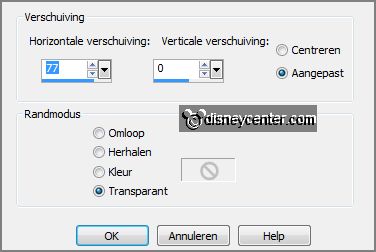
Effects - Image effects - offset -
with this setting.
Layers - duplicate.
Image - mirror.
5.
Edit - paste as a new layer on the image - is still in memory.
Activate move tool - move this a little up - about 50 pixels of the top side.
Lock the bottom layer.
6.
Layers - merge - merge all visible layers.
Adjust - blur - Gaussian blur - radius 25.
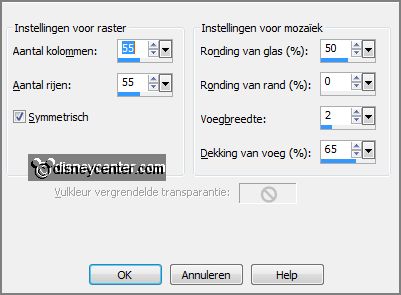
Effects - Texture effects - mosaic glass -
with this setting.
7.
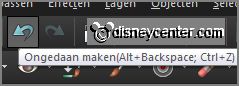
Activate the tube ijscoupe - click at the blue arrow (undo).
Edit - copy - edit - paste as a new layer on the image.
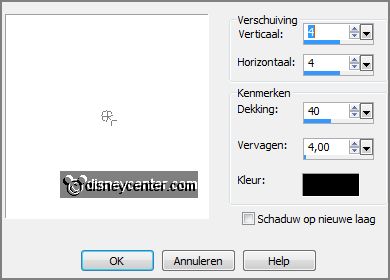
Effects - 3D Effects - drop shadow -
with this setting.
8.
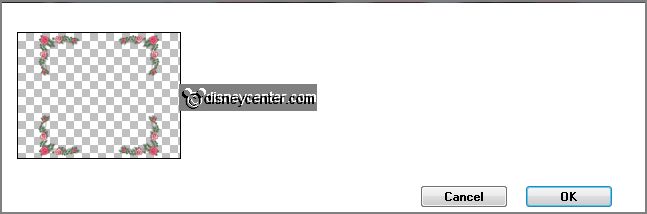
Activate the bloemencorner - edit - copy.
Edit - paste as a new layer on the image.
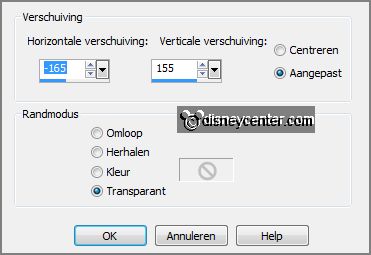
Effects - Image effects - offset -
with this setting.
9.
Effects - 3D Effects - drop shadow - setting is right.
Effects - plug-ins - Simple - Left Top Corner - click OK.
10.
Lock the bottom layer.
Layers - merge - merge all visible layers.
Effects - Image effects - offset -
with this setting.
11.
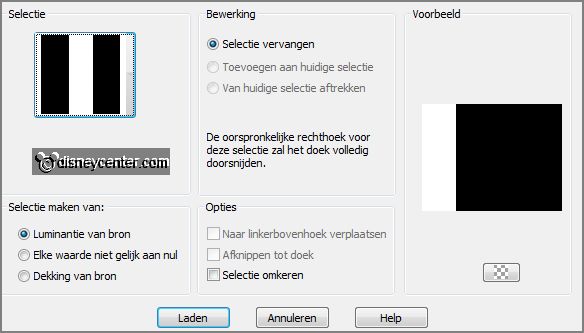
Selection - load/save selection - load selection from disk - look Emmytogether -
with this setting.
Layers - new raster layer.
Fill the selection with the foreground color.
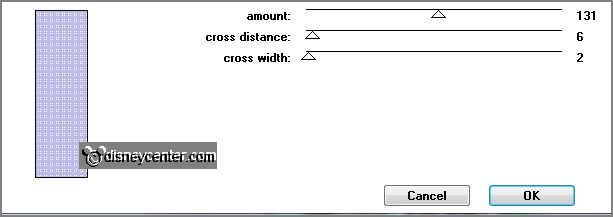
Effecten - insteekfilters - Penta.com - Dot and Cross -
with this setting - click OK.
12.
Selections - modify - contract 15 pixels - click at the delete key.
Selections - select none.
Effects - 3D Effects - drop shadow - setting is right.
13.
Activate the magic wand - with setting below - and select in the rectangle.

Selections - modify - expand 6 pixels.
Layers - new raster layer.
14.
Fill the selection with the foreground color.
Layers - arrange - move down.
Selections - select none.
15.
Activate the tube Emmybloem - edit - copy.
Edit - paste as a new layer on the image.
Effects - 3D Effects - drop shadow - setting is right.
16.
Place this left at the top - see example.
Layers - duplicate.
Image - mirror - image - flip.
Place this left at the bottom.
17.
Activate text tool - with setting below.

Lock the foreground and set the background at
#fa7495 and write - Valentine - convert to raster layer.
Effects - 3D Effects - drop shadow - setting is right.
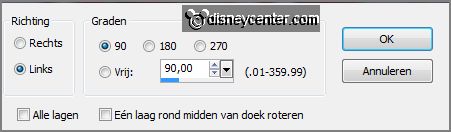
18.
Image - free rotate -
with this setting.
Place the text to the left side - see example.
Layers - new raster layer - put your watermark into the image.
19.
Image - add border 2 pixels - symmetric - color #fa7495.
Image - add border 4 pixels - symmetric - color #bebaea.
Image - add border 2 pixels - symmetric - color #fa7495.
20.
Edit - copy.
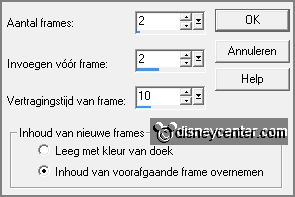
Open Animation Shop - edit - paste as a new animation.
Animation - Insert frame - Empty -
with this setting.
Edit - select all.
21.
Open animation rose - edit - select all.
Edit - copy - edit - paste into selected frames of the image.
Place this left at the top.
22.
File - save as - give name - click 3 times at next and than at finish.
Ready is the tag
I hope you like this tutorial.
greetings Emmy
Tested by Nelly

tutorial written 08-01-2013.
| 