1.
File - open new transparent image
800x650.
Set in the material palette the foreground color on
#478436 and
the background color on
#8eb084.
Activate flood fill tool - fill the layer with the
background color.
2.
Activate the tube tree –
edit - copy.
Edit - paste as a new layer on the image.
Objects – Align – right.
Objects – Align – top.
3.
Layers – duplicate.
Image – mirror.
Layers – merge – merge down.
4.
Activate selection tool– rectangle – and make a selection – as below.
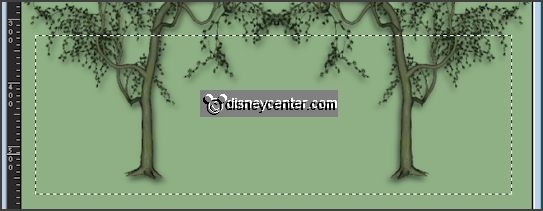
Click at the delete key.
Selections – select none.
5.
Layers – duplicate.
Image – flip.
Layers – merge – merge down.
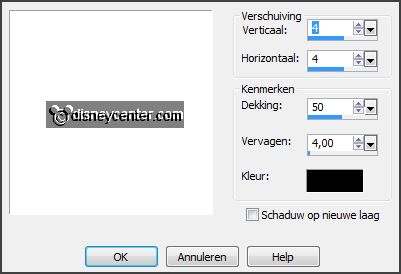
Effects – 3D Effects – drop shadow – with this setting.
6.
Activate the tube sd-element-23 –
edit - copy.
Edit - paste as a new layer on the image.
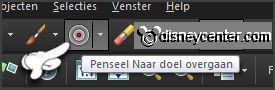
Activate change to target tool – size 20 and go over the
frame.
7.
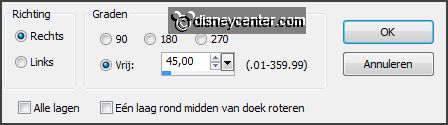
Image – free rotate –
with this setting.
Activate the magic wand – with setting below – and select in the middle of the frame.

Selections – modify - expand 3 pixels.
8.
Layers – new raster layer.
Activate the image 3d_spooky_halloween_33 –
edit - copy.
Edit - paste in selection
Layers – arrange – move down.
Selections – select none.
9.
Activate the top layer.
Effects – 3D Effects – drop shadow – setting is right.
Layers – merge – merge down.
10.
Activate the tube frame klein –
edit - copy.
Edit - paste as a new layer on the image.
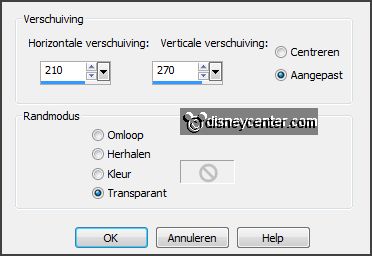
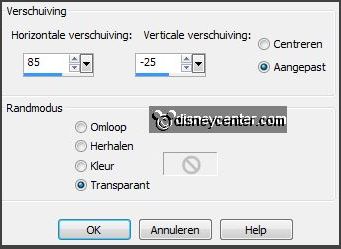
Effects – Image effects – offset –
with this setting
11.
Select with
the magic wand – setting is right –
in the middle of the
frame.
Selections – modify - expand 3 pixels.
Layers – new raster layer.
Set in the material palette the background to #404040.
Fill the selection with the background color.
Layers – arrange – move down.
12.
Activate the top layer.
Effects – 3D Effects – drop shadow – setting is
right.
Layers – merge – merge down.
13.
Turn in the material palette the colors and lock the foreground color.
Activate text tool –
with this setting
– and write – Trick or Treat –
convert to raster layer.

Effects – 3D Effects – drop shadow – setting is
right.
Layers – merge – merge down.
14.
Activate the tube y15 –
edit - copy.
Edit - paste as a new layer on the image.
Activate move tool – place the tube left at the bottom.
Effects – 3D Effects – drop shadow – setting is
right.
15.
Activate the tube halwpompoen –
edit - copy.
Edit - paste as a new layer on the image.
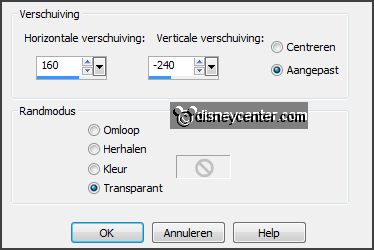
Effects – Image effects – offset
–
with this setting.
16.
Layers – new raster layer – put your watermark on the image.
Turn the colors in the material palette and set the background to #8eb084.
Image – add borders 5 pixels – symmetric – color #404040.
Image – add borders 25 pixels – symmetric –background
color.
Image – add borders 5 pixels – symmetric – color #404040.
17.
Select with the magic wand – setting is right
– the width border.
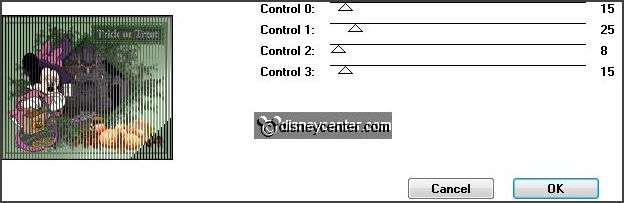
Effects – plug-ins – Tramages – Tow the Line –
with this setting.
Promote selection to layer.
Selections – select none.
18.
Layers – duplicate.
Image – mirror..
Set the opacity to 50.
Layers – merge – merge down.
19.
Layers – duplicate and 1 more time.
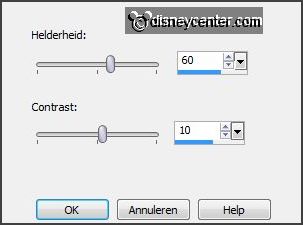
Adjust – brightness and contrast – brightness/contrast -
with this setting.
Activate the layer below ( copy of promoted selection).
Adjust – brightness and contrast –
brightness/contrast
- put brightness to 40
– contrast is right.
Activate the layer below (copy(2)
of promoted selection).
Adjust – brightness and contrast –
brightness/contrast
-
put brightness to 20
– contrast is right.
Lock the 2 top layers.
20.
Activate the tube KAagard_HalloweenSampler_boo –
edit - copy.
Edit - paste as a new layer on the image.
Effects – Image effects – offset
-
with this setting.
Layers – duplicate and 1 more time.
Set the opacity to 0
Activate the layer below ( copy of raster 1).
Set the opacity to 50
Lock the 2 top layers.

