Foreground color white and background color #a88042.
1.
Open new transparent image 800x600.
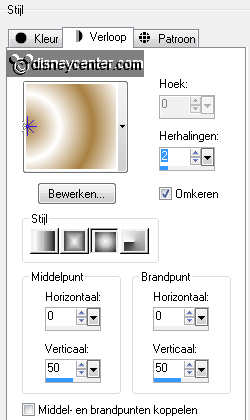
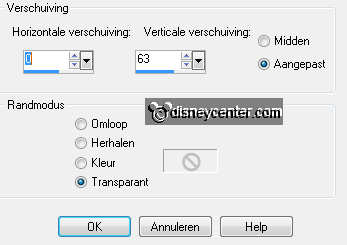
Fill this with gradient sunburst - with this setting.
Duplicate this layer - image - mirror.
Set the opacity of this layer at 50.
Layers - merge - merge down.
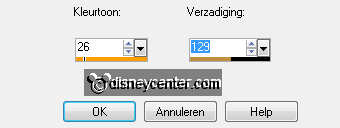
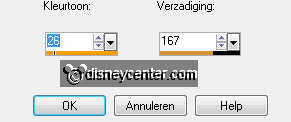
Adjust - Hue and Saturation - Colorize - with this setting.
2.
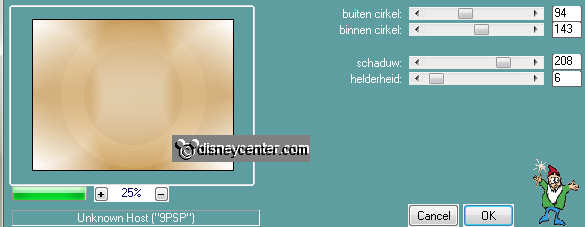
Effects - Plugins - L en K Landofwonders - L en N Kaithlyn -
with this setting.
Effects - Edge Effects - enhance.
Duplicate this layer.
3.
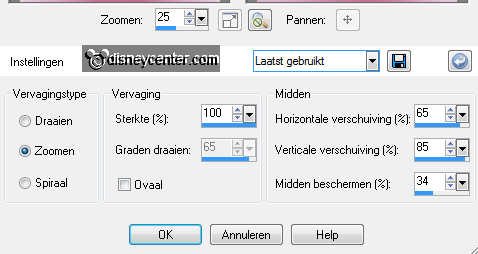
Adjust - Blur - radial blur - with this setting.
Effects - Art Media Effects - Brush Strokes - with this setting.

Repeat Art Media Effects - Brush Strokes - twice.
4.
Image - resize 35% - all layers not checked.
Image - mirror - image - flip.
Make the bottom layer active.
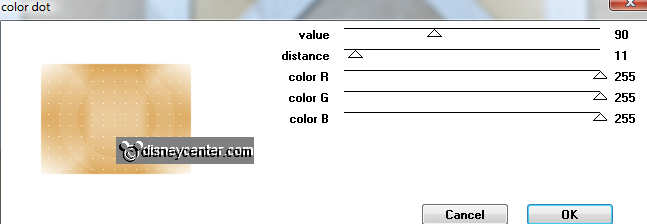
Effects - Plugins - Penta.com - Color dot - with this setting.
Adjust - Hue and Saturation - Colorize - with this setting.
Selections - select all - selections - modify - contract 10 -
selections - invert.
5.
Fill the selection with the gradient.
Effects - Plugins - Graphics Plus - Cross Shadow - all at
50.
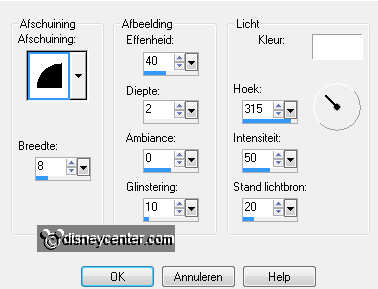
Effects - 3D Effects - Inner Bevel - with this setting.
Selections - select none.
6.
Make the top layer active.
Place this layer in the left upper corner against inside the border.
Effects - Plugins - Simple - left top mirror - click at OK.
Effects 3D Effects - drop shadow - with this setting.

Duplicate this layer Image - resize 75% - all layers not checked.
7.
Copy frame_emmy and paste as a new layer on the image.
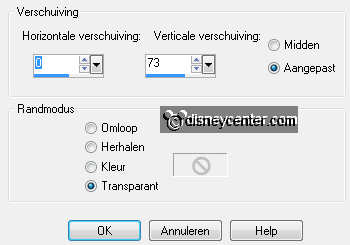
Effects - Image Effects - Offset - with this setting.
Give the same drop shadow as in point 6.
8.
Select with the magic wand the left and the middle square.
Selections - modify - expand 10.
Open ssam_sweetlove_paper(9) - Copy this and paste as a new layer
on the image.
Move this against the left side.
Selections - invert - click at the delete key.
Selections - select none.
Layers - arrange - move down.
9.
Make the top layer active.
Select with the magic wand the right square.
Selections - modify - expand 10.
Copy ssam_sweetlove_paper(9) - and paste as a new layer on the
image.
Move this against the right side.
Selections - invert - click at the delete key.
Selections - select none.
Layers - arrange - move down.
Layers - merge - merge down.
10.
Make the top layer active.
Open ssam_sweetlove_element(49) - image - rotate right.
Copy this and paste as a new layer on the image.
Place this left at the bottom.

Duplicate this layer - image - free rotate - right 45.
Place this above the other - look for example.
Duplicate this layer - image - free rotate - right 30.
Place this above the other2 - see example.
Layers - merge - merge down - and 1 more time.
Image - resize 85% - all layers not checked.
Give the same drop shadow as in point 6.
11.
Open ssam_sweetlove_element(47) - image -
resize 35% - all layers checked.
Copy this and paste as a new layer on the image.
Place this as below.
Give the same drop shadow as in point 6.
Duplicate this layer - image - resize 65% - all layers not checked.
Duplicate 1 more time. Place them near the other at the right side
above each other. see example.
Layers - merge - merge down - 1 more time.
Layers - merge - merge down. (This is the element(49) layer))
Duplicate this layer - image - mirror.
Layers - merge - merge down.
12.
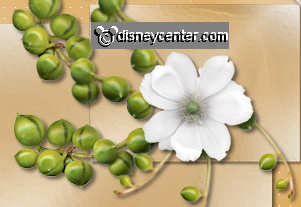
Open ssam_sweetlove_element(10).
Go to Lighten/Darken Brush - click at the little triangle - Change
to Target.
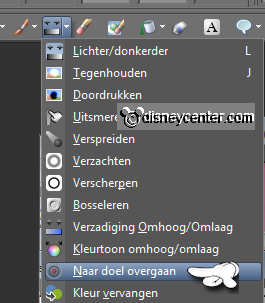
Set the foregrounds color at #464f0f - size 20.
Click nu at the red button - Go over the pink part at both sides.
Image - resize 80% - all layers checked.
Copy this and paste as a new layer on the image.
Give the same drop shadow as in point 6.
Place this between the 2 flowers - see example.
Layers - arrange - move down.
13.
Copy word-art Love is Friendship and paste as a new layer on
the image.
Place this in the middle at the bottom.
Copy mmboer and paste as a new layer on the image.
Effects - Image Effects - Offset - with this setting.
Set the opacity of this layer for now at 40.
Go to freehand selection - point to point - and make a selection as
below.
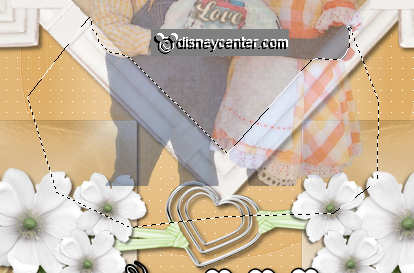
Click at the delete key - selections - select none.
Set the opacity back to 100.
14.
Copy word-art love and paste as a new layer on the image.
Place this in the left square at the bottom in the middle.
Duplicate this layer and place this in the right square at the
bottom in the middle.
15.
Open ssam_sweetlove_element(8) - Image - resize 75% - 3 times - all layers
checked.
Copy this and paste as a new layer on the image.
Place this in the middle at the op of the left square.
Give the same drop shadow as in point 6.
Copy hartje and paste as a new layer on the image.
Give the same drop shadow as in point 6.
Layers - arrange - move down.
Layers - merge - merge down.
Duplicate this layer - image - mirror.
16.
New raster layer - put your watermark into the image.
Lock the bottom 3 layers and stay at 1 of the other layers.
Layers - merge - merge all visible.
Open the 3 bottom layers.
Make copy of raster 1 active.
17.
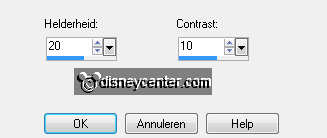
Adjust - Brightness and Contrast - brightness/contrast - with
this setting.
Edit - copy merged.
Open Animatie shop.
Paste as a new animation.
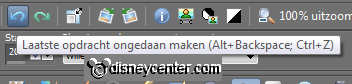
Back in PSP - click 1 time at Undo Last Command.
Repeat Brightness and Contrast - brightness/contrast - now with
brightness at 25 - contrast stays the same.
Edit - copy merged.
Back in AS - paste after active frame.
18.
Edit - select all.
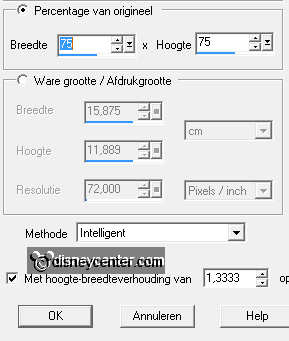
Animation - resize format of animation 75% - Maintain aspect
ratio checked.
File - save as - give name - click 3 times at next and than at
finish.