1.
File - open new transparent image 700x550.
Convert to raster layer.
Set in the material palette the foreground color at #fef102
and the background color at #3c9342.
2.
Selections – select all.
Activate the image wk-2014 – edit - copy.
Edit – paste into selection.
Selections – select none.
3.
Adjust – blur – Gaussian blur – radius 20.
Effects – Distortion effects – Pinch – with this setting.
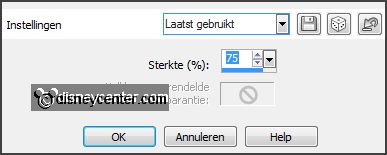
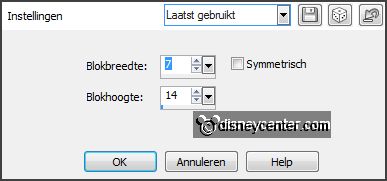
Effects – Distortion effects – Pixelate
– with this setting.
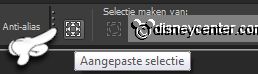
Activate selection tool – custom selection –
with this setting.
4.
Layers – new raster layer.
Activate flood fill tool - fill the selection with the background color.
Edit – paste (is still in memory) into selection.
Set in the layer palette the blend mode to Luminance (Legacy) and the opacity to 50.
5.
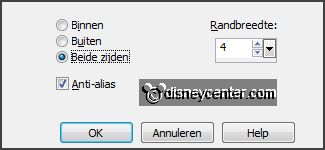
Selection – modify – select selection borders –
with this setting.
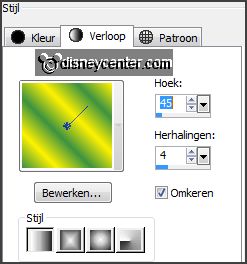
Make from the foreground a gradient linear –
with this setting.
Layers – new raster layer.
Fill the selection with the gradient.
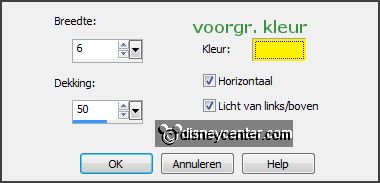
6.
Effects – Texture effects – Weave – with this
setting.

Selections – select none.
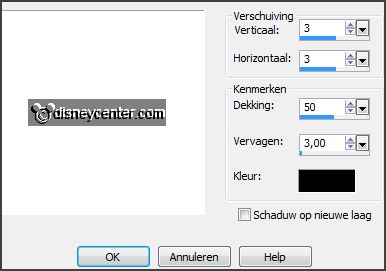
Effects – 3D Effects – drop shadow – with this
setting.
Layers – merge - merge all visible layers.
7.
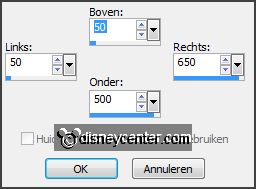
Image – add borders 3 pixels – symmetric – foreground color.
Image – add borders 30 pixels – symmetric –
background color.
Image – add borders 3 pixels – symmetric –
foreground color.
8.
Activate the magic wand – with setting below
- select the width green border.

Effects – Texture effects – Blinds – with this
setting.
Selections – select all.
Selections – modify – contract 33 pixels.
Promote selection to layer.
9.
Activate the bottom layer.
Selections – select all.
Selections - modify – contract 80 pixels.
Selections - invert.
Promote selection to layer.
Selections – select none.
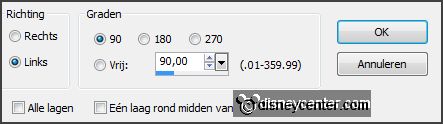
Image – free rotate – with this setting.
10.
Activate the bottom layer.
Selections – select all.
Selections - modify – contract 3 pixels.
Selections - invert.
Layers - new raster layer.
Set in the material palette the foreground back to color.
Fill the selection with the foreground color.
Layers - arrange - move up.
11.
Activate the top layer.
Activate the word-art-Emmyfifa2014 – edit - copy.
Edit - paste as a new layer on the image.
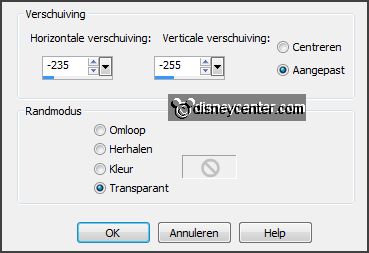
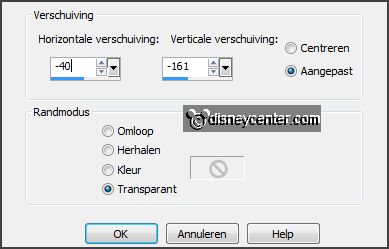
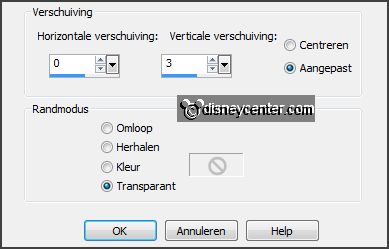
Effects – Image effects – offset – with this
setting.
12.
Activate the tube micfootball1a– raster1 –
edit - copy.
Edit - paste as a new layer on the image.
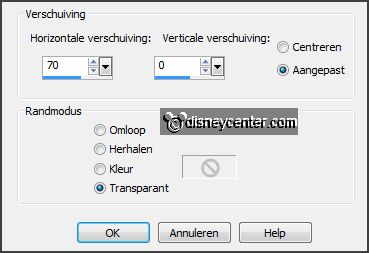
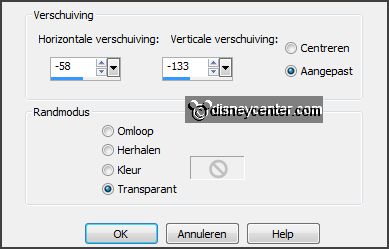
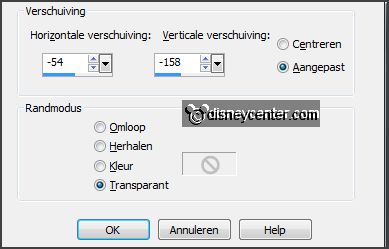
Effects – Image effects – offset –
with this setting.
13.
Effects – Distortion effects – Wind – with
this setting.
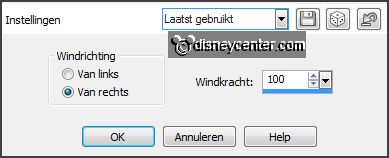
Repeat the wind – now left 100.
Effects – Texture effects – Mosaic Antique –
with this setting.

14.
Activate the tube mcfootball1 – raster 1 -
edit - copy.
Edit - paste as a new layer on the image.
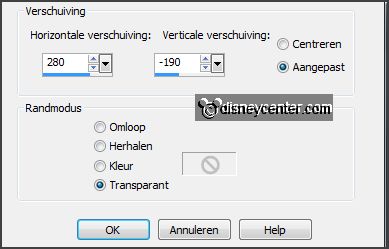
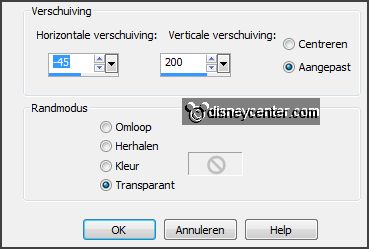
Effects – Image effects – offset –
with this setting.
Activate from the tube raster 2 – edit - copy.
Edit - paste as a new layer on the image.
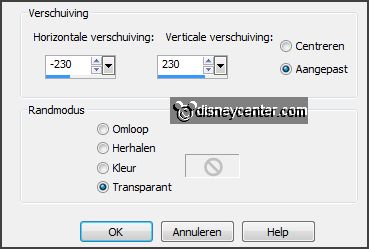
Effects – Image effects – offset –
with this setting.
Activate from the tube raster 3 – edit - copy.
Edit - paste as a new layer on the image.
Effects – Image effects – offset –
with this setting.
Give all 3 layers drop shadow – setting
is right.
15.
Activate the tube wc-2014 – edit - copy.
Edit - paste as a new layer on the image
Effects – 3D Effects – drop shadow –
setting is right.
16.
Activate the tube voetbal – edit - copy.
Edit - paste as a new layer on the image.
Effects – Image effects – offset –
with this setting.
17.
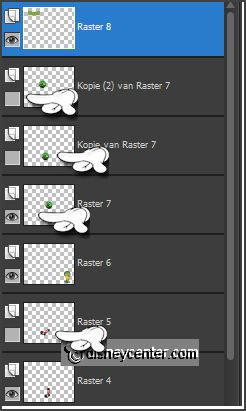
Layers – duplicate.
Lock raster 7 for now.
Effects – Image effects – offset –
with this setting.
18.
Layers – duplicate.
Lock copy of raster 7.
Effects – Image effects – offset –
with this setting.
19.
Activate the word-art-Emmybrasil – edit - copy.
Edit - paste as a new layer on the image.
Effects – Image effects – offset –
with this setting.
Layers - new raster layer - put your watermark in to the image.
20.
Make the Animation:
Lock raster 5, copy of raster7 and copy(2) of raster 7 and open raster
7.
Activate the bottom layer.
Edit – copy merged.
Open Animation Shop – edit – paste as a new animation.
21.
Back in PSP.
Lock raster 7 and open copy of raster 7.
Edit – copy merged.
In AS – paste after active frame.
22.
Back in PSP.
Lock raster 4 and copy of raster 7 and open raster 5 and copy(2) of
raster 7.
Edit – copy merged.
In AS – paste after active frame – be sure the last frame is selected.
23.
Animation – Frame Properties.
Put the first frame to 70, the second and the third frame to 40.
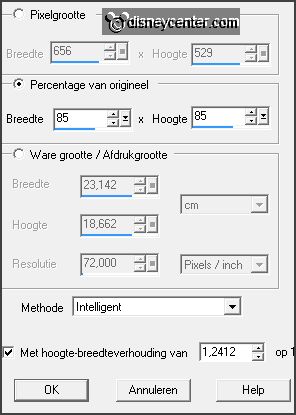
Animation – resize format of animation – with
this setting.
24.
File – save as – give name – click 3 times at next and than at finish.