Foreground color #b8d0db and background color #c0c0c0.
1
Open new transparent image 700x700.
Fill this with the foreground color.
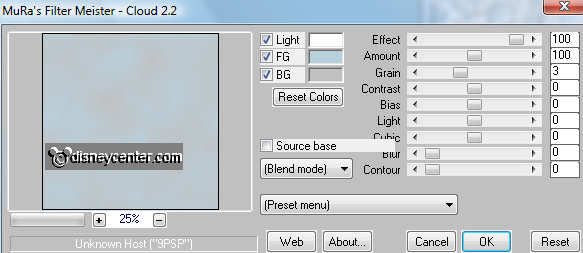
Effects - Mura's Meister - Clouds - with this setting.
2.
Selections - select all.
Selections - modify - contract 20 - selections - invert.
New raster layer - Fill this with the background color.
3.
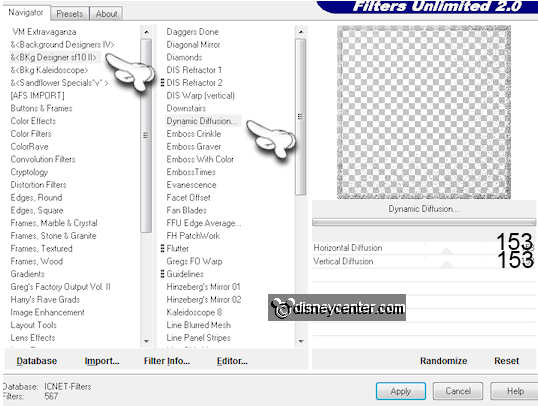
Effects - Filter Unlimited 2.0 - &<Bkg Designer sf10 II -
Dynamic Diffusion - with this setting.
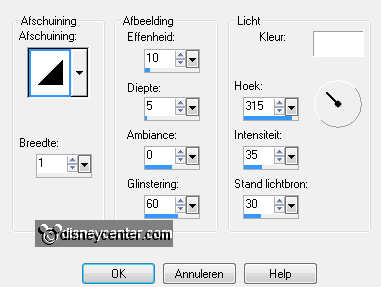
Effects - 3D Effects - Inner Bevel - with this setting.
Selections - select none.
Edit - copy - paste as a new image.
Call this list - put this aside.
4.
Delete raster 2.
Copy of the scrapkit ele31 and paste as a new layer on the image.
Place this at the bottom.
Duplicate this layer 3 times. Place them all above each other.
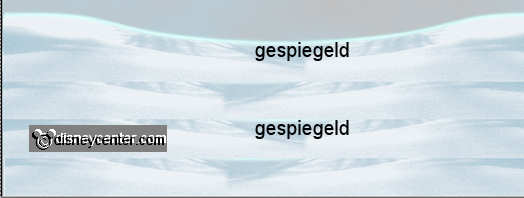
Mirror the second and fourth layer.
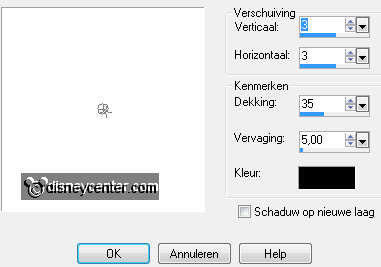
5.
Layers - merge - merge down 3 times.
Copy ele32 and paste as a new layer on the image.
Place this 250 pixels from the bottom.
Effects - 3D Effects - drop shadow - with this setting.
6.
Copy ele29 and paste as a new layer on the image.
Image - resize 85% - all layers not checked.
Place this in the middle.
Give the same drop shadow as in point 5.
7.
Duplicate this layer - Image - resize 75% - all layers not
checked.
Place this left from the tree.
Open ele27 - Image - resize 50% - 1 time 75% - all layers checked.
Copy this and paste as a new layer on the image.
Place this between the 2 trees - Layers - arrange - move down.
Give the same drop shadow as in point 5.
8.
Open ele28 - Image - resize 50% - 1 time 75% - all layers
checked.
Copy this and paste as a new layer on the image.
Place this before the other.
Give the same drop shadow as in point 5.
9.
Copy TH_100AP and paste as a new layer on the image.
Place this near the white Christmas tree.
Give the same drop shadow as in point 5.
10.
Duplicate this layer - place this with the bottom of the tree -
100 pixels of the bottom.
Open ele26 - Image - resize 50% - all layers checked.
Copy this and paste as a new layer on the image.
Place this at the right side - 20 pixels of the side.
Give the same drop shadow as in point 5.
11.
Go to selection tool - rectangle - and make a selection round
this part of the tree.
Stay at the layer below ( tree right) - Click at the delete key.
Selections - select none.
12.
Blijf op deze laag staan.
Open ele8 - Image - resize 50% - all layers checked.
Give the same drop shadow as in point 5.
Copy this and paste as a new layer on the image.
Plaats deze net iets achter het hek. zie hieronder.
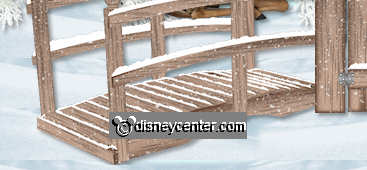
13.
Open ele30 - Image - resize 50% - all layers checked.
Give the same drop shadow as in point 5.
Copy this and paste as a new layer on the image.
Place this before the fence - see example.
14.
Open ele7 - image - resize 2 times 50% - all layers checked.
Give the same drop shadow as in point 5.
Copy this and paste as a new layer on the image.
Place this before the fence - near the other one at the right side.
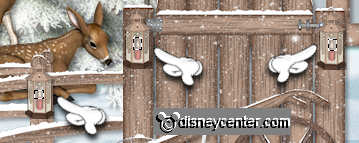
15.
Duplicate this layer - Image - resize 50% - all layers not
checked.
Open ele18 - Image - resize 25% - 1 time 50% - all layers checked.
Give the same drop shadow as in point 5.
Copy this and paste as a new layer on the image.
Place this before the fence - see example.
16.
Duplicate this layer 2 times and place this at the other side of
the fence.
And 1 at the bridge in the middle.
Layers - merge - merge 2 times down.
17.
Go to selection tool - rectangle - and make a little selection
in the lanterns. - see below.
Duplicate this layer. Lock the top layer. Stay at the layer below.
Effects - Alien Skin Eye Candy 5 Nature - Fire - Set by settings
at small Candle. Further with this setting.

18.
Lock this layer and open the top layer and make this active.
Repeat the Fire - now with Fire Direction at 90 and click at random
seed.
The rest is good.
Selections - select none.
19.
Copy mmkerst2 and paste as a new layer on the image.
Place this at the left side.
Give the same drop shadow as in point 5.
20.
New raster layer - put your watermark into the image.
Lock the top layer of the merged lanterns (by me copy of raster12)
Make the bottom layer active.
Edit - copy merged.
21.
Open animation shop - paste as a new animation.
Back in PSP - Lock raster 12 and open copy of raster 12.
Edit - copy merged.
In AS - paste after active frame.
Edit - select all.
22.
Open animation sneeuw - edit - select all.
Copy - back to the image - paste into selected
frame.
Make sure he fits exactly there.
23.
Copy your list to animation shop.
Edit - duplicate selection - edit - select all.
Copy - back to the image - paste into selected
frame.
24.
Animation - Properties of frames at 20.
Animation - resize format of animation 85% - Maintain aspect ratio
checked.