|

This
Tutorial is copyrighted to the Tutorial Writer, © Emmy Kruyswijk
04-02-2013.
This Tutorial
may
not be forwarded, shared or otherwise placed on any Web Site or group without written
permission from
Emmy Kruyswijk.
Many of the material are made by me.
Please respect my work and don't change the file names.
At all Disney creations must be copyrighted.
Do you want to link my lessons?
Please send
me a mail.
Needing:
1 tube, 1 word-art, and 1 animation - made
by me.
1 image.
Plug-ins: Eye Candy 4000 - Jiggle, I.C.NET Software - Filters Unlimited 2.0 - &Background Designers IV - sf10
- @Blue Berry,
L&K Filters - Zitah
,
Download here
Animation Shop
Before you begins.......
Open the tubes, images and word-art in PSP,
Set the plug-ins in the folder
plug-ins.
Material

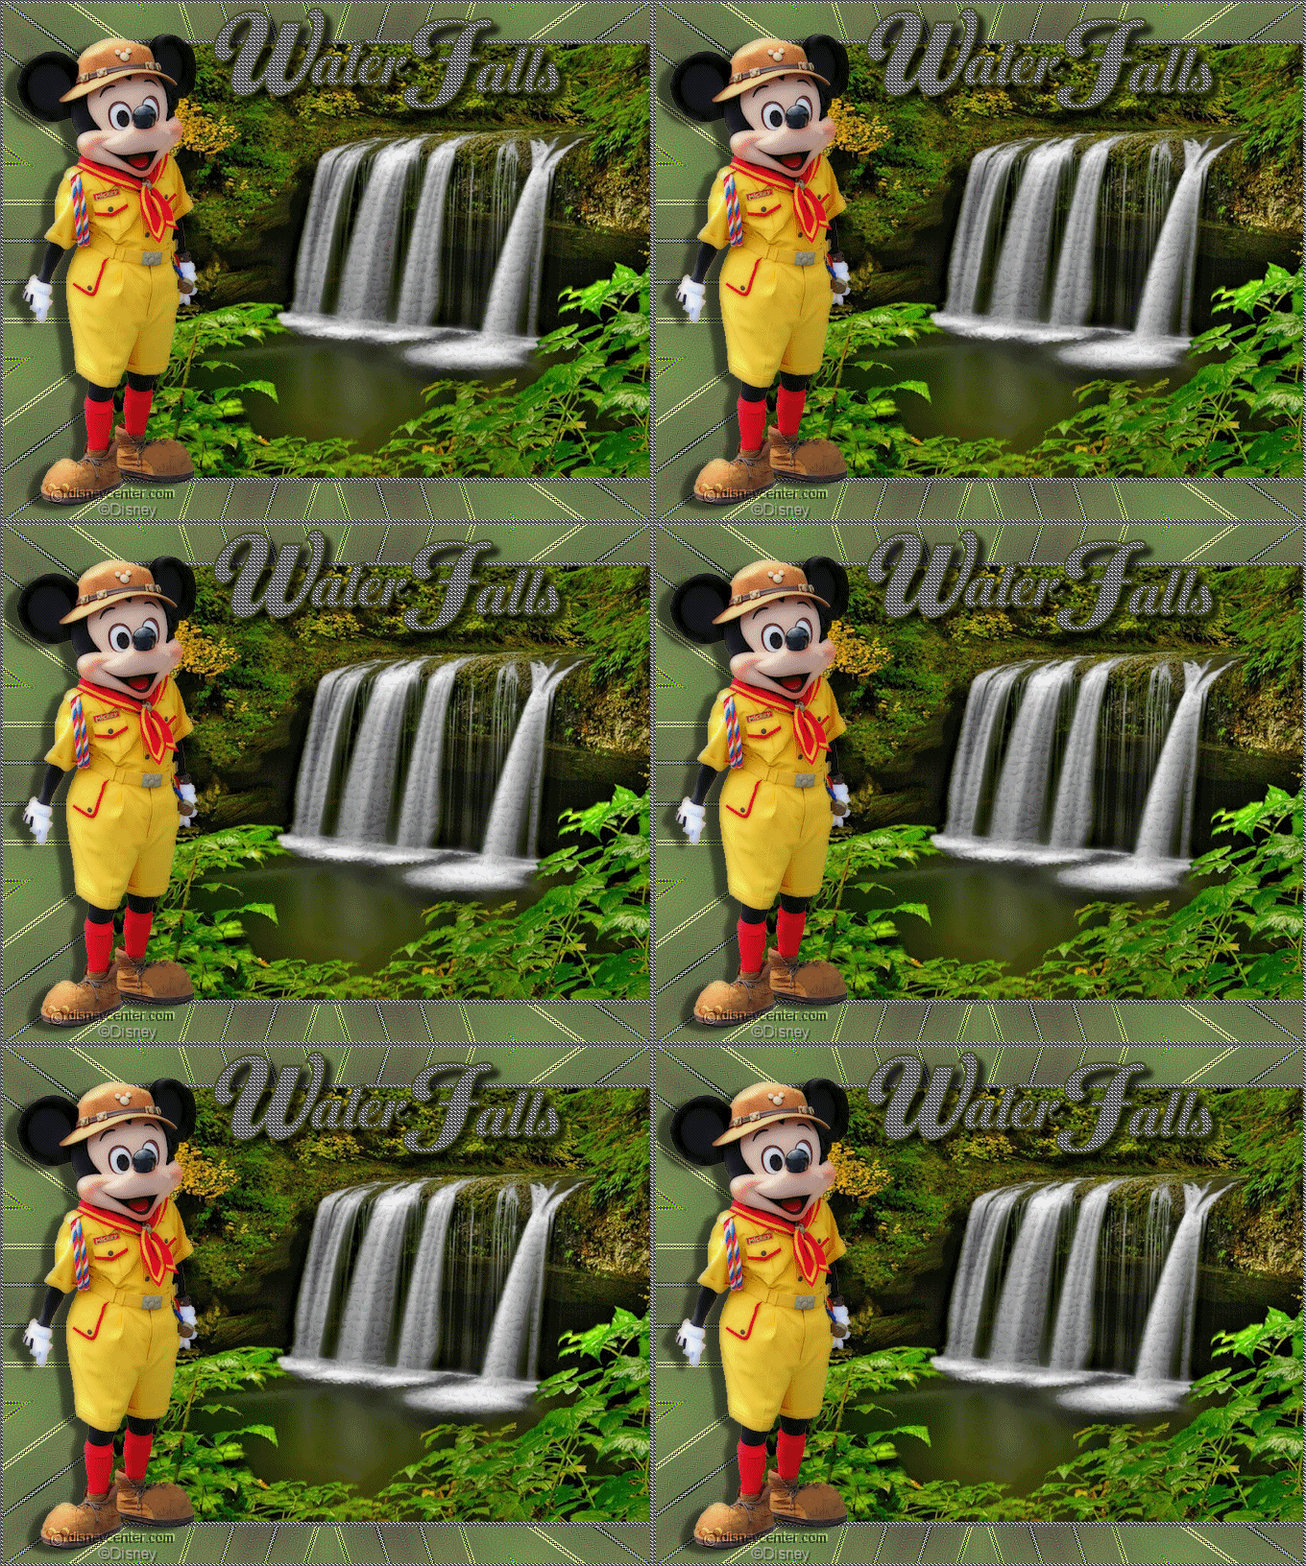
Waterfalls
1.
File - open new transparent image 700x500.
Set in the material palette the foreground color on #41491a and the background
on silver pattern - angle 0 - scale 100.
Fill the layer with the foreground color.
2.
Activate the image waterfalls - shift + D - minimize the original image.
Go further with the
duplicate.
Selections - select all.
Edit - copy.
Edit - paste in the selection.
Set in the layer palette the opacity of this layer to 73.
Layers - merge - merge all.
3.
Adjust - blur - Gaussian blur - radius 20.
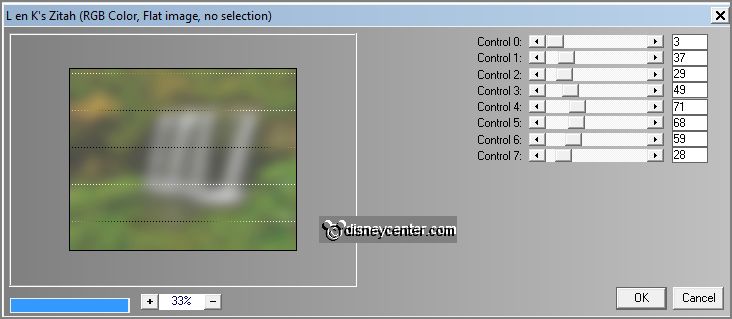
Effects - plug-ins - L&K Filters - Zitah - with this setting - click
OK.
Effects - Edge effects - enhance.
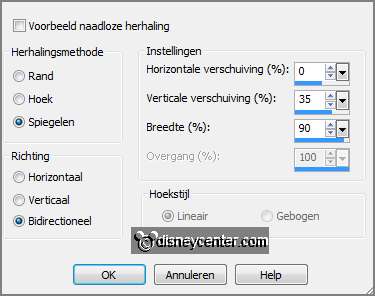
Effects - Image effects - seamless tiling -
with this setting.
4.
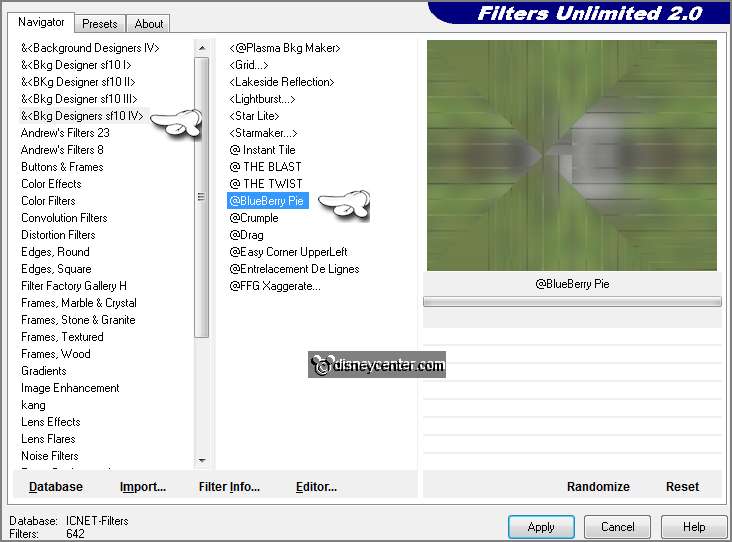
Effects - plug-ins - I.C.NET Software Filters Unlimited 2.0 - &Bkg Designers
sf10 IV - @Blue Berry - with this setting -
click Apply.
Effects - Edge effects - enhance more.
Layers - duplicate.
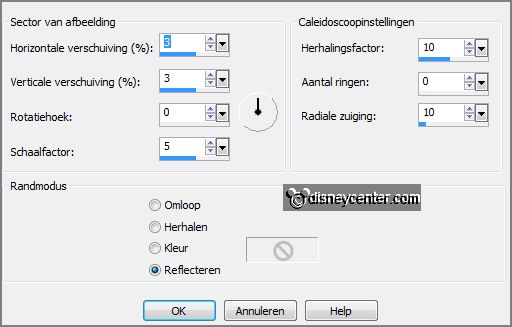
Effects - Reflection effects - Kaleidoscope -
with this setting.
5.
Activate the image waterfalls - edit - copy.
Edit - paste as a new layer on the image.
Image - resize - 85% - all layers not checked.
Objects - Align - right.
6.
Selections - select all.
Selections - float - selections - defloat.
Layers - new raster layer.
7.
Activate flood fill tool - fill the selection with the background ( silver
pattern).
Selections - modify - contract 5 pixels - click at the delete key.
Selections - select none.
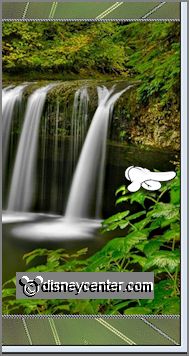
Move the silver border to the right, so he is gone - the image also a little to
the right - see below.
Layers - merge - merge down.
8.
Image - add border - symmetric 3 pixels - color red.
Activate the magic wand - with setting below - and select the red border.

Fill the selection with the silver pattern.
Selections - select none.
9.
Activate the tube Emmymicscout - edit -
copy.
Edit - paste as a new layer on the image.
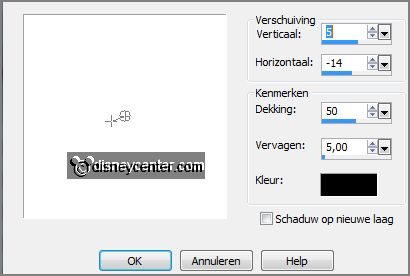
Effects - 3D Effects - drop shadow - with this setting.
Activate move tool - set the tube at the bottom
left.
10.
Activate word-art-waterfalls - edit - copy.
Edit - paste as a new layer on the image.
Place the word-art in the middle at the top - see example.
11.
Layers - new raster layer - put your watermark into the image.
Layers - merge - merge all.
Layers - duplicate.
12.
Activate freehand selection tool - from point to point - and make a selection as
below.
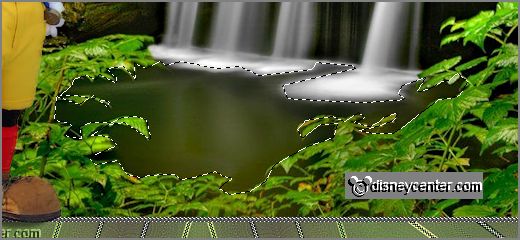
Layers - duplicate these selection layers 5 times.
Rename the selection layers in 1, 2, 3, 4, 5 and 6.
13.
Activate layer1 - Effects - Eye Candy 4000 - Jiggle - with this setting -
click
OK.
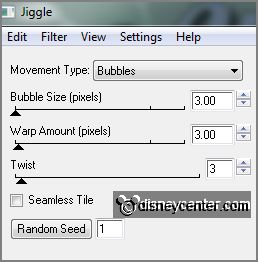
Activate layer 2 - repeat Jiggle - click on random Seed.
Activate layer 3 - repeat Jiggle - click on random Seed.
Activate layer 4 - repeat Jiggle - click on random Seed.
Activate layer 5 - repeat Jiggle - click on random Seed.
Activate layer 6 - repeat Jiggle - click on random Seed.
Selections - select none.
Lock in the layer palette the layers 1, 2, 3, 4, 5 and 6.
14.
Activate the bottom layer.
Activate freehand selection tool - from point to point - and make a selection as
below.
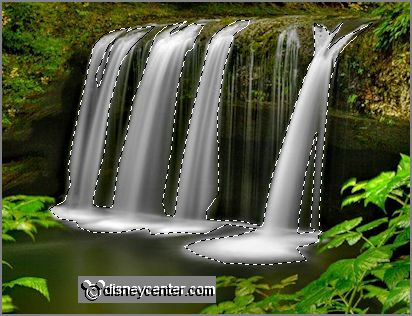
Layers - duplicate this layer 5 more times.
Rename the selection layers in 1a, 2a, 3a, 4a, 5a and 6a.
15.
Open Animation Shop - activate the animation waterfalls.
Edit - select all.
Edit - copy.
16.
Back in PSP - edit - paste as a new image.
Rename the layers in - a1, a2, a3, a4, a5, and a6.
Go back to the image with the selection.
17.
Activate a1 - edit - copy.
Activate the layer 1a - edit - paste as a new layer.
Selections - invert.
Move the layer exactly over the selection - click at the delete key.
Set in the layer palette the opacity of this layer to 13.
18.
Activate a2 - edit - copy.
Activate the layer 2a -
edit - paste as a new layer.
Move the layer exactly over the selection -
click at the delete key.
Set in the layer palette the opacity of
this layer to 13.
19.
Activate a3 - edit - copy.
Activate the layer 3a -
edit - paste as a new layer.
Move the layer exactly over the selection -
click at the delete key.
Set in the layer palette the opacity of
this layer to 13.
20.
Activate a4 - edit - copy.
Activate the layer 4a -
edit - paste as a new layer.
Move the layer exactly over the selection -
click at the delete key.
Set in the layer palette the opacity of this layer to 13.
21.
Activate a5 - edit - copy.
Activate the layer 5a -
edit - paste as a new layer.
Move the layer exactly over the selection -
click at the delete key.
Set in the layer palette the opacity of this layer to 13.
22.
Activate a6 - edit - copy.
Activate the layer 6a -
edit - paste as a new layer.
Move the layer exactly over the selection -
click at the delete key.
Set in the layer palette the opacity of this layer to 13.
Selections - select none.
23.
Remove in the layer palette the layers 1a, 2a, 3a, 4a, 5a and 6a.
Bu sure that the layers of raster1, 2, 3, 4, 5, and 6 are open and the layers 1,
2, 3, 4, 5, and 6 are closed.
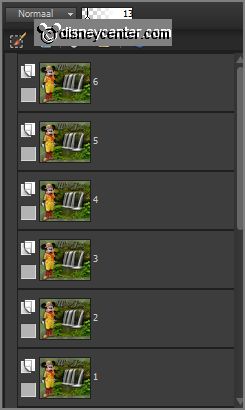
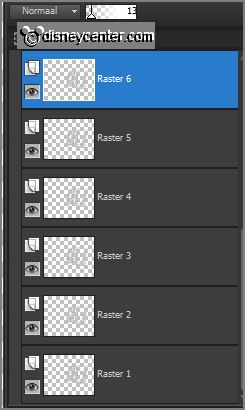
Make raster6 active - file - save as - PSP
Animation shop "psp" - name this fall.
24.
Close in the layer palette raster 1, 2, 3, 4, 5, and 6 and open the layers 1, 2, 3, 4,
5, and 6.
Make layer 6 active - file - save as - PSP Animation shop
"psp" - name this water.
25.
Go to Animation Shop - open the PSP
Animation shop "psp" water.
Edit - select all.
26.
Open PSP Animation shop "psp" fall -
edit - select all.
Edit - copy.
Edit - paste in selected frame of the image water.
27.
Be sure that the animation exactly fit on the waterfall.
Look if the animation is okay.
File - save as - give name - click 3 times at next and than at finish.
Ready is the tag
I hope you like this tutorial.
greetings Emmy
Tested by Nelly

tutorial written 04-02-2013.
|