Minimize the font
Open your tubes and
scrapkit in PSP.
Who's
that Girl
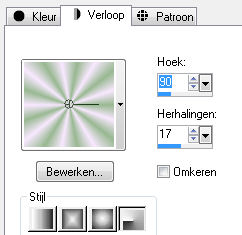
foreground color #f8e8ff and background color #93b68c
1.
Open new transparent image 700x600.
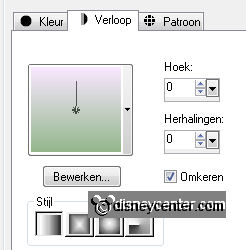
Fill this with gradient linear with this setting.
2.
Open de template
Copy Maskerlaag and paste as a new layer.
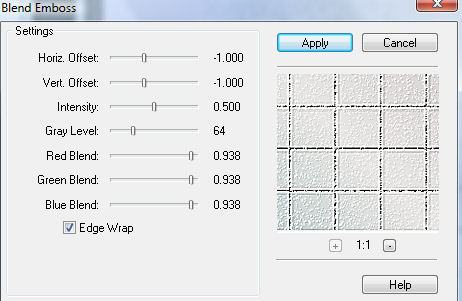
Effects - FM Tile Tools - Blend Emboss - with this setting.
Place this against the right side.
3.
Copy rechthoek and paste as a new layer.
Place this 10 pixels of the left side.
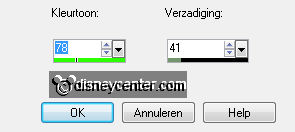
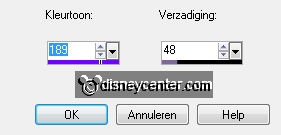
Adjust - Hue and Saturation - colorize - with this setting.
Effects - 3D Effects - drop shadow with this setting.

Repeat the drop shadow, but now with -2.
4.
Copy cirkel and paste as a new layer.
Adjust - Hue and Saturation - colorize - with this setting.
Place this also 10 pixels of the left side of the rectangle,
5.
Copy Ovaal and paste as a new layer.
Place this in the middle of the circle.
Copy balkjes and paste as a new layer.
Adjust - Hue and Saturation - colorize - with the same setting as in point 3.
Give the same drop shadow as in point 3.
Effects - FM Tile Tools - Blend Emboss - default setting.
6.
Duplicate this layer - image - mirror.
Place this at the left side (see example).
Copy Ovaal frame and paste as a new layer.
Adjust - Hue and Saturation - colorize - with the same setting as in point 3.
Give the same drop shadow as in point 3.
7.
Copy smalle balk and paste as a new layer.
Adjust - Hue and Saturation - colorize - with the same setting as in point 3.
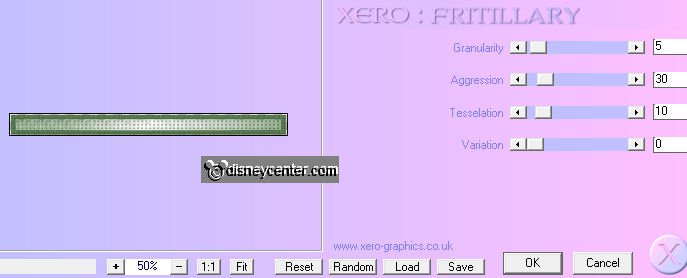
Select the black border - fill this with #597852.
Effects - Edge Effects - enhance.
Effects - Xero - Fritillary with this setting.
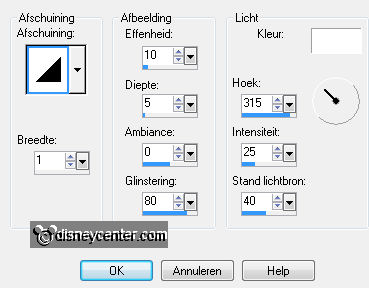
Effects - 3D Effects - Inner Bevel - with this setting.
8.
Duplicate this layer.
Place this right at the top - 10 pixels from the side.
Copy Daisy Duck and paste as a new layer.
Give the same drop shadow as in point 3.
Place this at the right side.
9.
Go to text tool - font CursiveElegant - size 72.
And write Who's - convert to raster layer. see example.
Below - size 48 - write - that - convert to raster layer.
Below - size 72 - write - Girl - convert to raster layer.
Give all 3 layers the same drop shadow as in point 3.
10.
Copy Saturday Night_Tree1_Scrap and paste as a new layer.
Image - resize 50% - all layers checked.
Place this in the left upper corner.
Give the same drop shadow as in point 3.
Layers - arrange - send to the bottom.
Layers - arrange - move up.
11.
Copy Saturday Night Bistro Chair and paste as a new layer.
Image - resize 50% - repeat with 75% - all layers checked.
Place this left at the bottom.
Give the same drop shadow as in point 3.
Duplicate this layer and place this below the word Girl.
12.
Copy Saturday Night Bistro Table and paste as a new layer.
Image - resize 50% - repeat with 75% - all layers checked.
Place this left at the bottom - between the 2 chairs.
Give the same drop shadow as in point 3.
13.
Copy Saturday Night Cocktail and paste as a new layer.
Image - resize 50% - all layers not checked.
Give the same drop shadow as in point 3.
Place this at the table.
14.
Layers - merge - merge all.
Image - add border 2 - color #597852.
Image - resize 75% - all layers checked.
15.
Image - add border 10 - foreground color.
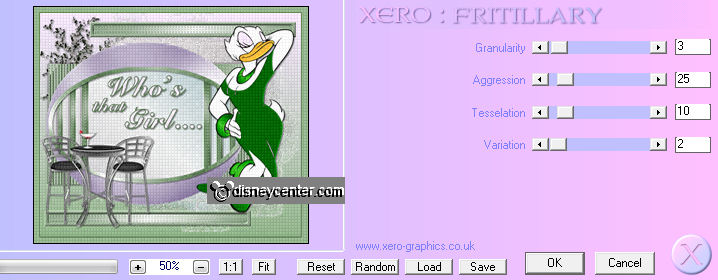
Select the border - Effects - Xero - Fritillary - with this setting.
Effects - Edge Effects - enhance - repeat the enhance.
Give the same Inner Bevels as in point 7.
Selections - select none.
16.
Image - add border 20 - foreground color.
Select the border - fill this with gradient radial - with this setting.
Effects - Distortion Effects - Pixelate - all at 10.
Effects - Edge Effects - more enhance.
Repeat - Edge Effects - more enhance.
Selections - select none.
17.
Image - add border 10 - foreground color.
Select the border - Effects - Xero - Fritillary - with the same setting as in
point 15.
Effects - Edge Effects - enhance - repeat the enhance.
Give the same Inner Bevels as in point 7.
Selections - select none.
18.
New raster layer - put your watermark into the image.
Layers - merge - merge all.
Would you still make an animation, then we go through.
19.
Open Animation Shop.
Copy your image - paste as a new animation in AS.
Edit - select all - duplicate selection.
20.
Open glitter.
Edit - select all - copy
Go back to your image - Edit - select all .
Paste in selected frame.
Place this where you like it.
You can do multiple times.
Now you just have to do - paste into selected frame - because the copy is still
in memory.
21.
File - save as - give name - click 3 times at next and than at finish.
Ready is the tag
I hope you like this tutorial.
greetings Emmy
Tutorial written
21-07-2011