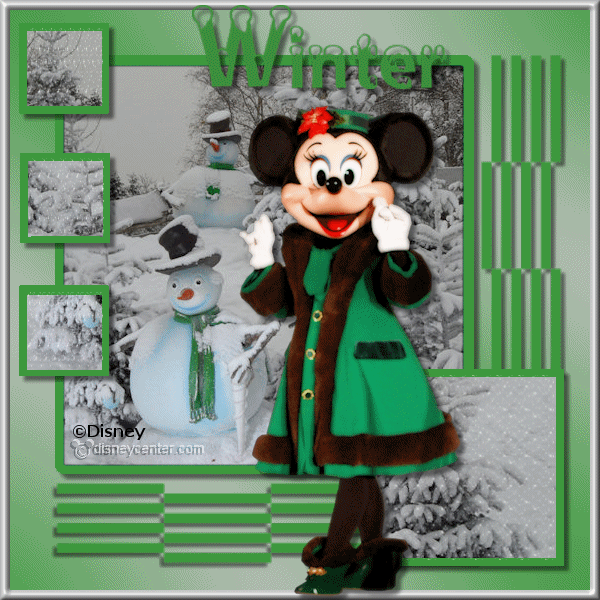
1.
Open the template winter – shift+D – close the original.
Lock in the layer palette all layers – except the bottom layer.
2.
Put in the material palette the foreground color at a dark color from the tube.
I take #3e9b3e and the background at #c0c0c0.
Make from the foreground a gradient linear – with this setting.

3.
Activate flood fill tool –fill raster1 with the gradient linear.
Adjust – blur – Gaussian blur - with this setting.
4.
Selections – select all.
Selections – Float – selections – Defloat.
Selections – contract 10 pixels – selections invert.
Fill the selection with the background color.
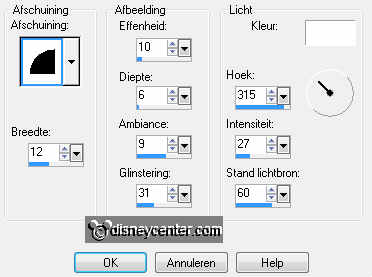
Effects – 3D Effects – Inner Bevel – with this setting.
5.
Open from the template – wit vierkant and activate this.
Activate flood fill tool and fill the vierkant with the foreground color.
6.
Open from the template – zwart vierkant and activate this.
Selections – select all.
Selections – Float – selections – Defloat.
7.
Activate the image wintertime – edit - copy.
Edit – paste as a new layer on the image.
Selections – invert – click on the delete key.
8.
Selections – select none.
Layers – merge – merge down – and one more time.
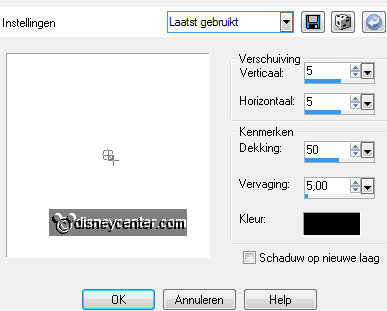
Effects – 3D Effects – drop shadow – with this setting.
9.
Open from the template – strepen vert. and activate this.
Adjust – Hue and Saturation – Hue/Saturation/Lightness - with this setting.
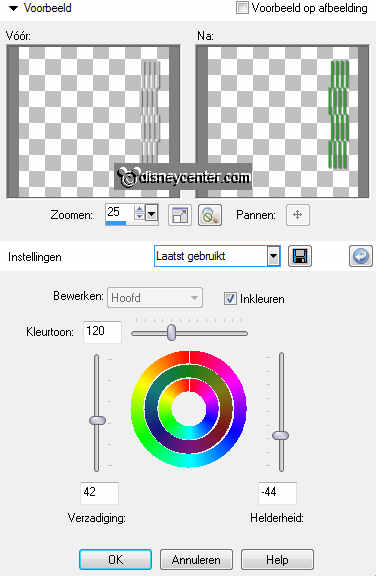
10.
Open from the template – strepen horz. and activate this.
Adjust – Hue and Saturation – Hue/Saturation/Lightness - setting is right.
11.
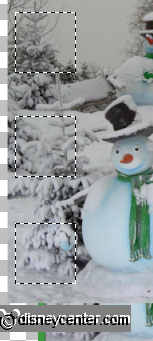
Open from the template – 3 blokjes wit and activate this.
Activate flood fill tool and fill the 3 blokjes with the foreground color.
Effects – 3D Effects – drop shadow – setting is right.
12.
Open from the template – 3 blokjes zwart and activate this.
Activate the magic wand – with this setting below – and select the 3 black
squares.

13.
Activate the image wintertime – edit - copy.
Edit – paste as a new layer on the image.
14.
Selections –invert – click on the delete key.
Selections – select none.
Layers – merge – merge down.
15.
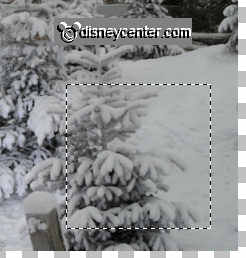
Open from the template – kl.wit vierkant and activate this.
Activate flood fill tool and fill the vierkant with the foreground color.
16.
Open from the template – kl.zwart vierkant and activate this.
Activate magic wand –setting is right – and select the black square.
17.
Activate the image wintertime – edit - copy.
Edit – paste as a new layer on the image.
18.
Selections –invert – click on the delete key.
Selections – select none.
Layers – merge – merge down.
19.
Open from the template – tekst.
Adjust – Hue and Saturation – Hue/Saturation/Lightness - setting is right.
Effects – 3D Effects – drop shadow – setting is right.
Activate move tool – and move the text a little up.
20.
Activate the tube minniewinter – edit - copy.
Edit – paste as a new layer on the image.
21.
Image – mirror.
Effects – 3D Effects – drop shadow – setting is right.
Move the tube little to the right.
22.
Delete in the layer palette the layer that's locked.
Layers – new raster layer – put your watermark into the image.
23.
Lock in the layer palette the minniewinter tube layer.
Make the bottom layer active.
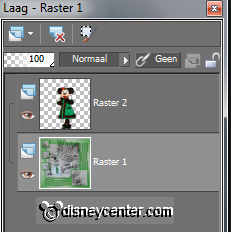
Layers – merge – merge all visible.
You have now this in the layer palette.
24.
Raster 1 is active – edit - copy.
Open Animation Shop – edit - paste as a new animation.
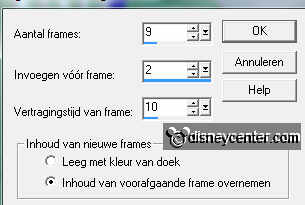
25.
Animation – Insert Frames – empty Frames – with this setting.
Edit - select all.
Open Animation Emmy sneeuw 3 blokjes – edit - select all..
26.
Edit - copy.
Edit - paste into selected frame.
Place this exactly on the 3 squares
27.
Open Animation Emmy sneeuw vierkant – edit - copy.
Edit - paste into selected frame.
Place this on the square at the bottom.
28.
Go back to PSP.
Make raster2 active – edit - copy.
29.
Back to AS - edit - paste as a new animation.
Animation – Insert Frames – empty Frames – with this setting.
30.
Edit - select all.
Edit - copy.
Edit - paste into selected frame.
31.
Put the tube at the bottom – see example – a little over the square.
File - save as - give name - click 3 time as next and than at finish.