Needing
Animation Shop
2 backgrounds and 1 raster made by me.
1 Disney tube, 1
animation from Missy, 1 word-art, 1 silver pattern, 1 template from
Scrapity Scrap
Put the silver pattern in the folder pattern.
Open the tube, word-art, 2 backgrounds and template in PSP.
Set the foreground color at #de7583 and the background color at #d8dae6
Open the template - Do shift + D - and close the original template.
Delete raster 7.
1.
Make raster 1 active.
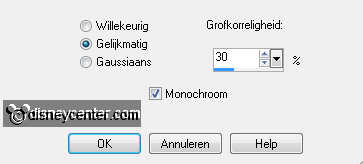
New raster layer - fill this with gradient linear - with this
setting.

Selections - select all.
New raster layer - fill this with silver pattern - angle 0 - scale
100.
Selections - modify - contract 3 - click at the delete key.
Selections - select none.
2.
Copy rasterrood and paste as a new layer on the image.
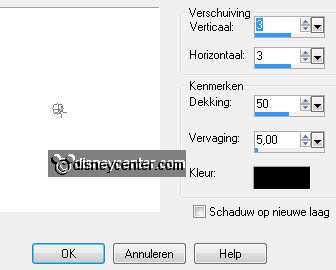
Effects - 3D Effects - drop shadow - with this setting.
Make raster 2 active - select this with the magic wand.
Fill this with the foreground color.
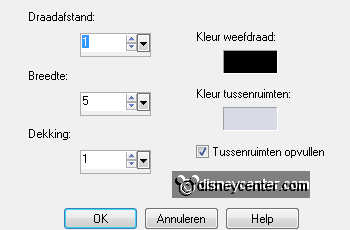
Effects - Texture Effects - Weave - with this setting.
Stay at raster 3 - layers - merge - merge down.
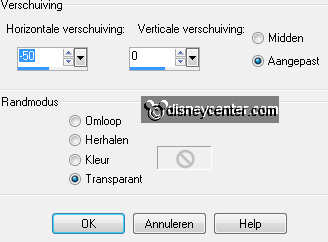
Effects - Image Effects - Offset - with this setting.
Give the same drop shadow as above.
3.
Make raster 4 active.
Select with the magic wand that part.
New raster layer - copy birthbgr2 and paste into selection.
Selection - select none.
Go to copy of vector1 - layers - merge - merge down.
4.
Make raster 5 active.
Select with the magic wand that part.
New raster layer - copy birthbgr and paste into selection.
Selection - select none.
Effects - Texture Effects - Weave - with this setting

Go to copy of vector2 - layers - merge - merge down.
5.
Make raster 6 active.
Select with the magic wand that part. - Fill this with the
foreground color.
Adjust - add/remove noise -
add noise -with this setting.
Let selection stay - fill this with the silver pattern.
Selections - modify - contract 2 - click at the delete key.
Make copy of vector 1 active - layers - merge - merge down.
6.
Do point 5 also with the 3 other hearts.
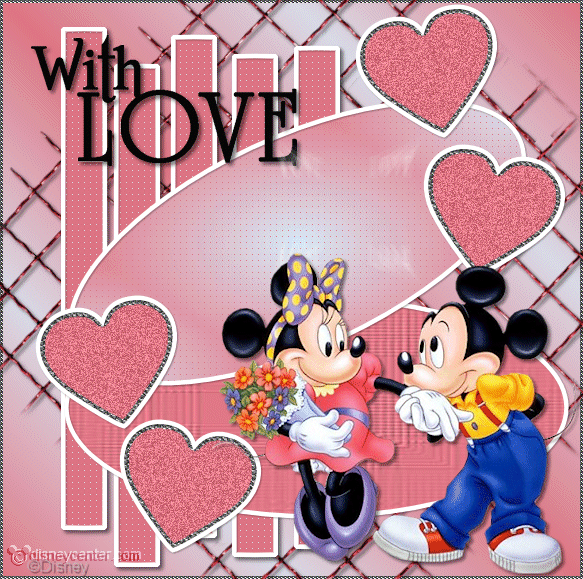
Now we go move the 2 top hearts.
Move them to the right side - see example.
7.
Copy word-art With Love and paste as a new layer on the image.
Give the same drop shadow as in point 2.
Place this in the left upper corner. see example.
Set your watermark of name into the image.
Layers - merge - merge all.
8.
Edit - copy - Open Animation shop.
In AS - paste as a new animation.
Animation - Insert Frames - Empty frames - with this setting.
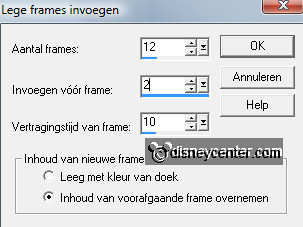
Edit - select all
9.
Open animation love_bymissy - edit - select all.
Copy this and paste into selected frames - place this under the letter E
from LOVE.
Back to PSP.
Open your tube or mine tube and give this the same drop shadow as in
point 2.
Edit - copy - in AS - paste as a new animation.
Animation - Insert Frames - Empty frames - with the same setting as
in point 8.
Edit - select all
Edit - copy - paste into selected frames.
Place this left at the bottom.
File - save as - give name - click 3 times at next and than at
finish.