Wonderful Christmas
Foreground color #0744b8 and background color #dcdedf
1.
Open new transparent image 650x450.
Fill this with the gradient linear - with this setting.
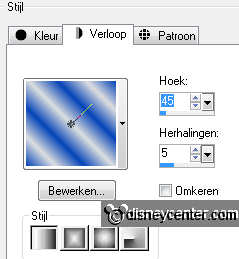
Adjust - Blur - Gaussian blur at 35.
2.
Duplicate this layer - image - mirror.
Set the opacity of this layer at 50.
Layers - merge - merge down.
3.
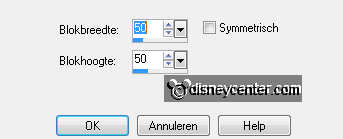
Effects - Distortion Effects - Pixelate - with this setting.
Effects - Edge Effects - enhance more.
New raster layer - fill this with the foreground color.
Image - resize 80% - all layers not checked.
4.
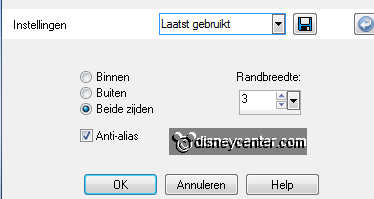
Selections - select all - selections - float - selections -
modify - select selection borders - with this setting.
New raster layer - Fill this with the gradient from point 1.
Effects - Graphics Plus - Cross Shadow - default setting.
Selections - select none.
5.
Layers - merge - merge down.
Image - add border 25 - symmetric - color black.
Select the black border - Fill this with the gradient from point 1.
6.
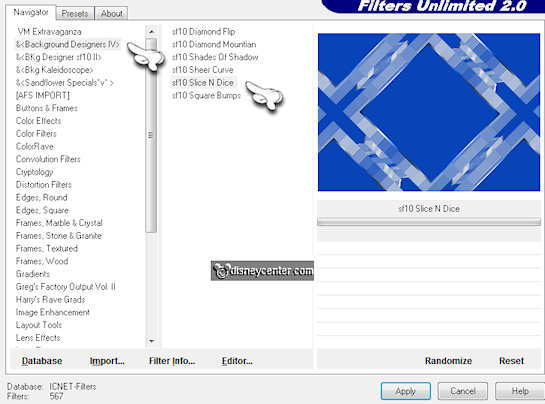
Effects - Filter Unlimited 2.0 - &<Background Designer IV> - sf10
Slice N Dice - click OK.
Effects - 3D Effects - Inner Bevel - with this setting.
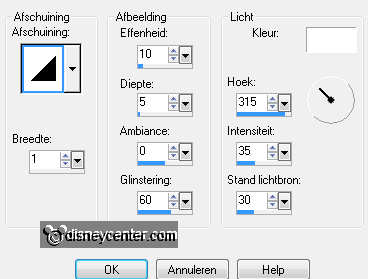
Selections - select none.
7.
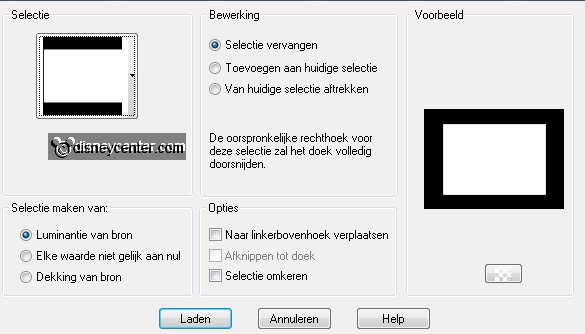
Selections - Load/save selections - Load selections from disk -
look Emmykerst3 - with this setting.
New raster layer.
Copy snowy road and paste into selection.
8.
Adjust - blur - radial blur - with this setting.
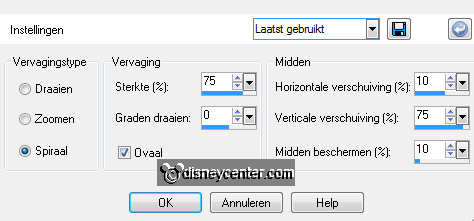
Selections - select none.
Make snowy road active again
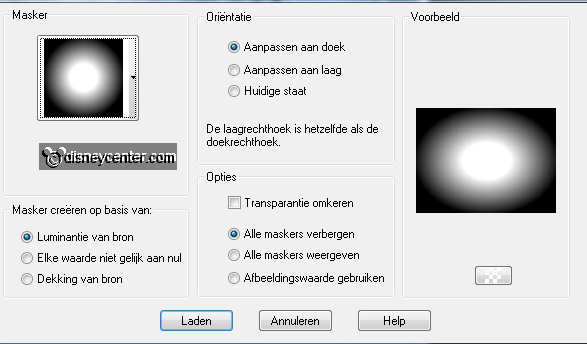
Layers - Load/save mask - load mask from disk - look 20-20 - with
this setting.
Layers - merge - merge group.
9.
Copy the snowy road misted and paste as a new layer on the image.
Image - resize 75% - all layers not checked.
Move this a little down - see example.
Erase the rest of the image over the width - set the eraser at 30.
see below.

10.
Open element17 from the scrapkit - image - resize 50% - all
layers checked. And 1 time 50%.
Copy element17 and paste as a new layer on the image.
Place this right at the bottom.
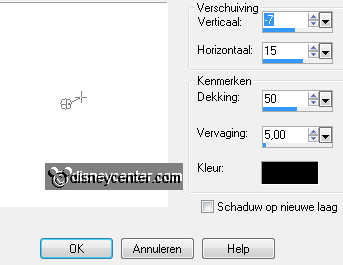
Effects - 3D Effects - drop shadow - with this setting.
11.
Open element18 from the scrapkit - resize 3 times with 50% - all
layers checked.
Copy element8 and paste as a new layer on the image.
Place this half of the tree.
Layers - arrange - move down.
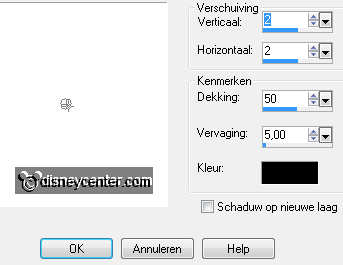
Effects - 3D Effects - drop shadow - with this setting.
12.
Copy donaldkerst and paste as a new layer on the image.
Place this left at the bottom.
Give the same drop shadow as in point 11.
13.
Copy katrienkerst and paste as a new layer on the image.
Image - resize 50% - all layers not checked. And 1 time 85% - all
layers not checked.
Adjust - sharpness - sharpen.
Give the same drop shadow as in point 11.
14.
Open element6 - Image - resize 2 times 25% - all layers checked.
Copy element6 and paste as a new layer on the image.
Place this in the middle of the image. see example.
Give the same drop shadow as in point 11.
15.
New raster layer - put your watermark into the image.
Copy word-art-wonderful and paste as a new layer on the image.
Open element13 - Image - resize 1 time 25% - all layers checked -
and 1 time 50% - all layers checked.
Place this under the left hand of donald.
Give the same drop shadow as in point 11.
16.
Go to free hand selection - from point to point.
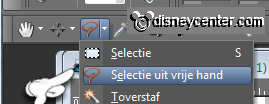
And select the lantern as below.
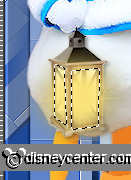
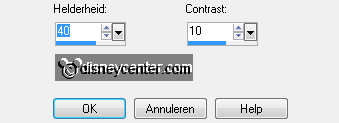
Adjust - Brightness and contrast - brightness / contrast - with this
setting.
17.
Selections - select none.
Edit - copy merged.
Open Animation shop - paste as a new animation.
18.
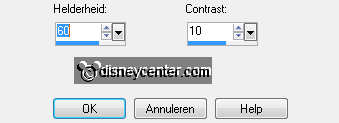
Back in PSP - click 2 time at the arrow Undo Last Command.
Adjust - Brightness and contrast - brightness / contrast - with this
setting.
Selections - select none.
19.
Edit - copy merged.
Back in Animation shop - paste after active frame.
File - save as - give name - click 3 times at next and than at
finish.

