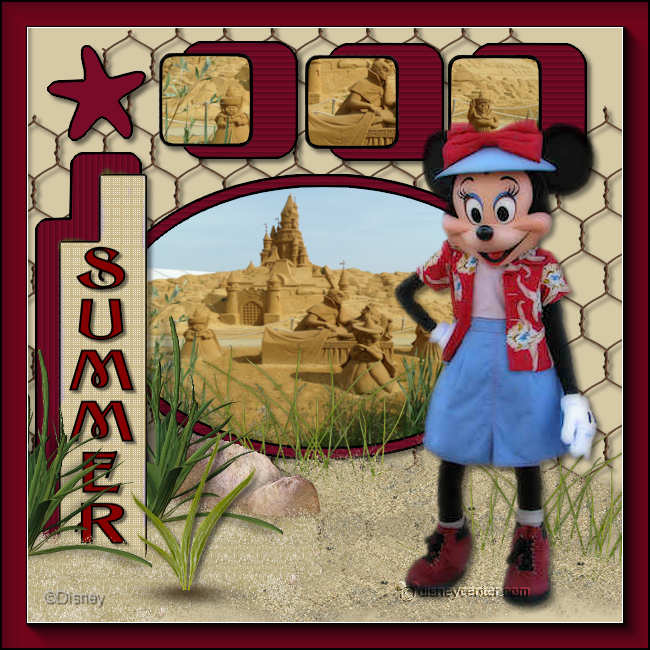
1.
Open the template Summer- shift+D – close the original.
Lock in the layer palette all layers – delete the first and second layer.
Put in the material palette the foreground on a light color from the tube #d6c9a6
and the background on a dark color from the tube #780b27.
2.
Layers - new raster layer - fill this with the foreground color.
Open from the template ovaal zwart. (oval black)
Activate the magic wand – with setting as below – and select the oval.

Activate flood fill tool and fill the selection with the background color.
3.
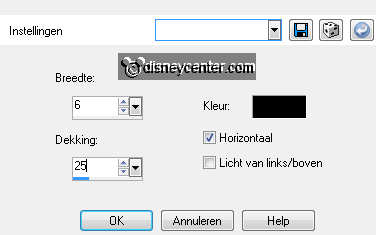
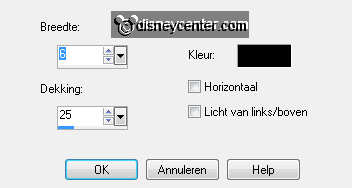
Effects – Texture effects – blinds – with this setting.
Selection – modify – select selection borders - with this setting.
Fill the selection with – color black.
Selections – select none.
4.
Activate the tube rastergaas – edit - copy.
Edit – paste as a new layer on the image.
Layers – arrange – move down.
Effects – 3D Effects – drop shadow – with this setting.
4.
Open ovaal wit – selections – select all.
Selections – float – selections – defloat.
Selections – modify – contract – with this setting.
5.
Activate the image vakantie – edit - copy.
Edit - paste into selection.
Selection – modify – select selection borders - setting is right.
6.
Fill the selection with – color black.
Selections – select none.
Layers – merge – merge down – and one more time.
Effects – 3D Effects – drop shadow –setting is right.
7.
Open vert. balk zwart – selecteer deze met de toverstaf – setting is right.
Vul de selecties met de achtergrond kleur.
Effecten – textuureffecten – lamellen – with this setting.
8.
Selection – modify – select selection borders - setting is right.
Fill the selection with – color black.
Selections – select none.
9.
Open vert. balk wit – select this with the magic wand – setting is right.
Selections – modify – expand – with this setting.
Fill the selection with the foreground color.
10.
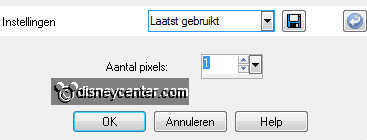
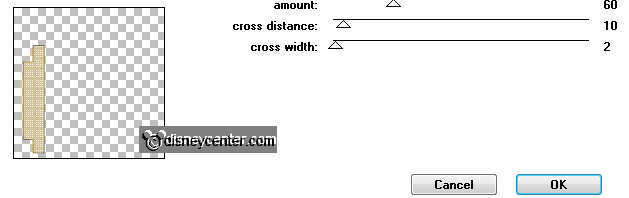
Effects – plug-in – Penta.com – Dot and Cross – with this setting.
Layers – merge – merge down.
Effects – 3D Effects – drop shadow –setting is right.
11.
Open 3 blokjes zwart – select this with the magic wand – setting is right.
Fill the selection with the background color.
Effects – Texture effects – Blinds – with this setting.
12.
Selection – modify – select selection borders - setting is right.
Fill the selection with – color black.
Selections – select none.
13.
Open 3 blokjes wit – select this with the magic wand.
Selections – modify – expand – with this setting.
14.
Activate the image vakantie – edit - copy.
Edit – paste as a new layer on the image.
Place the image as below.
Selections – invert – click on the delete key.
15.
Selection – modify – select selection borders - setting is right.
Fill the selection with – color black.
Selections – select none.
16.
Layers – merge – merge down.
Effects – 3D Effects – drop shadow –setting is right.
17.
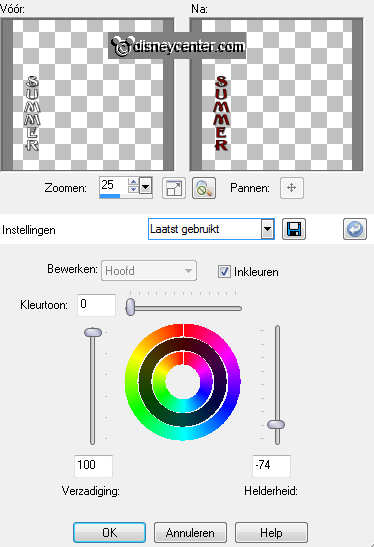
Open tekst.
Adjust – Hue and Saturation – hue/saturation/lightness – with this setting.
18.
Activate the tube zand-plant – edit - copy.
Edit – paste as a new layer on the image.
19.
Move the tube with the move tool to the left side at the bottom.
Layers – duplicate – move this layer – against the bar with letters – see
example.
Layers – arrange – move down.
20.
Make the tekst layer active.
Activate the tube stenen – edit - copy.
Edit – paste as a new layer on the image.
Move with the move tool the tube above the zand-plant – see example.
21.
Activate the tube zand – edit - copy.
Edit – paste as a new layer on the image.
Move this with the move tool to the right side at the bottom.
22.
Layers – duplicate – move this to the left side – against the oval.
Layers – merge – merge down.
23.
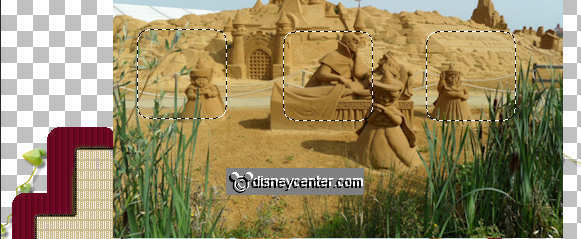
Activate the tube leaves – edit - copy.
Edit – paste as a new layer on the image.
Effects – 3D Effects – drop shadow – setting is right.
Put the tube on the sand at the left side – see example.
24.
Open zeester – select this with the magic wand – setting is right.
Fill the selection with the background color.
Selection – modify – select selection borders - setting is right.
25.
Fill the selection with – color black.
Selections – select none.
Effects – 3D Effects – drop shadow –setting is right.
26.
Activate the tube minvakantie – edit - copy.
Edit – paste as a new layer on the image.
Put the tube at the right side with the move tool – see example.
Effects – 3D Effects – drop shadow –setting is right.
27.
Layers – new raster layer – put your watermark into the image.
Layers – merge – merge all visible.
28.
Image – add border – symmetric -1 pixel – color black.
Image – add border – symmetric -25 pixel – background color.
Effects – plug-in – AAA Frames – Foto Frame – with this setting.
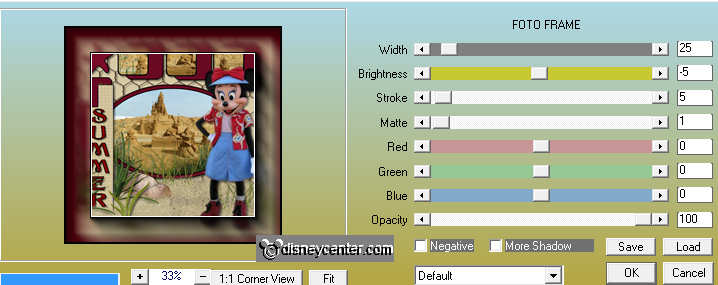
Image – add border – symmetric -1 pixel – color black.
29.
File – export – JPEG Optimizer.