|

This
Tutorial is copyrighted to the Tutorial Writer, © Emmy Kruyswijk 2009.
This Tutorial
may
not be forwarded, shared or otherwise placed on any Web Site or group without written
permission from
Emmy Kruyswijk
Do you want to link my lessons?
Please send
me a mail.
Materials
download
here
tube, filters:
dsb flux - Linear Transmission,
MuRa's Meister
- Copies,
Simple - Top Left Mirror
Put
the filters in the folder plug-ins.
Zonnebloem
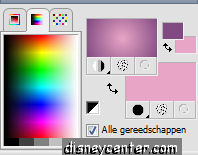
1. Open a new image 500x500
2. Flood fill this with the gradient, sunburst, angle 0, repeats 0,foreground
#814a82, background #e8a5c5.
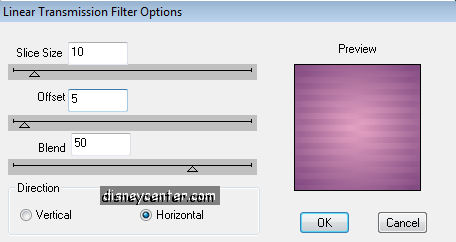
3. Go to Effects- dsb flux - Linear Transmission.
4. Go to selection tool - selection - rectangle
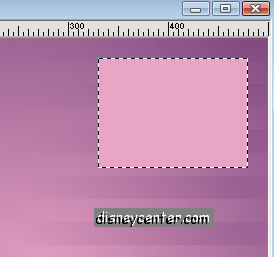
5. Change the foreground in the background color.
6. New raster layer.
7. Flood fill this with the foreground color (light)
8. Go to Effects - Texture effects- Weave.
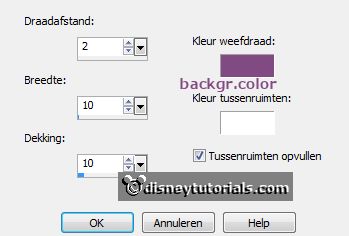
Layers - new raster layer - fill this with the
dark color.
Selections - modify - contract 3 pixels -
click on the delete key.
Selections - select none.
Layers - merge - merge down.
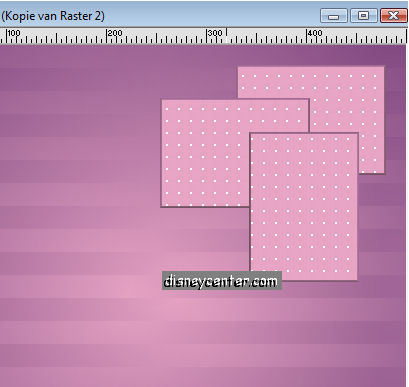
9. Duplicate this 2 times.
10. Place them so.
11. Lock the bottom raster.
12. Stay on 1 of the other layers
13. Go to layers - layers - Merge visible.
14. Place them in the middle of the image.
15. Unlock the bottom layer.
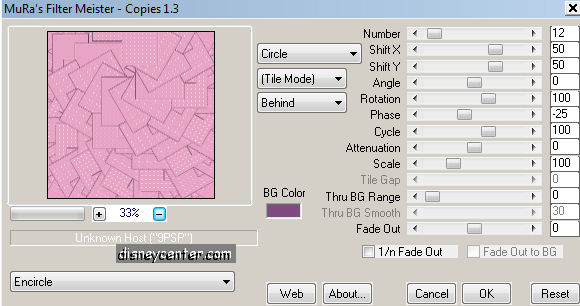
16. Go to Effects - MuRa's Meister - Copies.
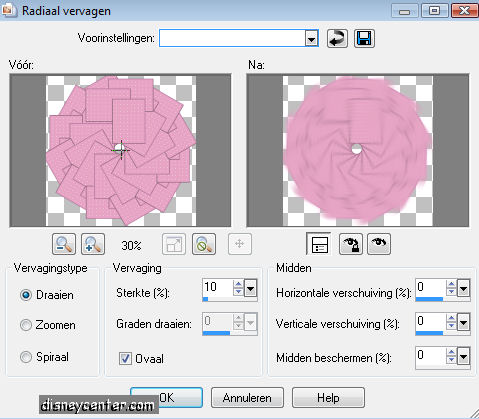
17. Adjust - Blur - Radial Blur.
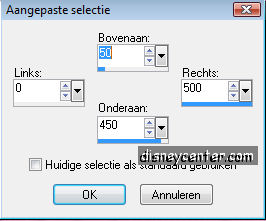
18. Go to selection tool - custom selection.
19. Selections- Invert
20. New raster layer
21. Flood fill both with the light color
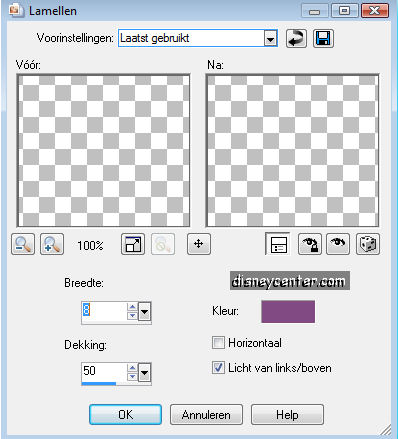
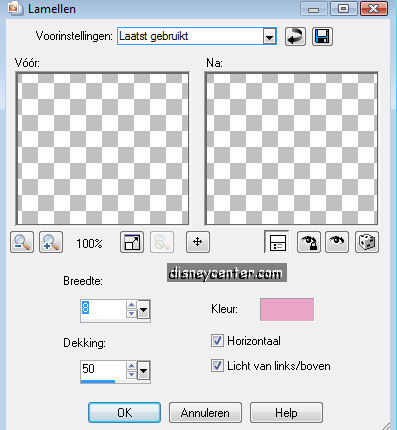
22. Effects- Texture effects - Blinds
23. Let selection stay. New raster layer
24. Flood fill both with the dark color.
25. Effects - Texture effects- Blinds
26. Opacity of this layer at 50.
27. Lock the 2 bottom layers.
28. Stay on 1 of the other layers
29. Layers - merge visible.
30. Let selection stay.
31. Effects - 3D effects - drop shadow - horz.3, vert.3, opacity
5, blur 5.00, color black.
32. Repeat the drop shadow, but now horz.-3 and vert.-3. Select
none.
33. Unlock the other layers.
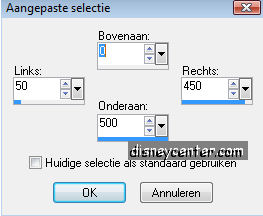
34. Go to selection tool - selection - custom selection.
35. Selections - Invert
36. New raster layer.
37. Repeat 21 t/m 26.
38. Lock the 3 bottom layers.
39. Repeat 28 t/m 32.
40. Layers - merge all visible.
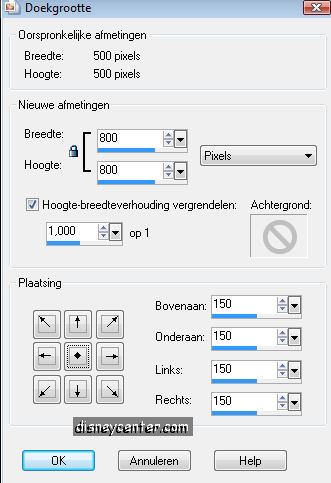
41. Image - Canvas Size
42. Duplicate layer
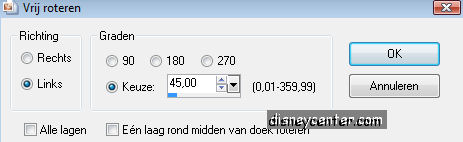
43. Image -Free Rotate -45 links.
44. Copy your tube and paste as a new layer in your image.
45. Effects - 3D effects - drop shadow vert. and horz.3, opacity 5,
blur 5.00 color black.
46. Select the little flower from the tube.
47. Go to selection tool - Freehand selection - and select the
flower
48. Copy and paste as a new layer.
49. Same drop shadow as in point 43.
50. Effects - Simple - Top Left Mirror.
51. Put your name or watermark in the image.
52. Layers - merge visible.
53. Image - Resize 75%. All layers checked.
54. Save as a gif.
Ready is the tag
I hope that you like this tutorial.
greetings Emmy,

Tutorial written
12-10-2009
| |